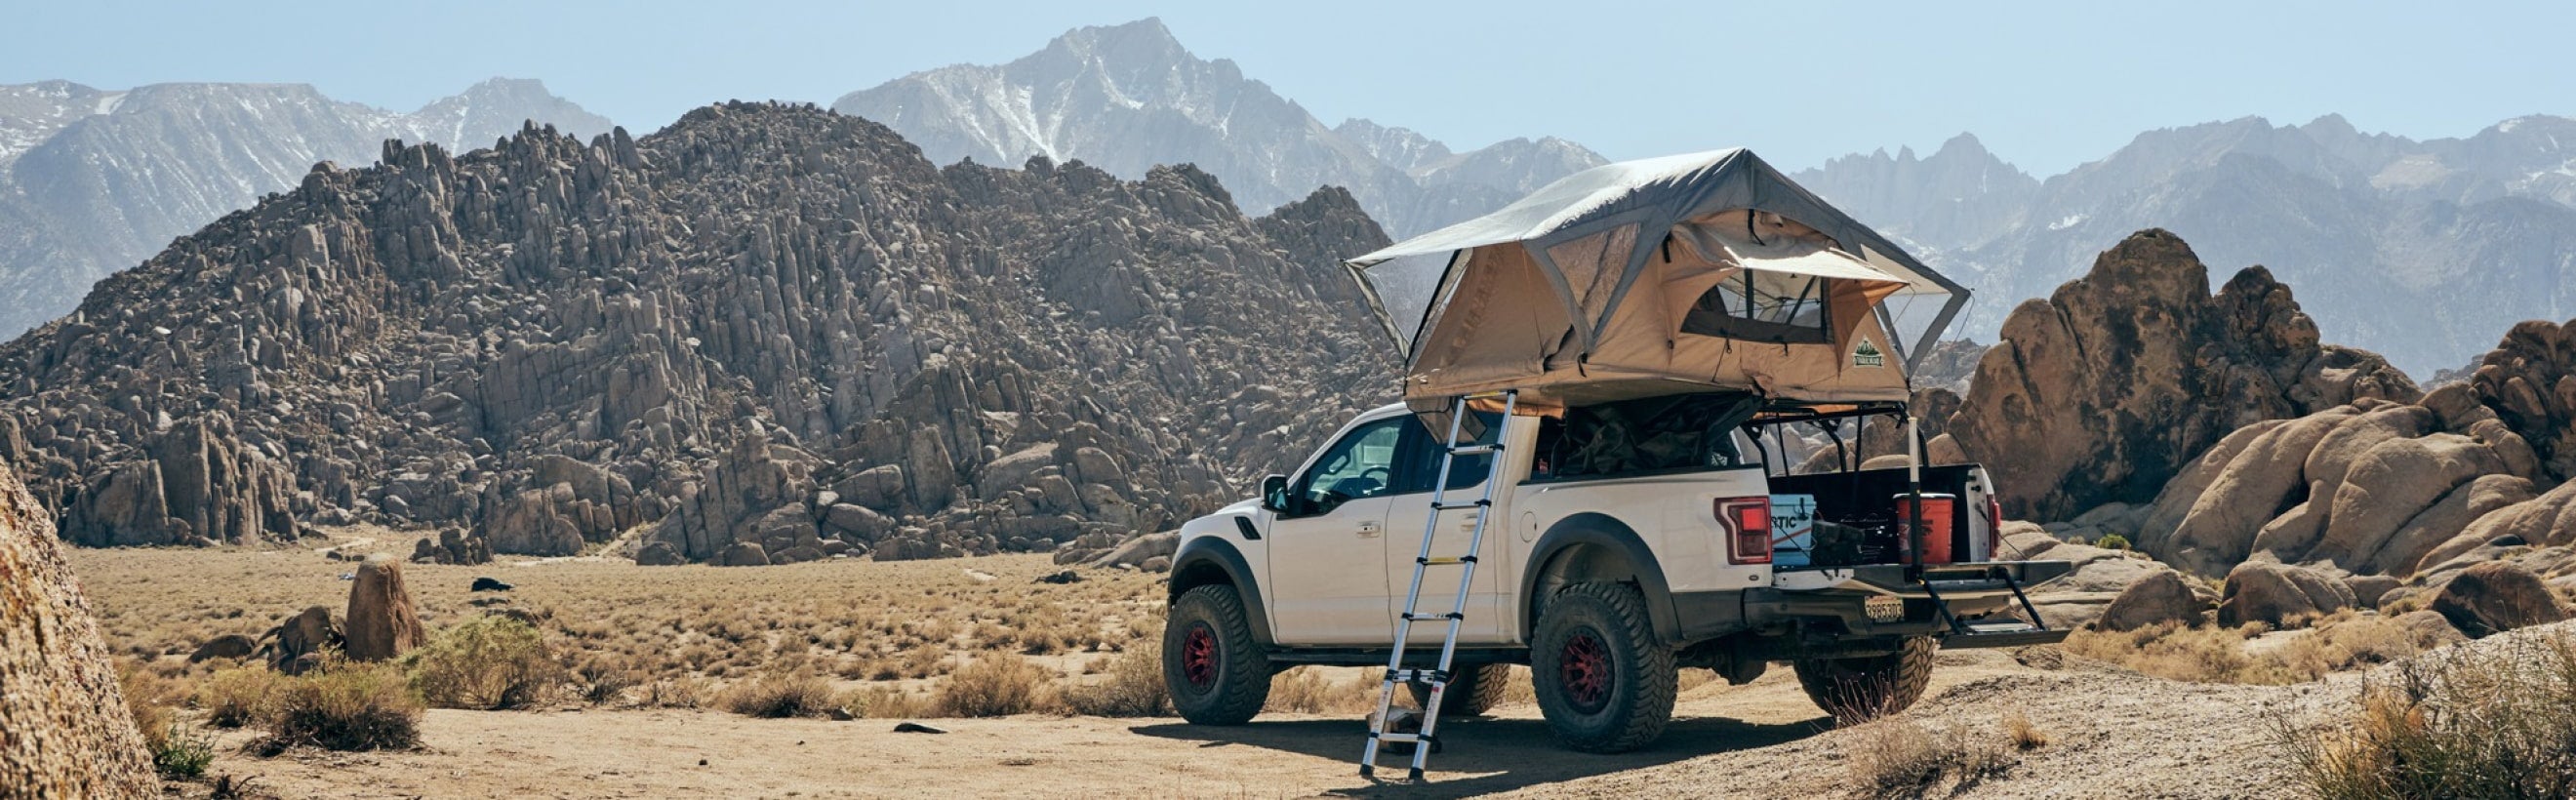
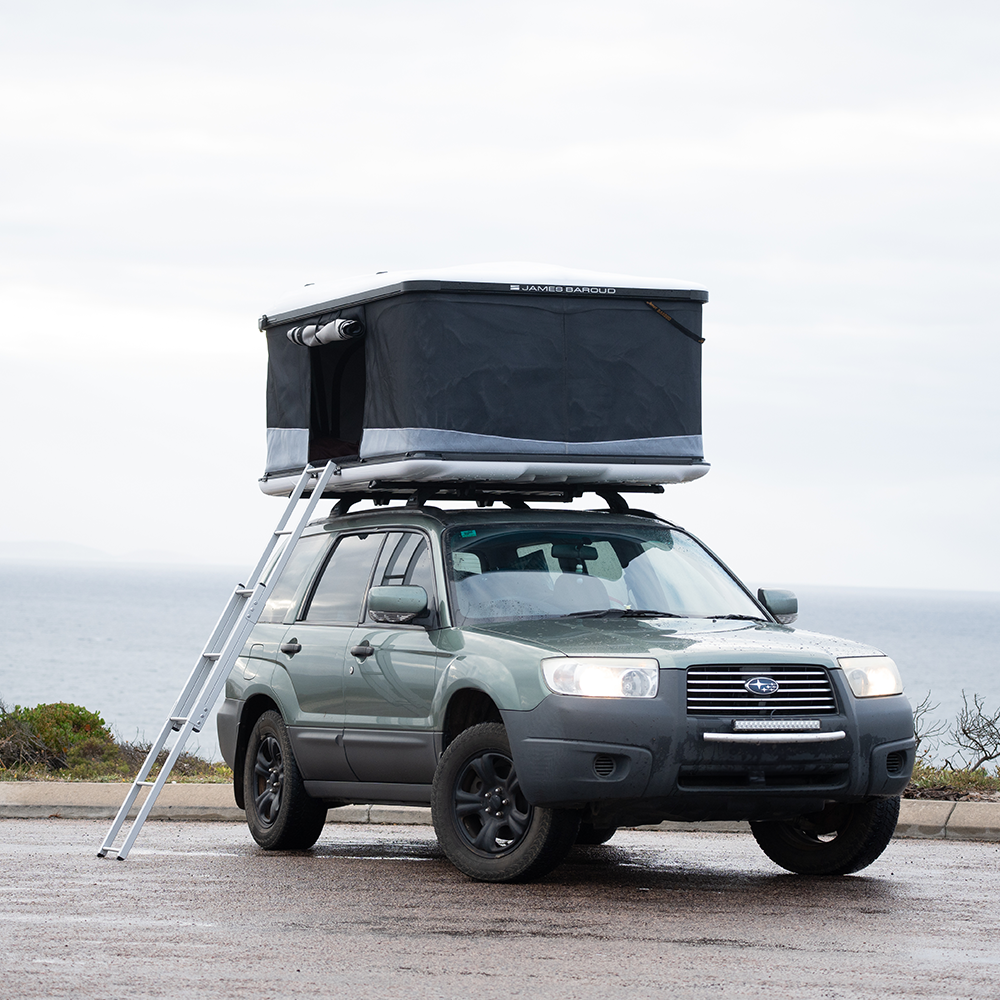
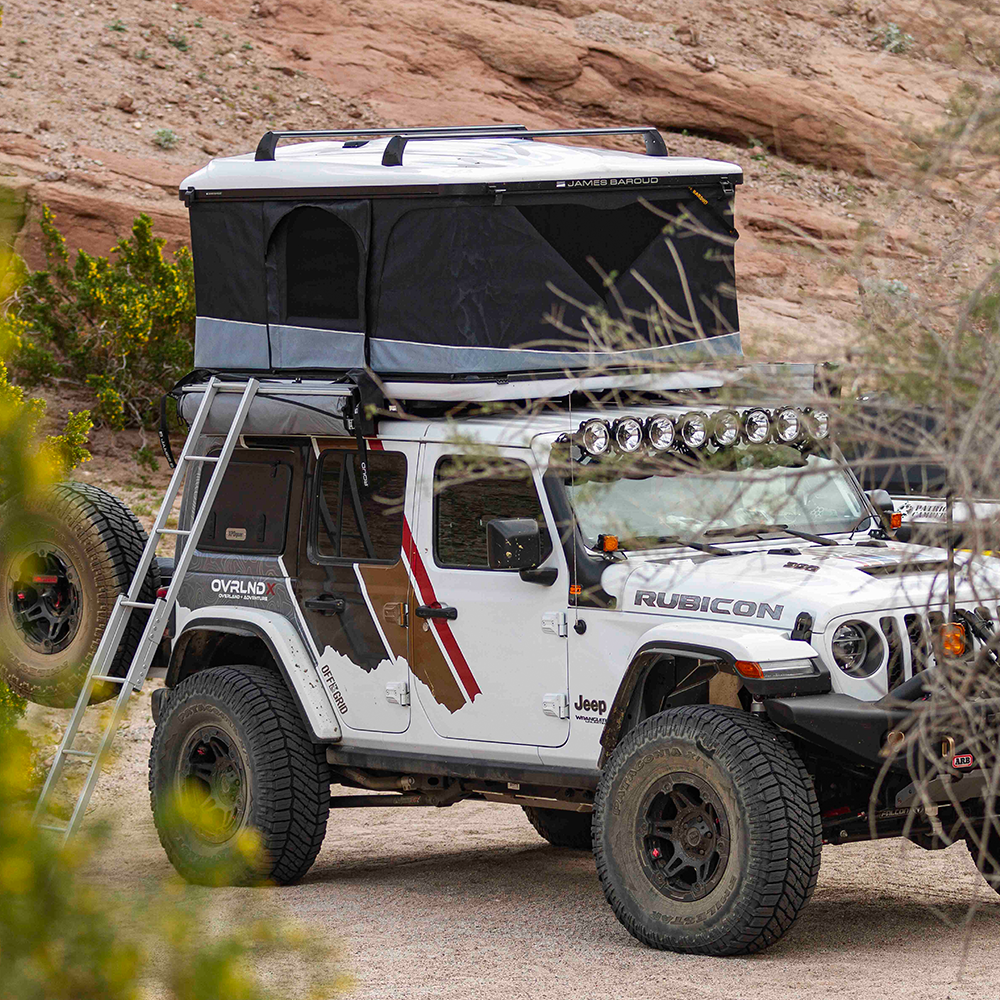
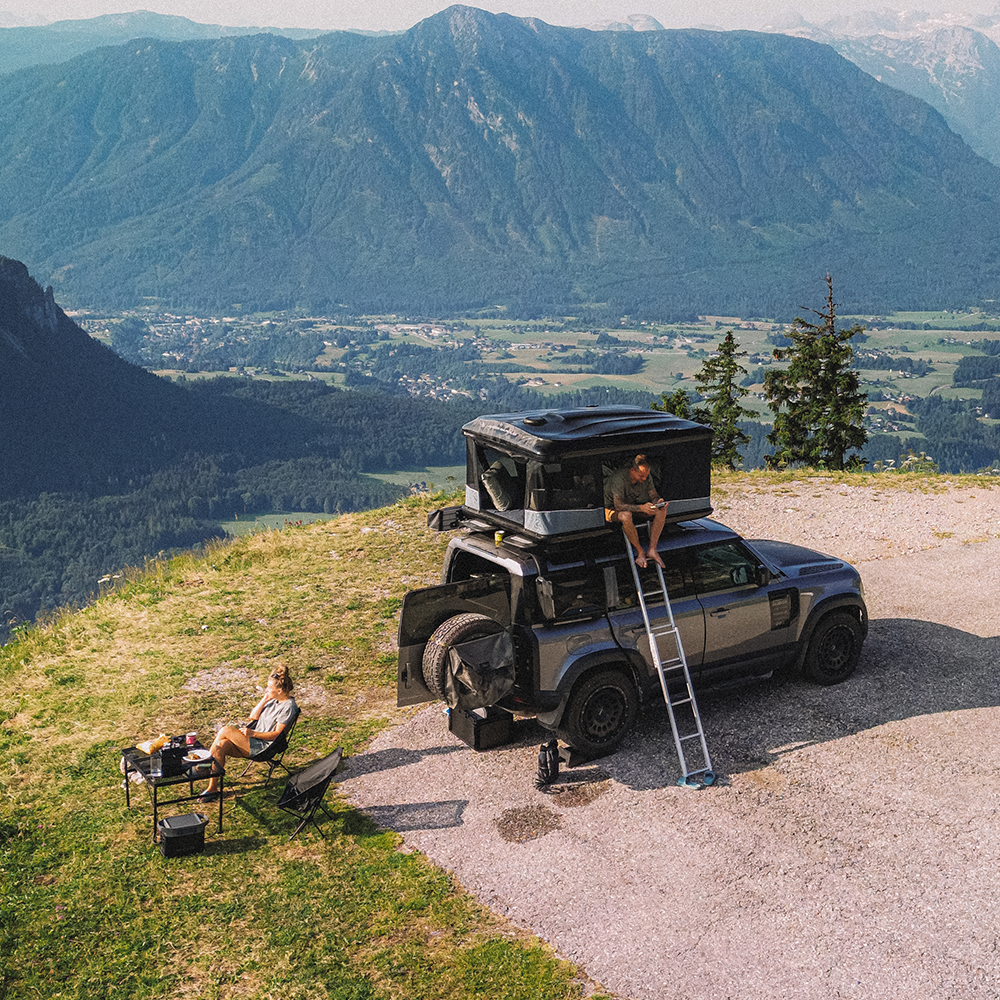
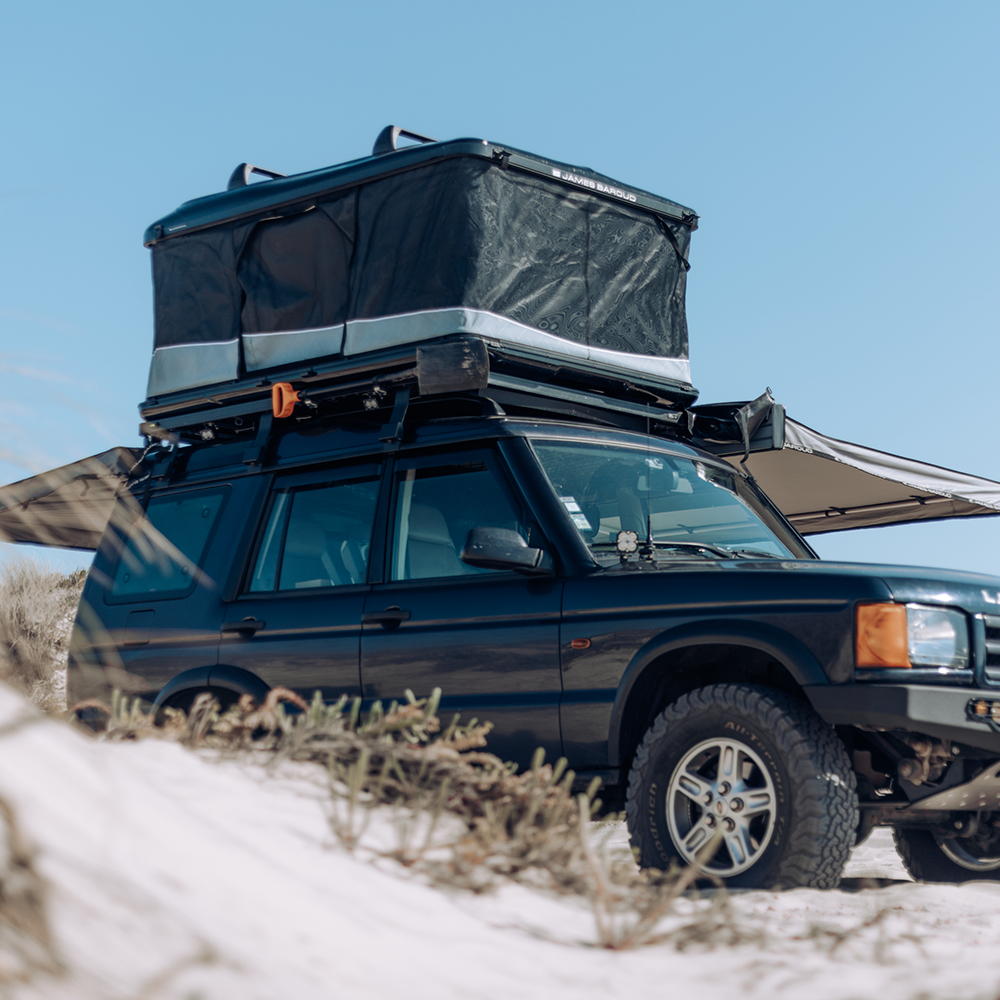
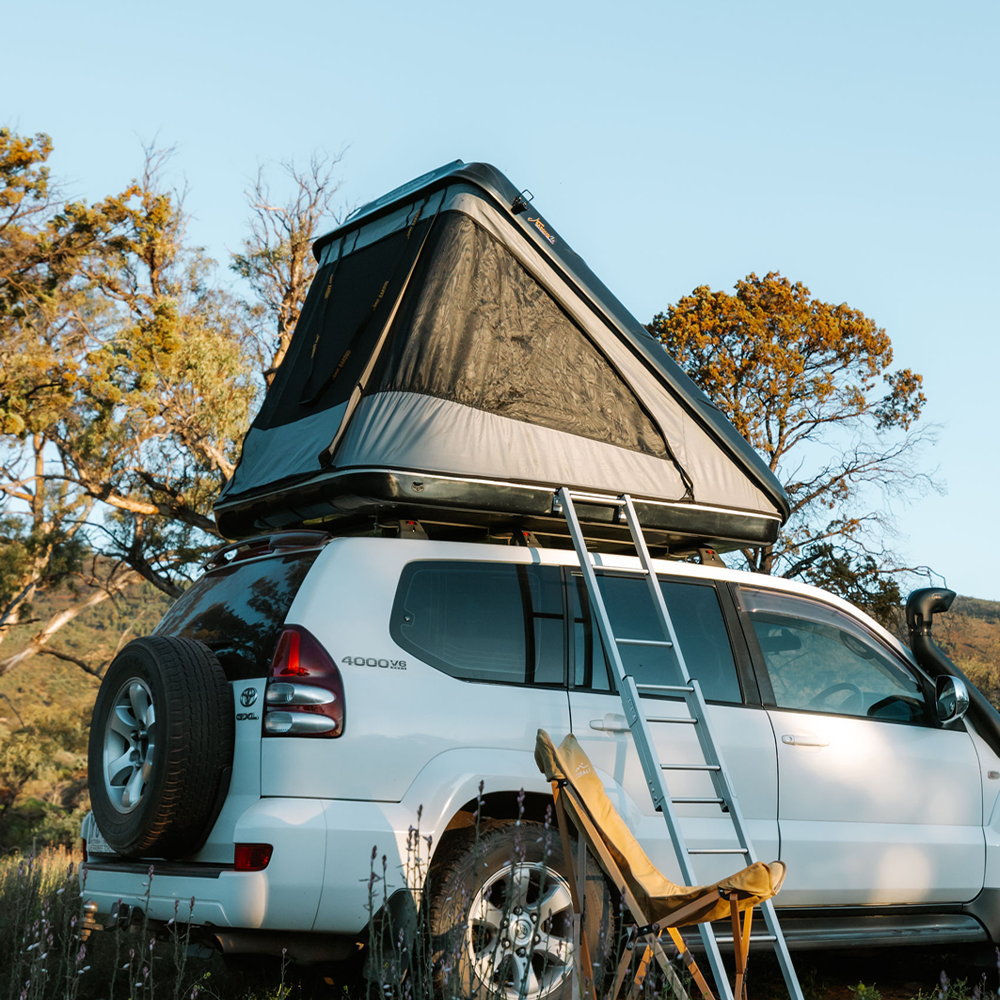
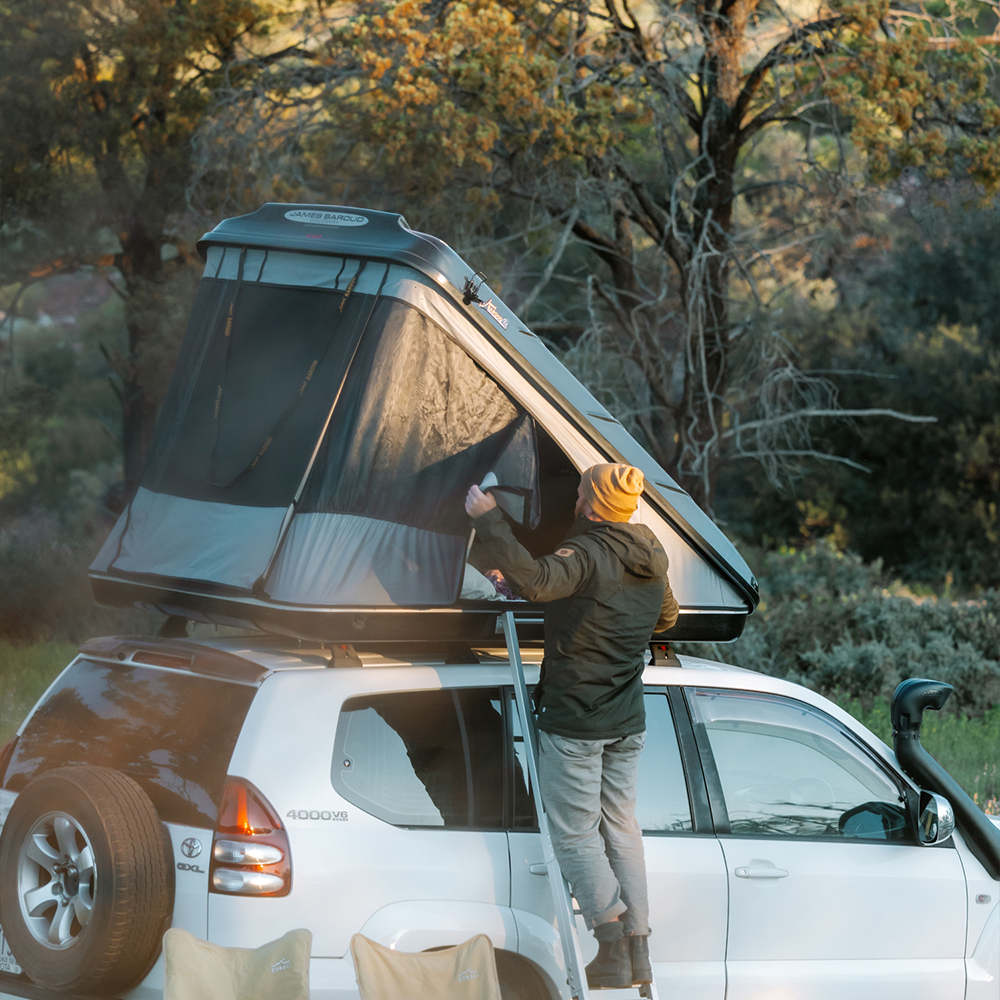
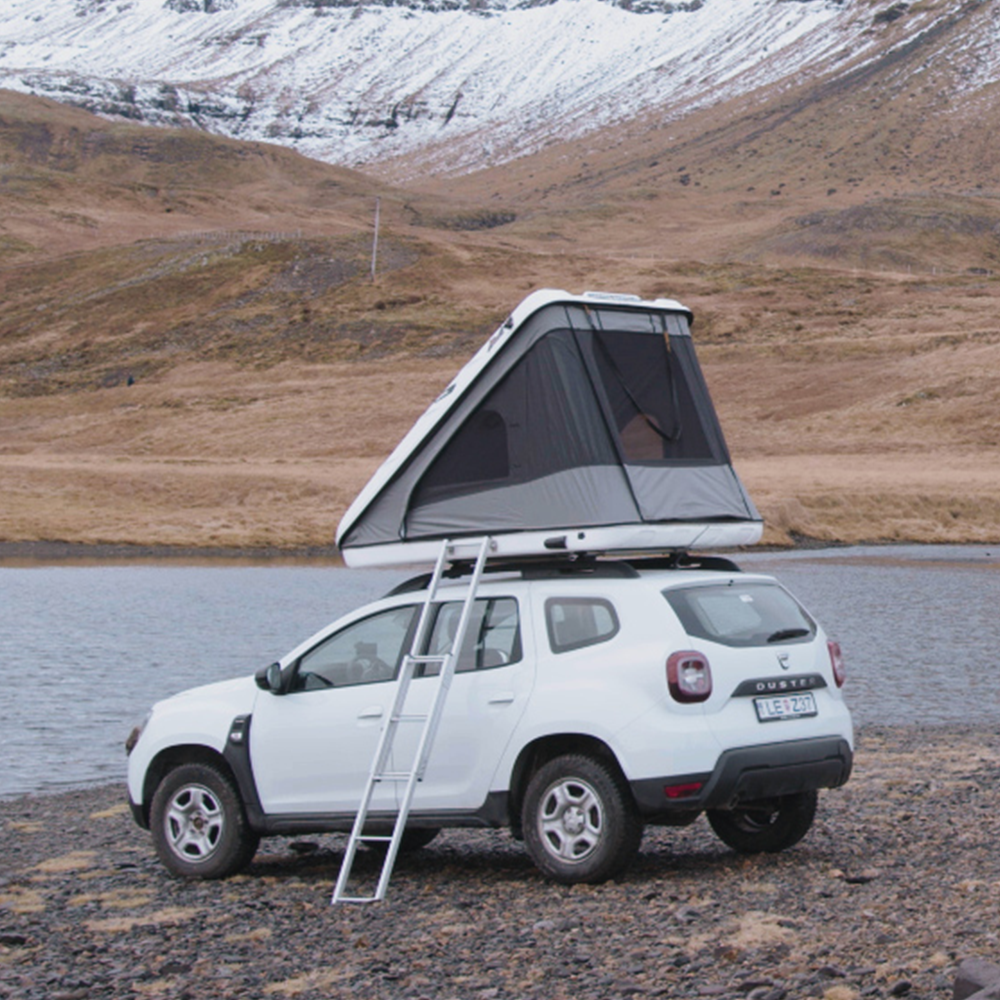
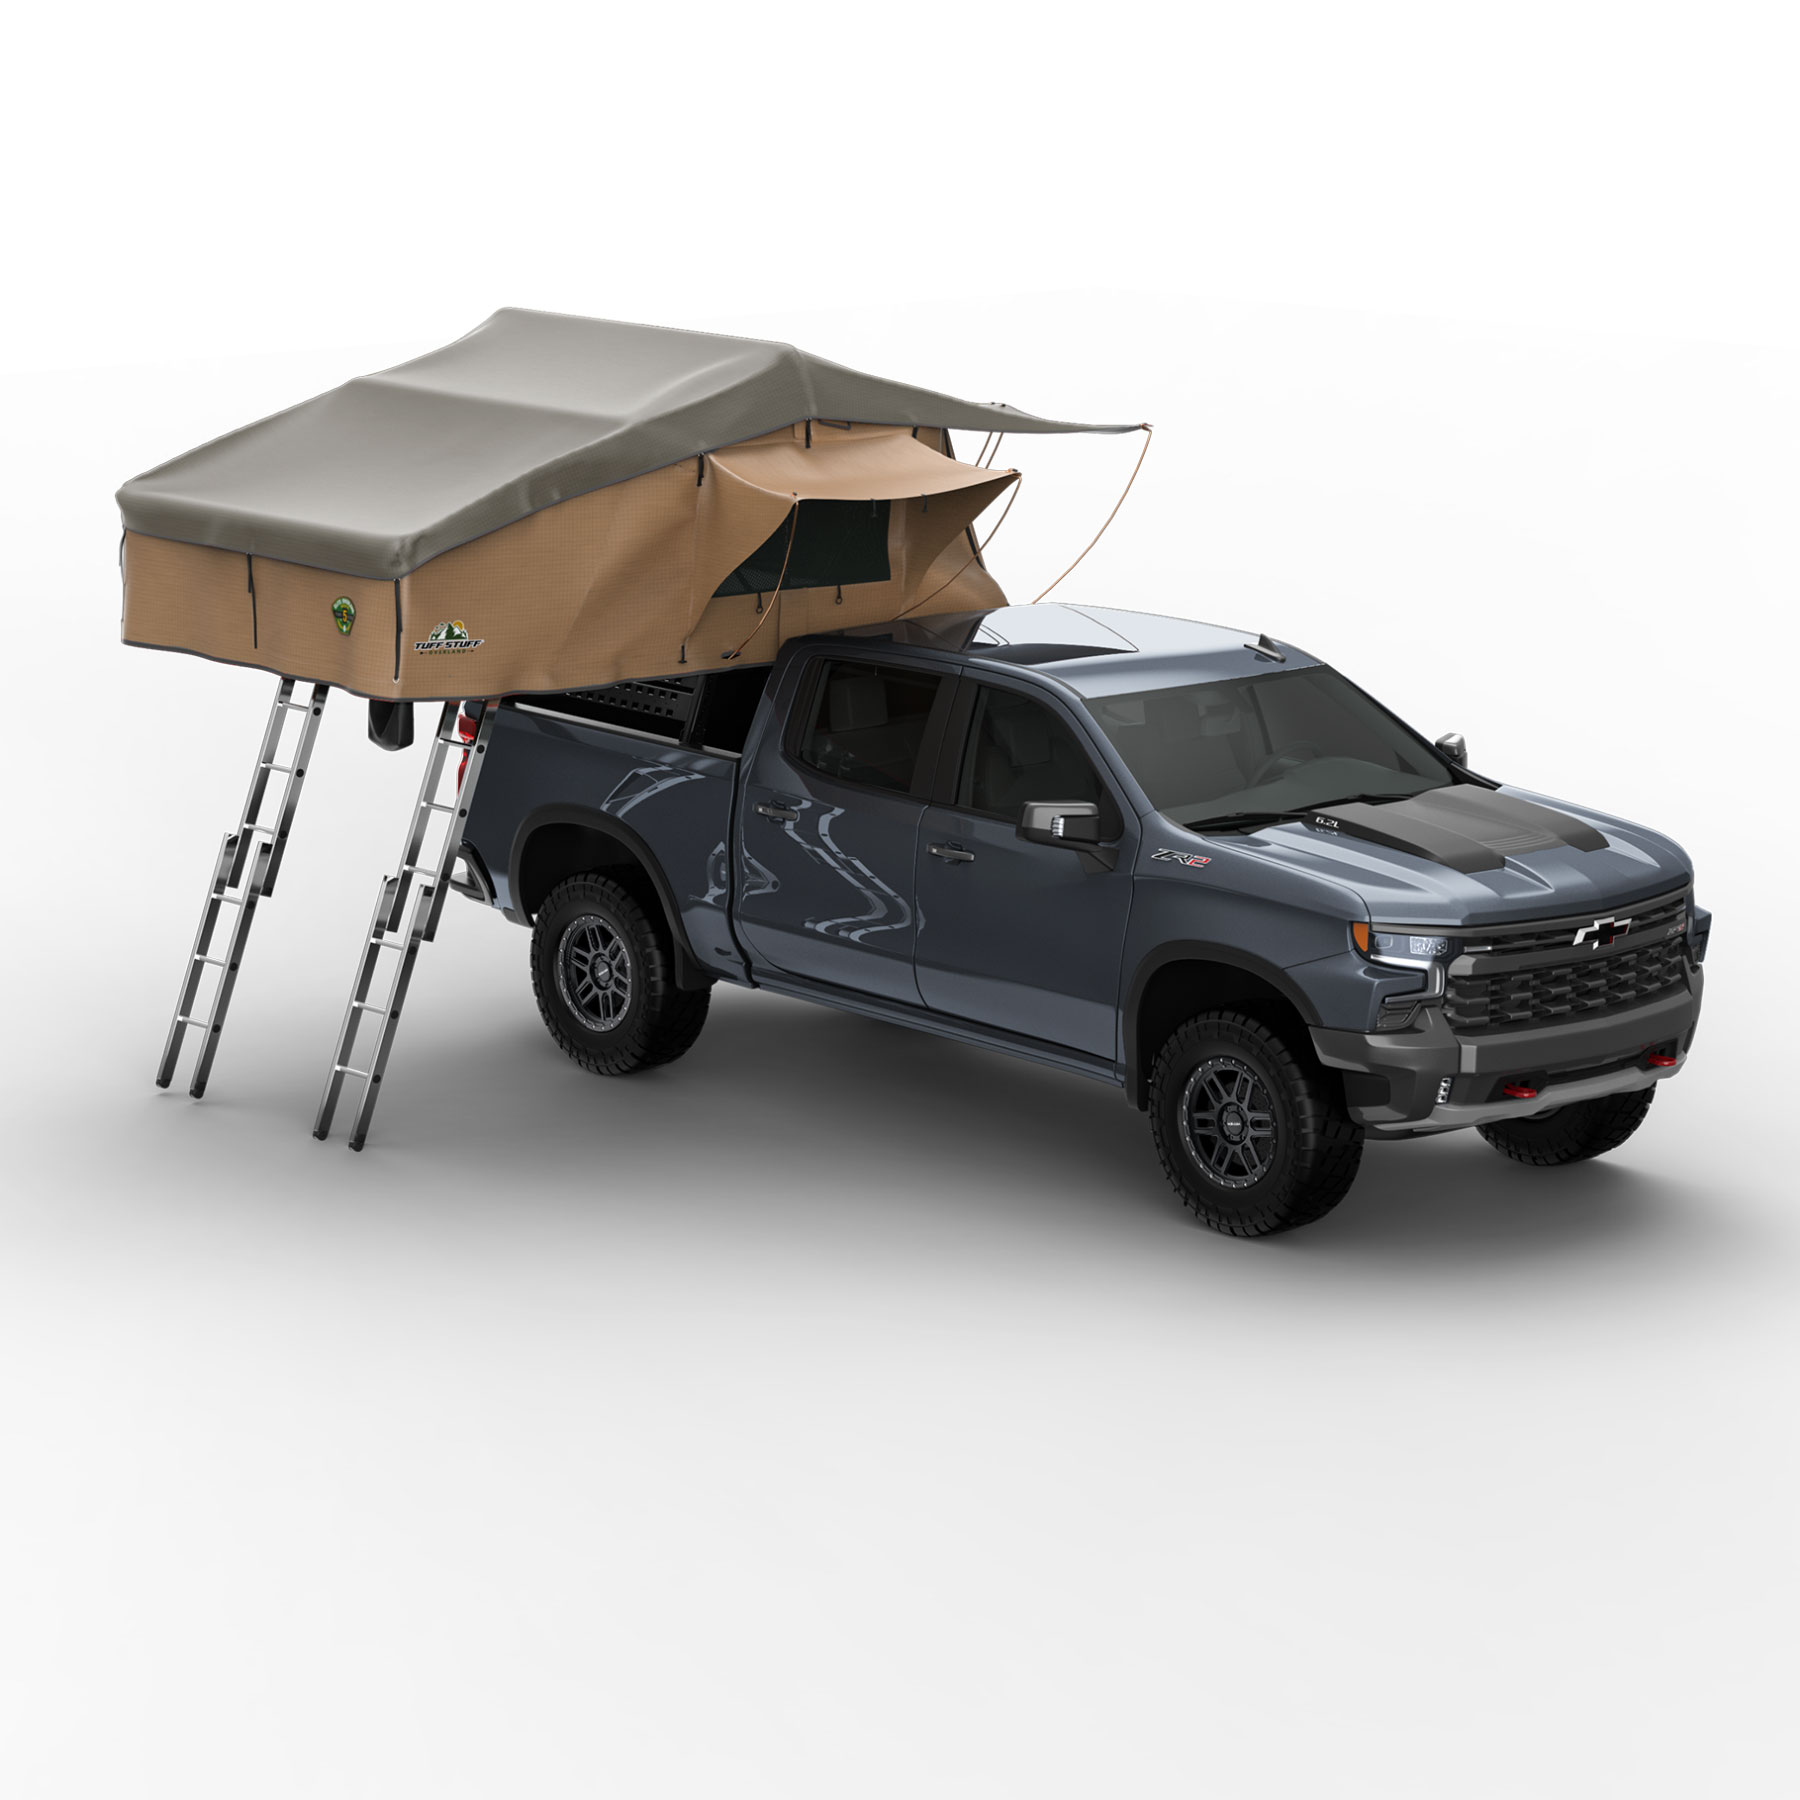
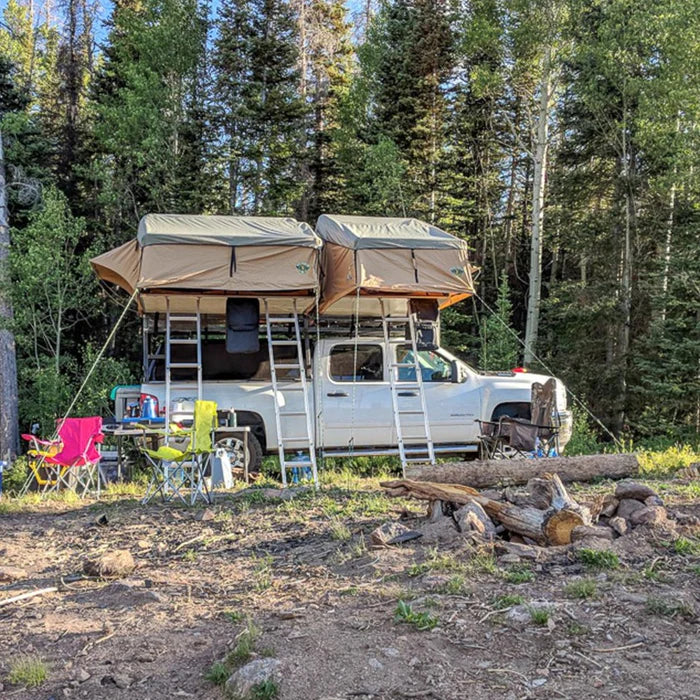
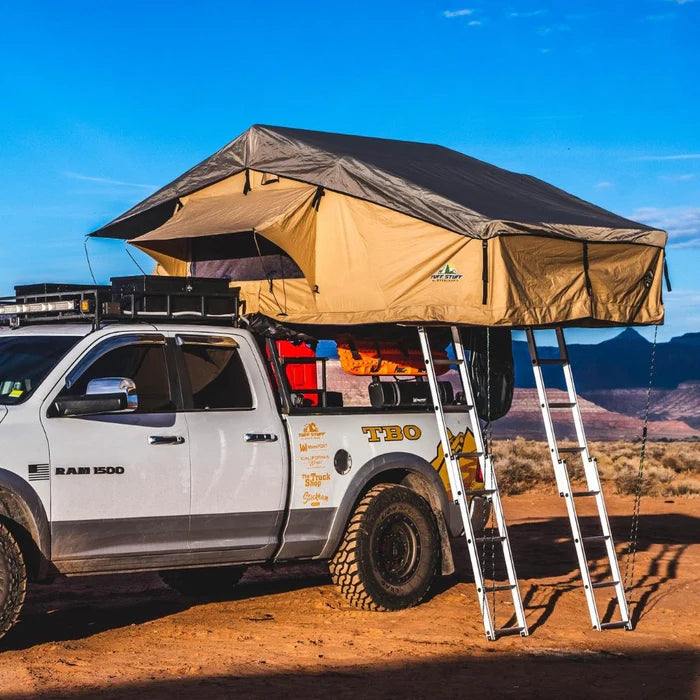
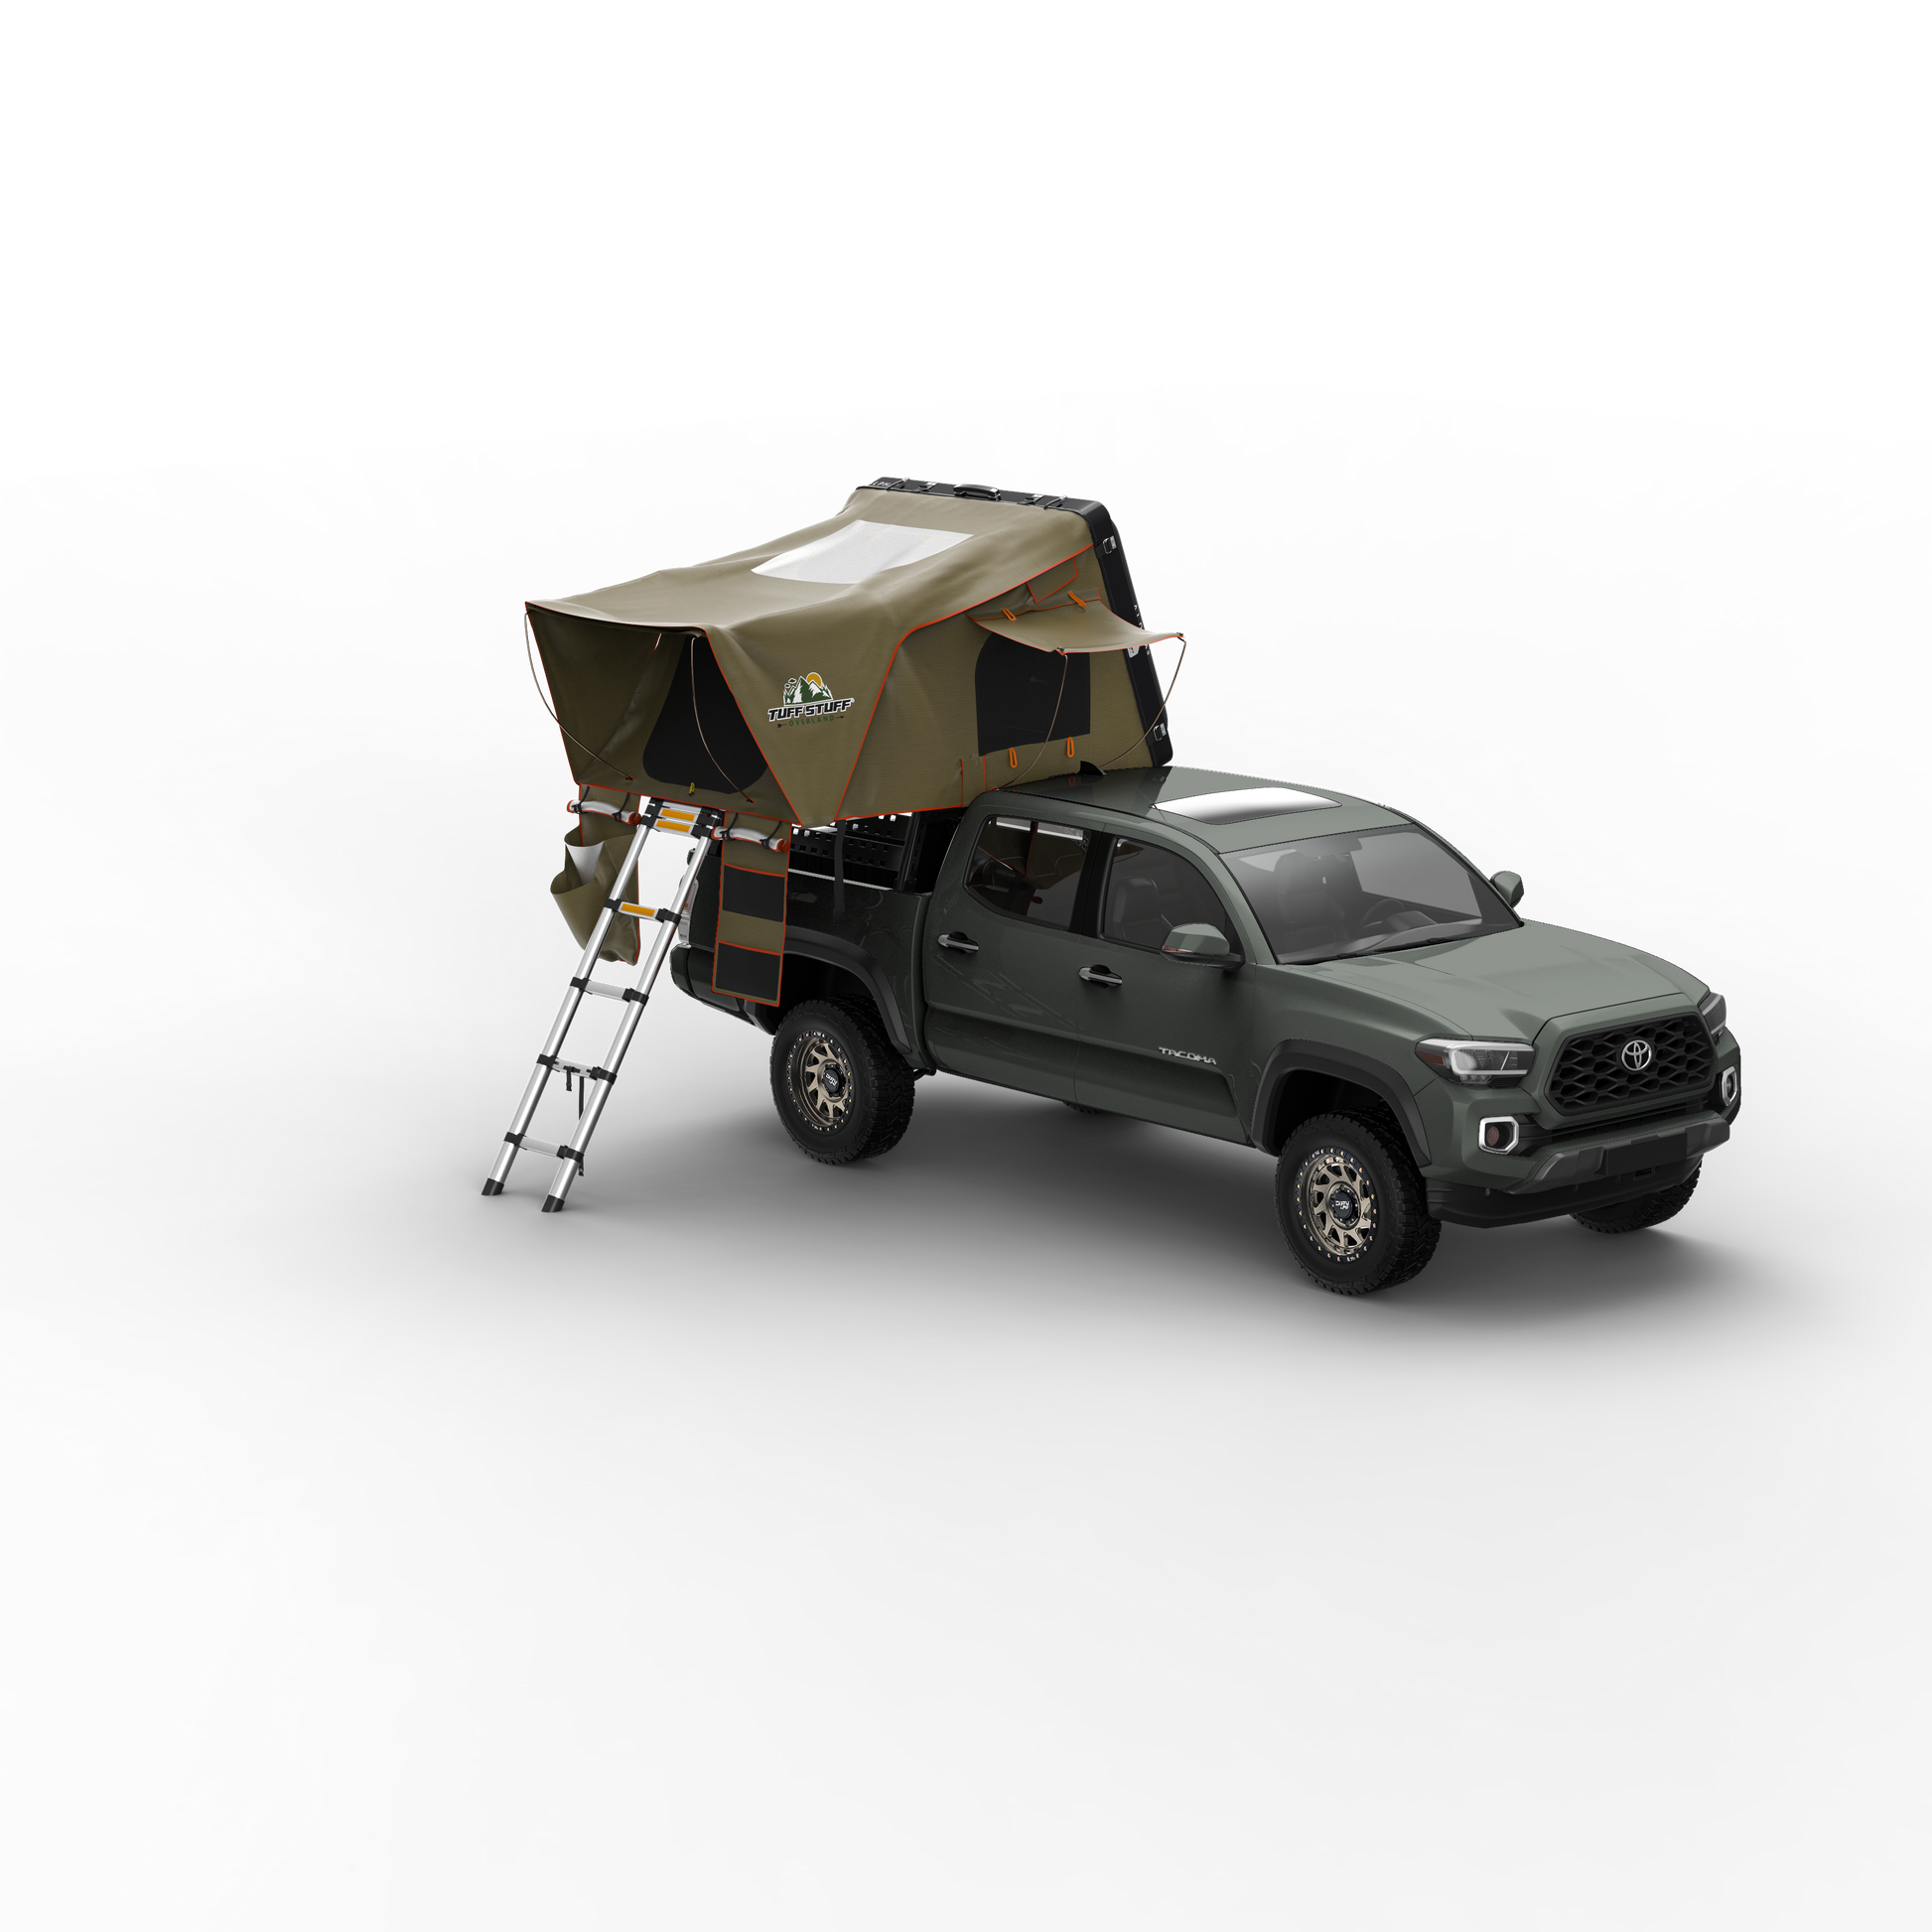
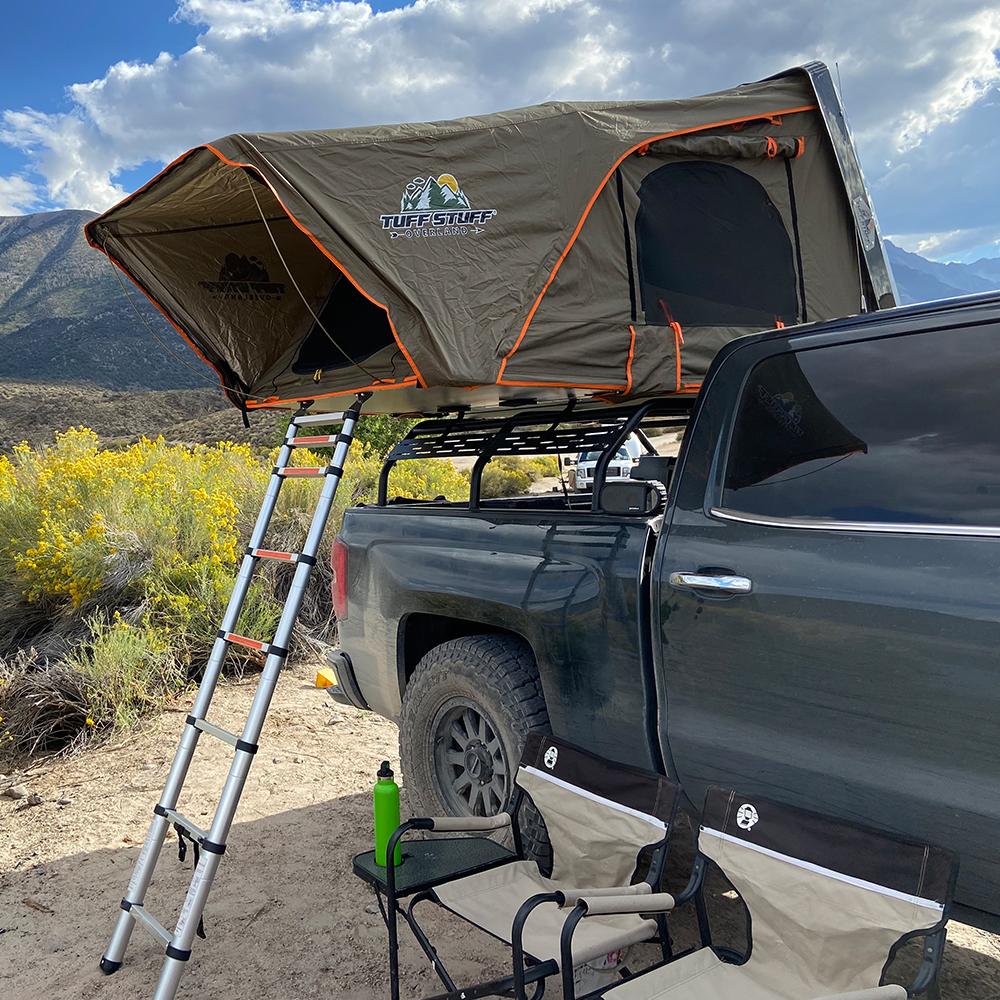
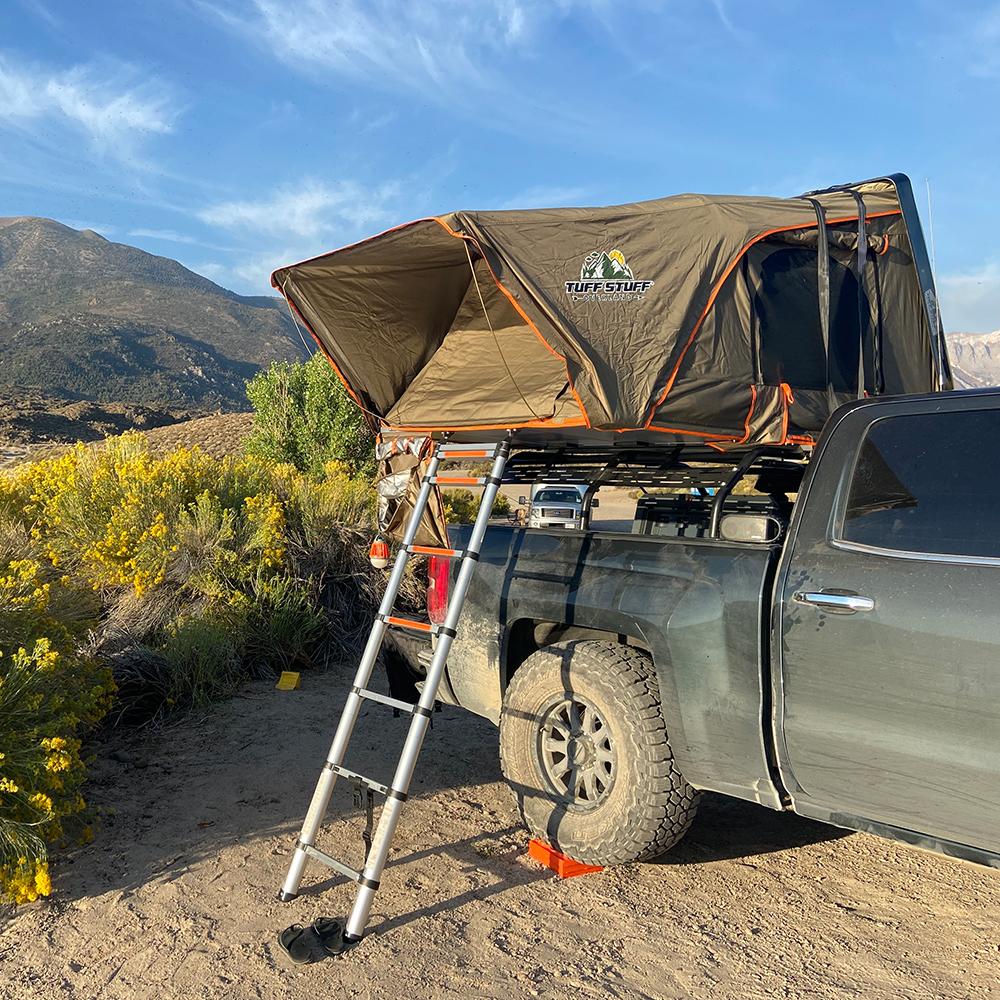
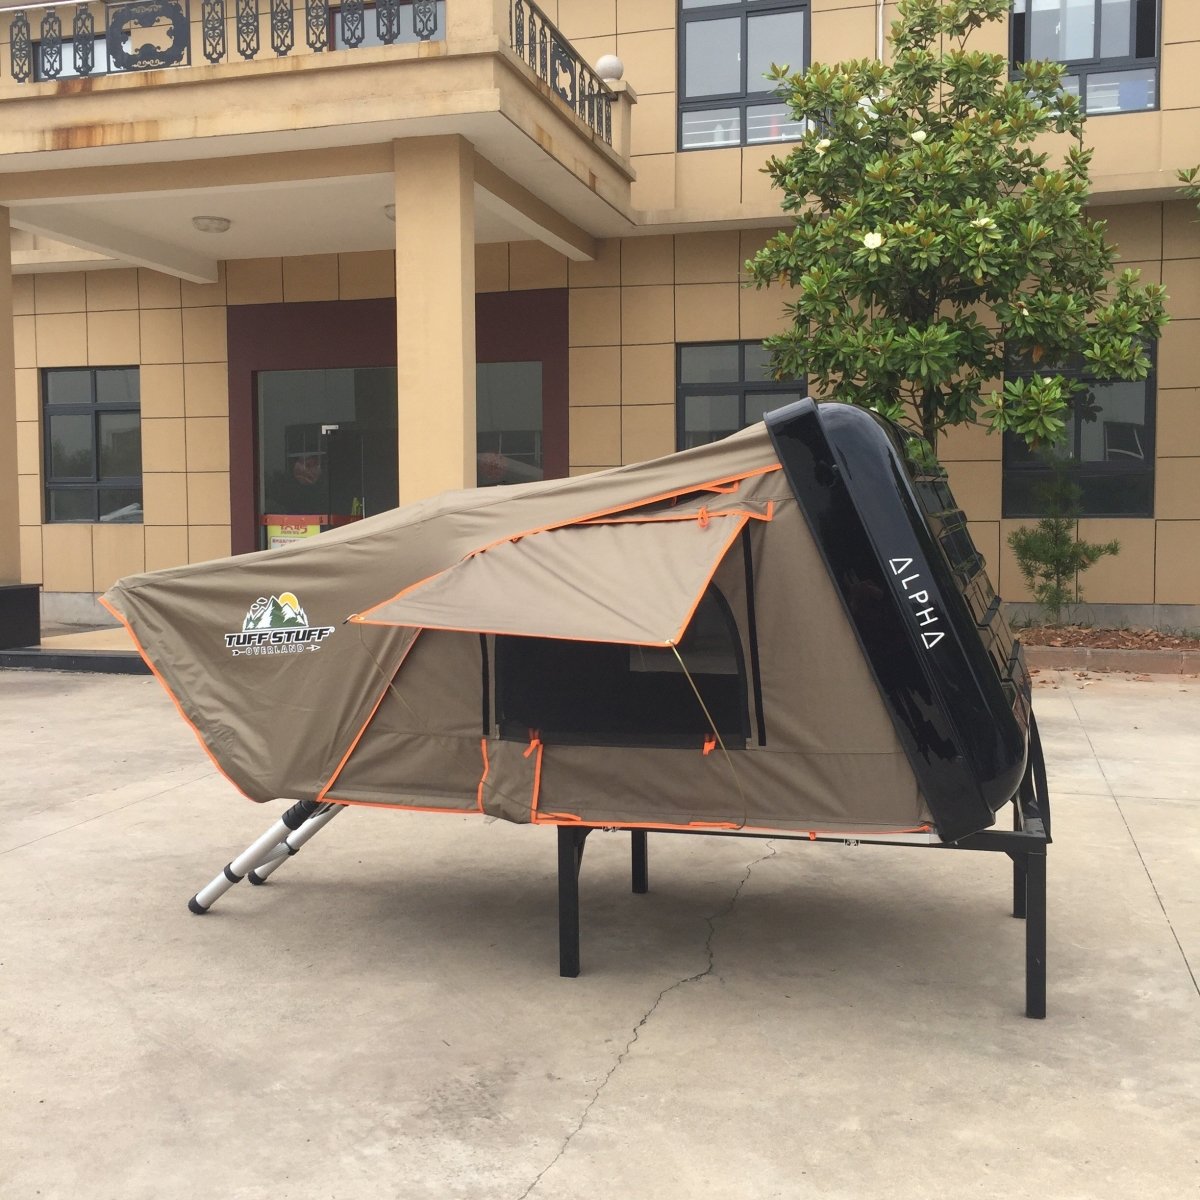
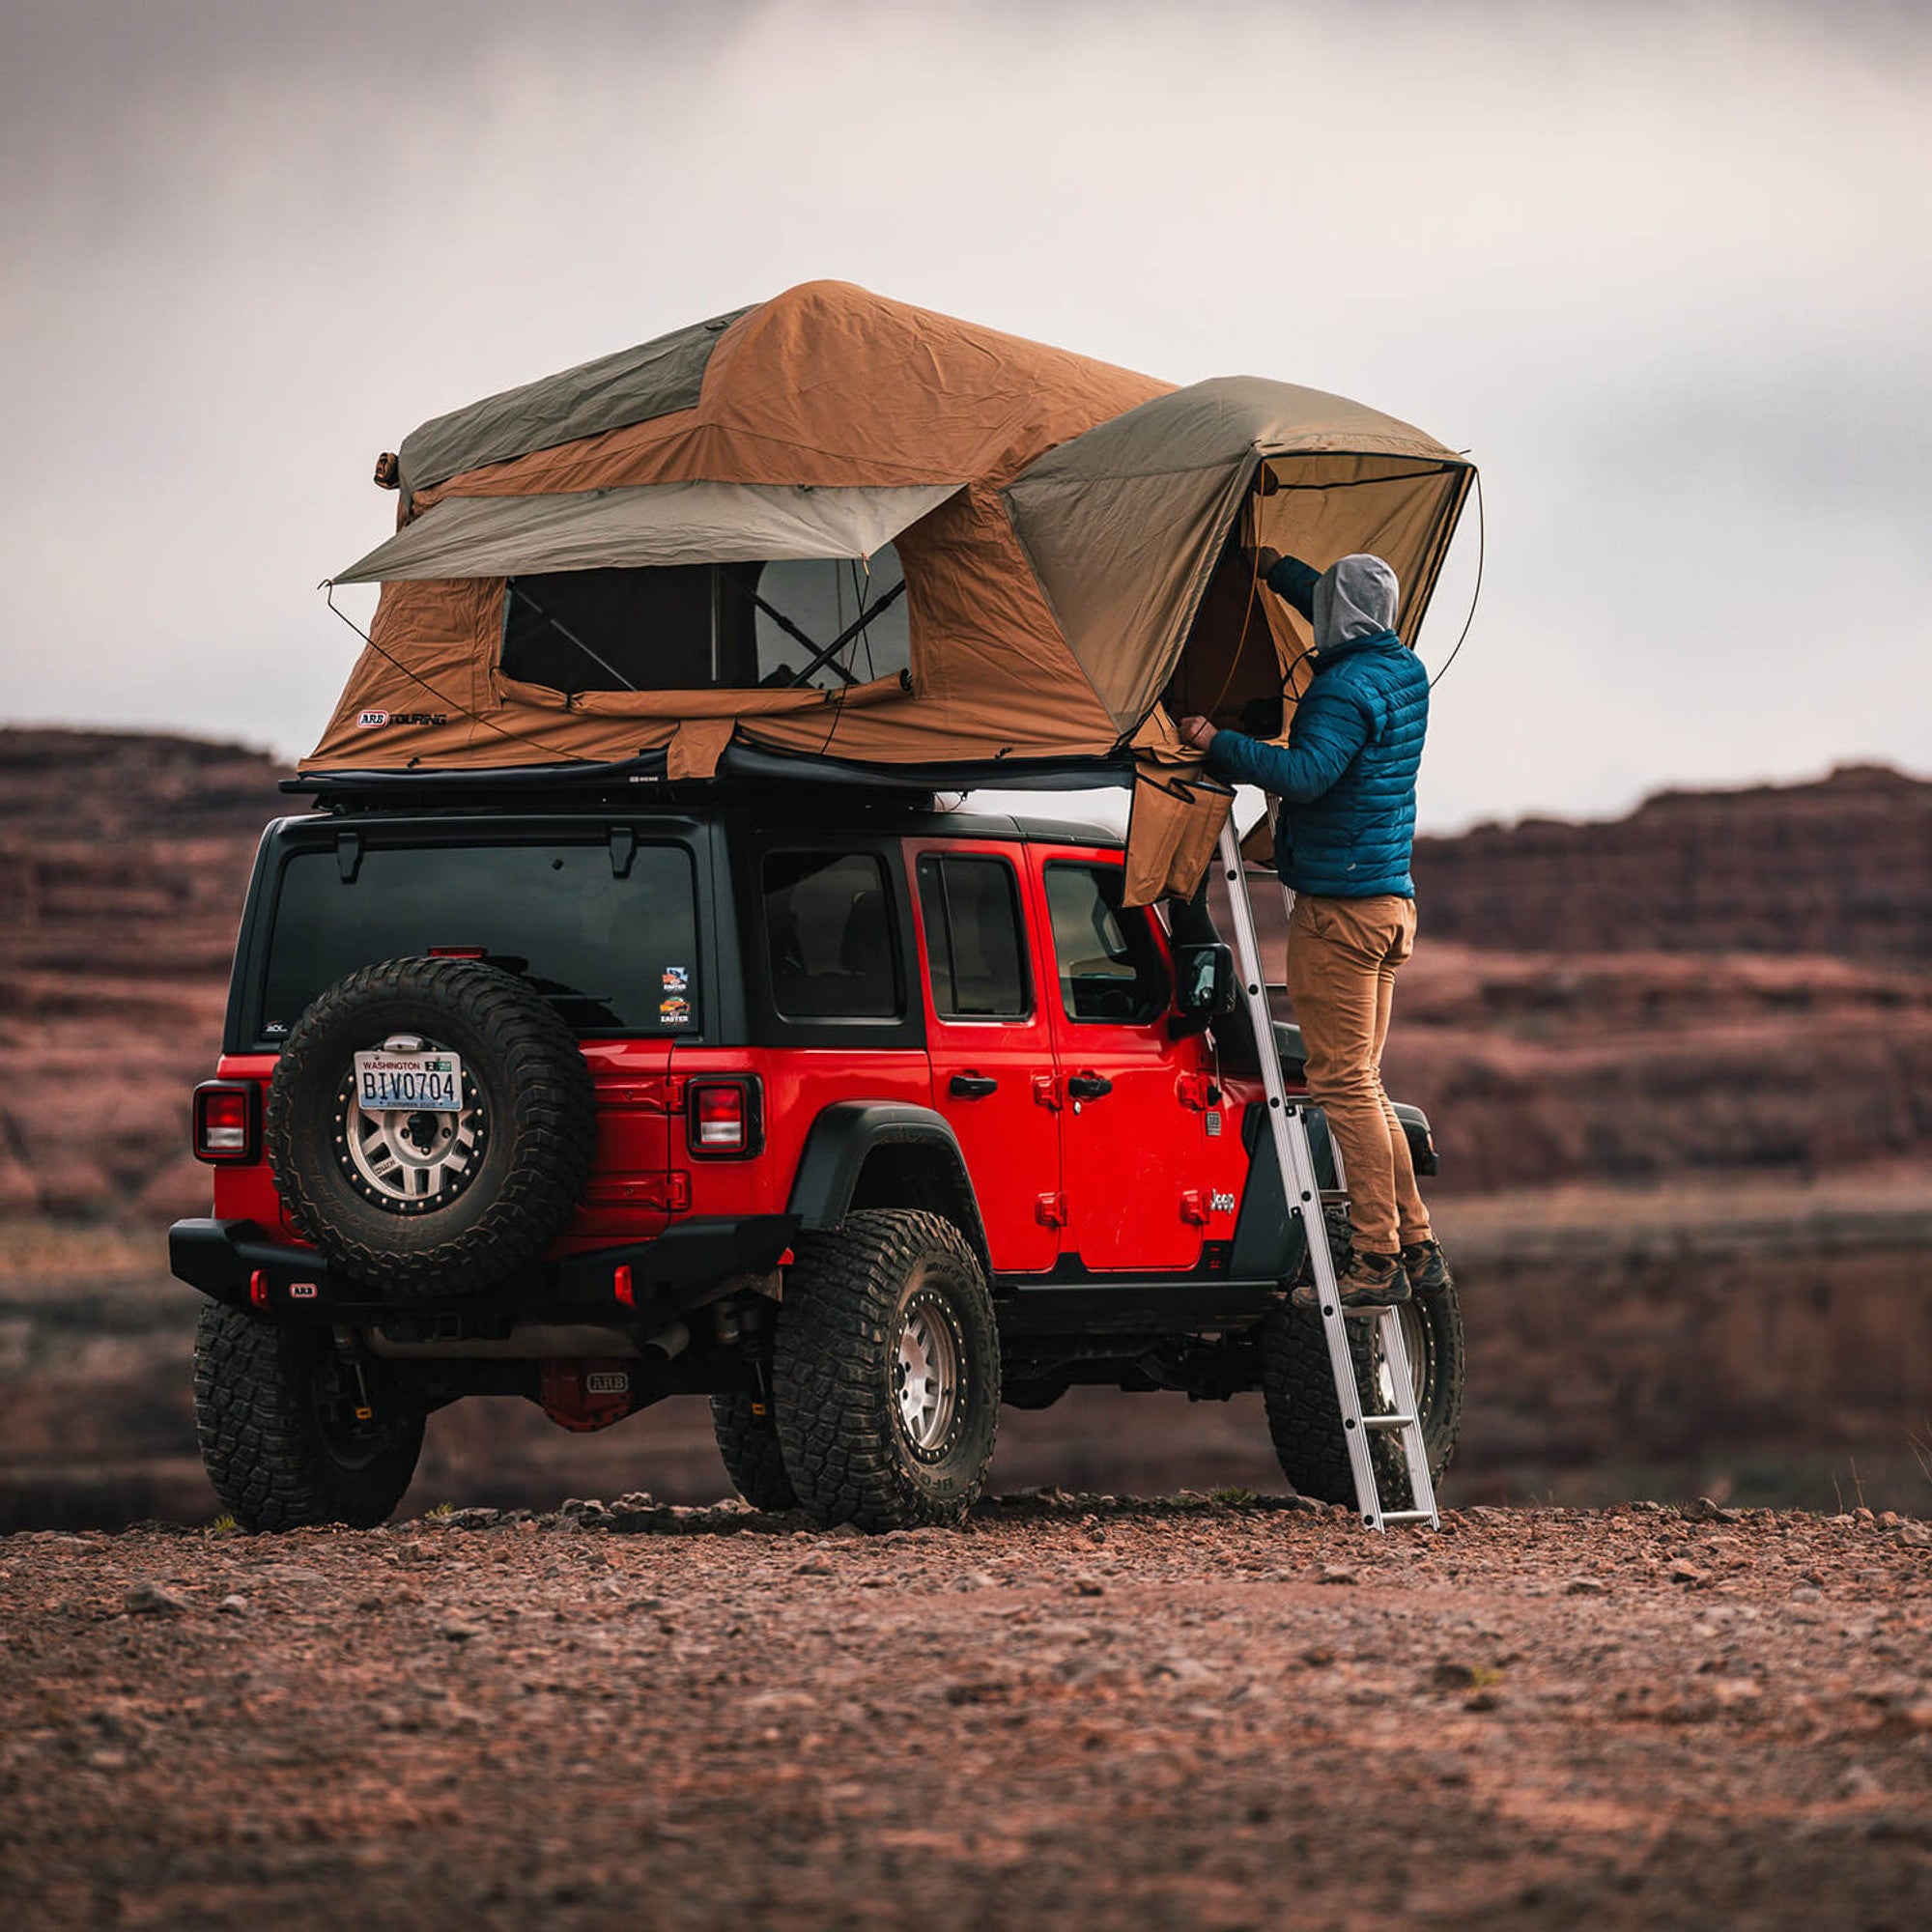
The Alpine 61 is a hardshell rooftop tent designed for 2-3 people, featuring a dual-action opening roof and a blackout coated fabric for a comfortable sleep. It has a robust aluminum shell and a heavy-duty aluminum honeycomb floor, making it perfect for 4-season camping. With its sleek design and multiple entry points, this tent is ideal for outdoor enthusiasts. The tent also comes with a telescoping ladder and window awnings, adding to its functionality and comfort.
Tread Magazine Review
Includes
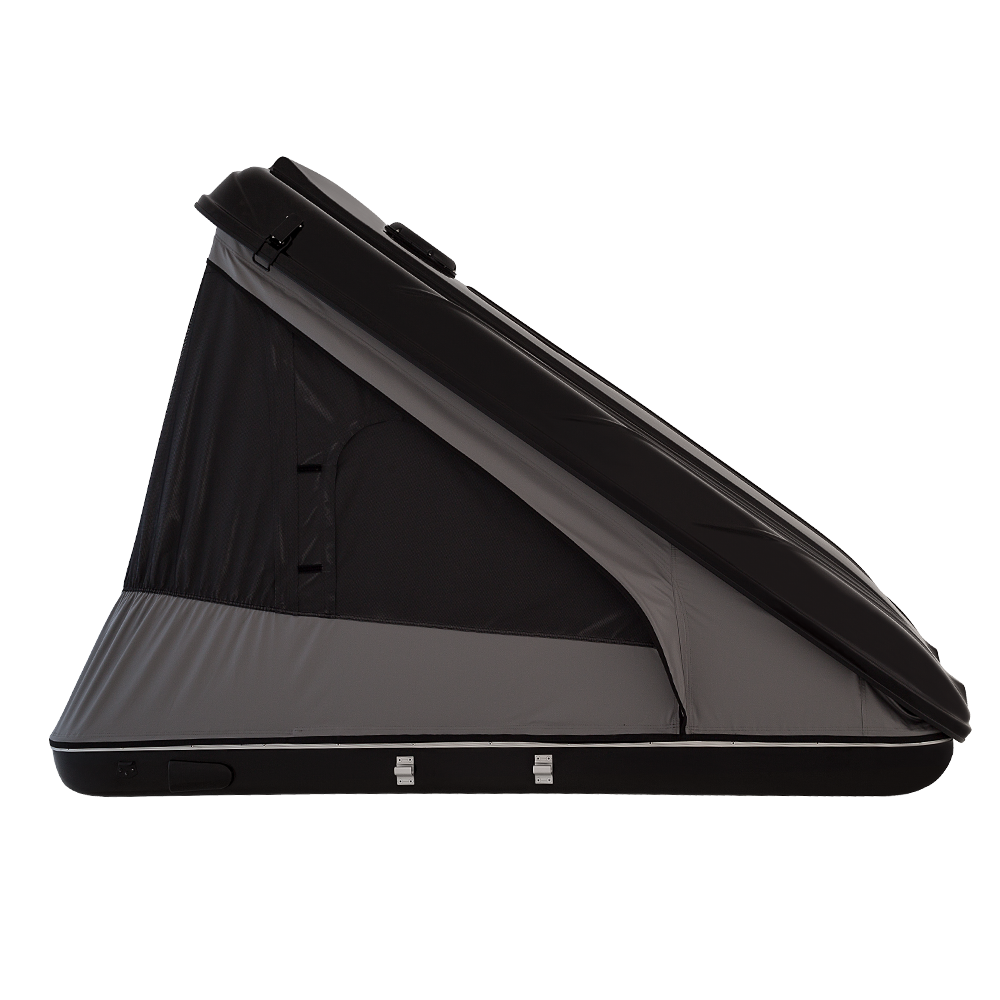
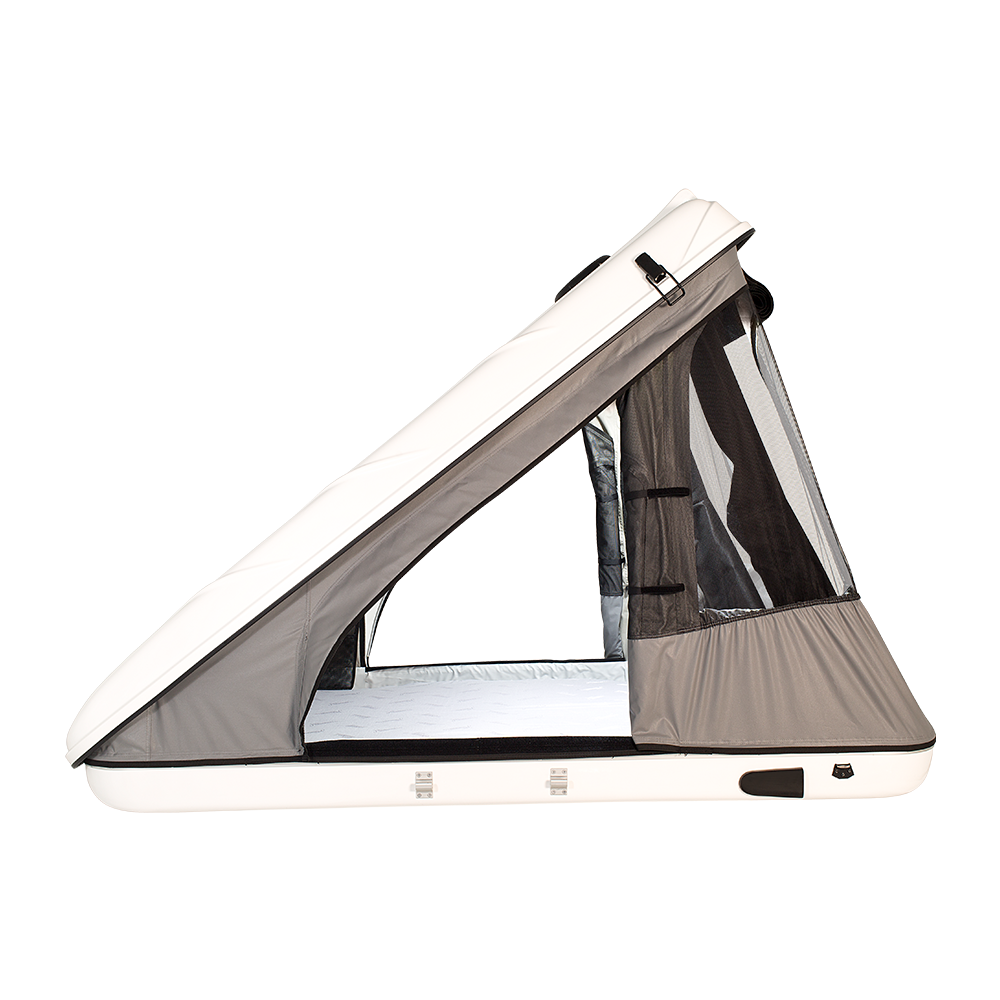
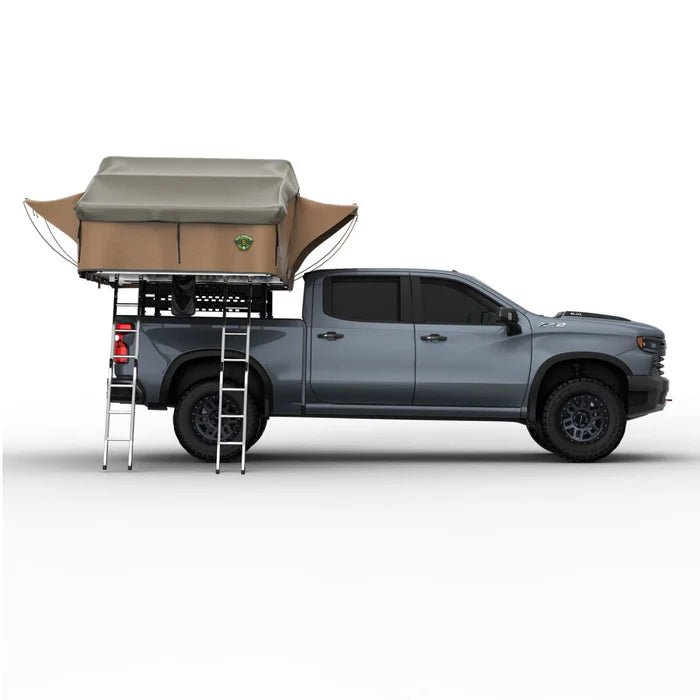
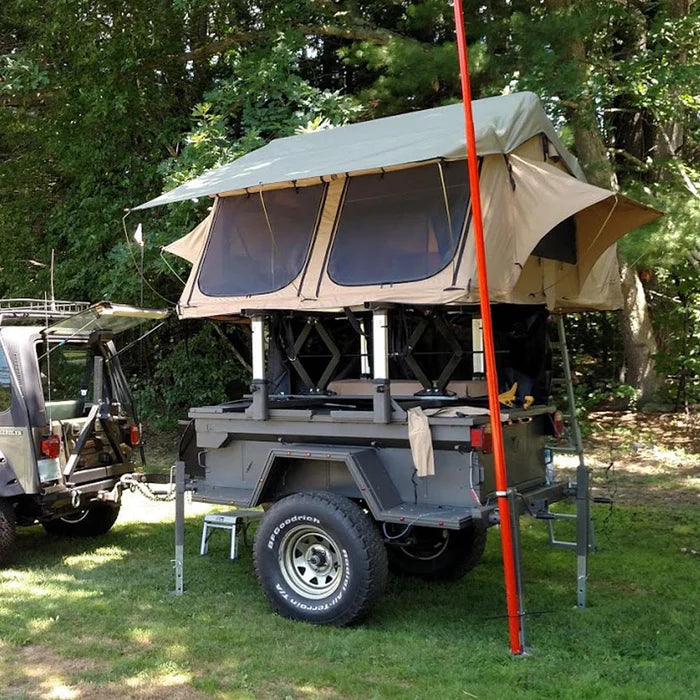
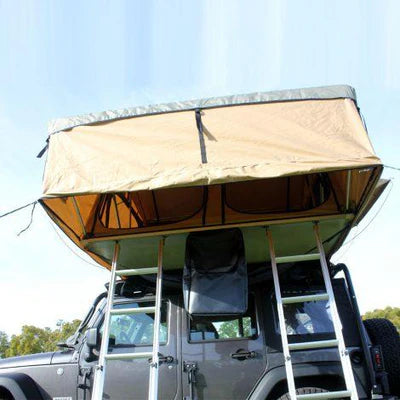
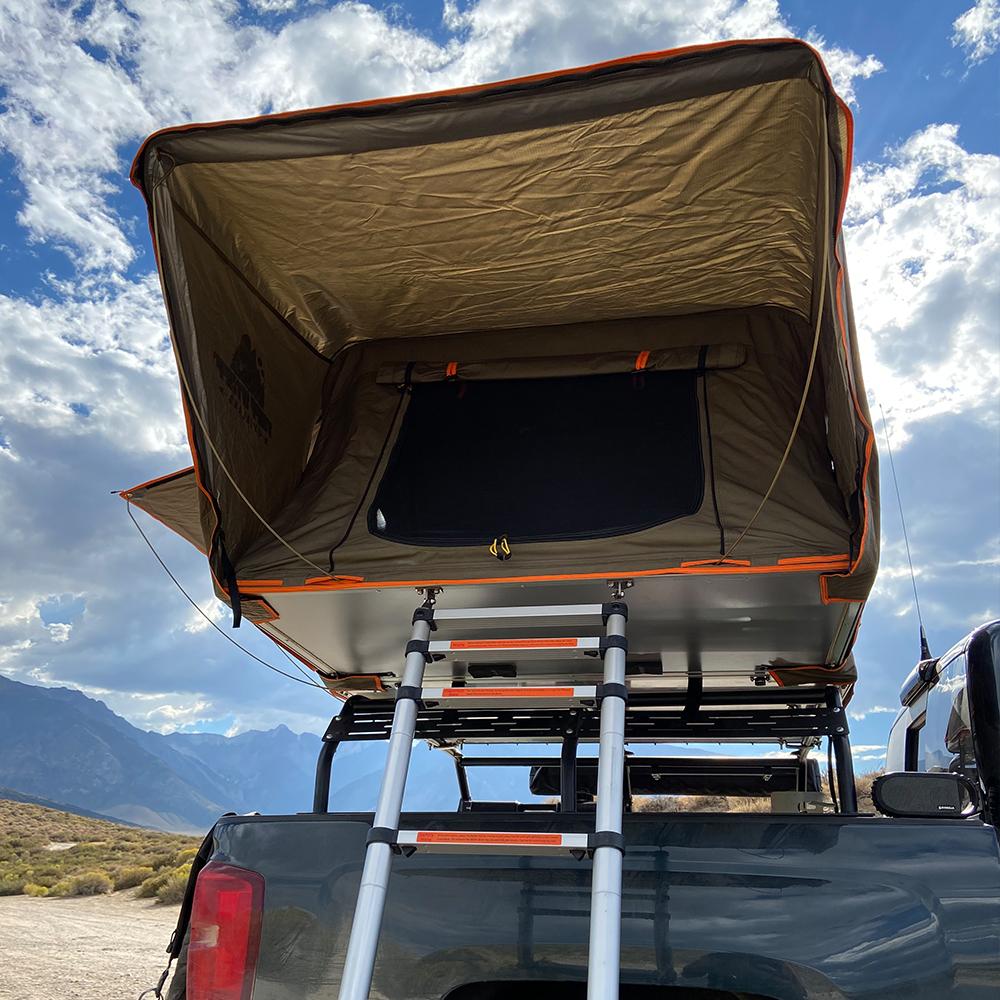
- 4 Gas struts allow for dual action opening roof (wedge or pop-up option)
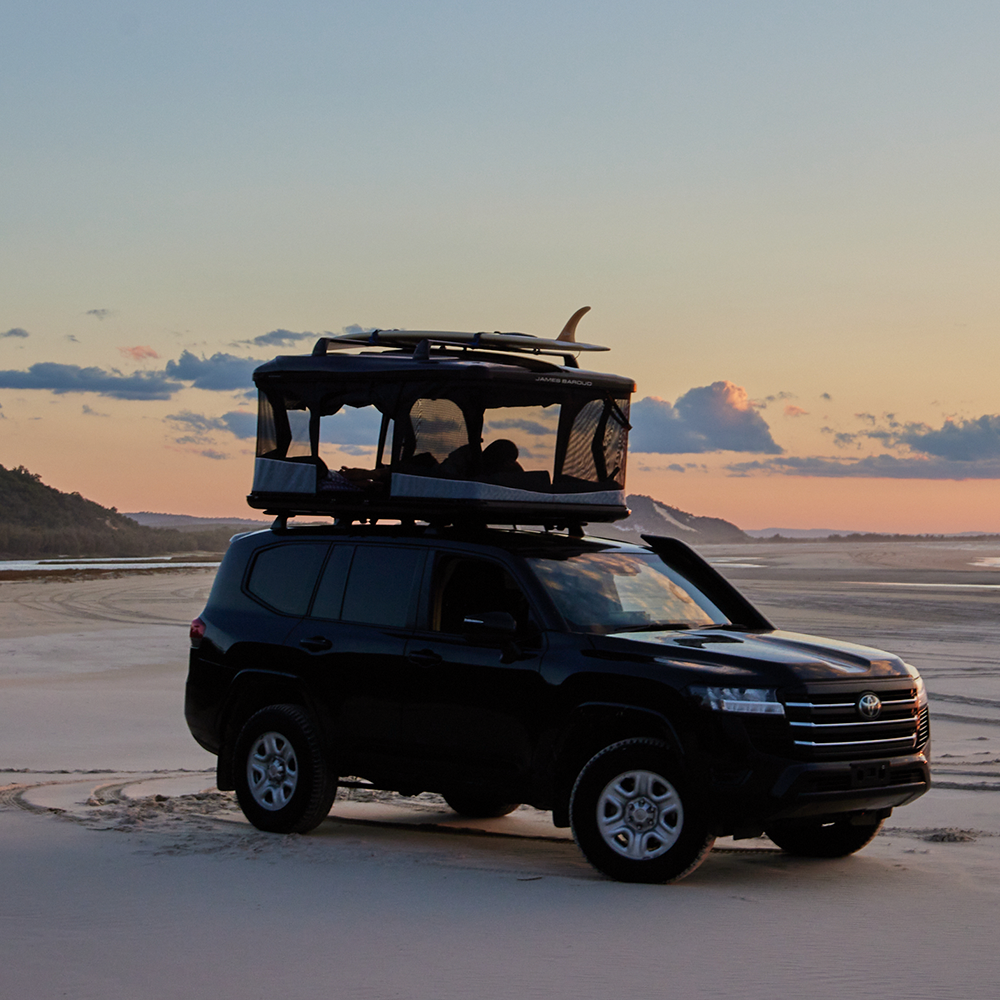
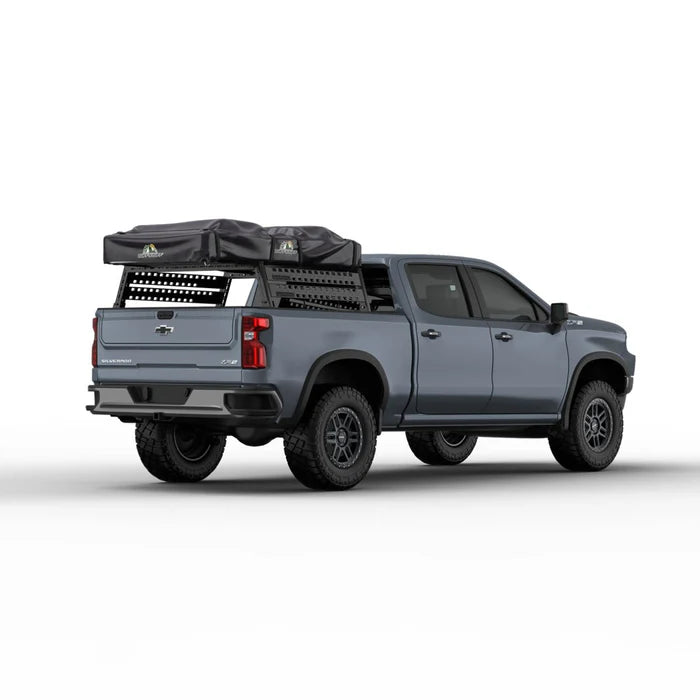
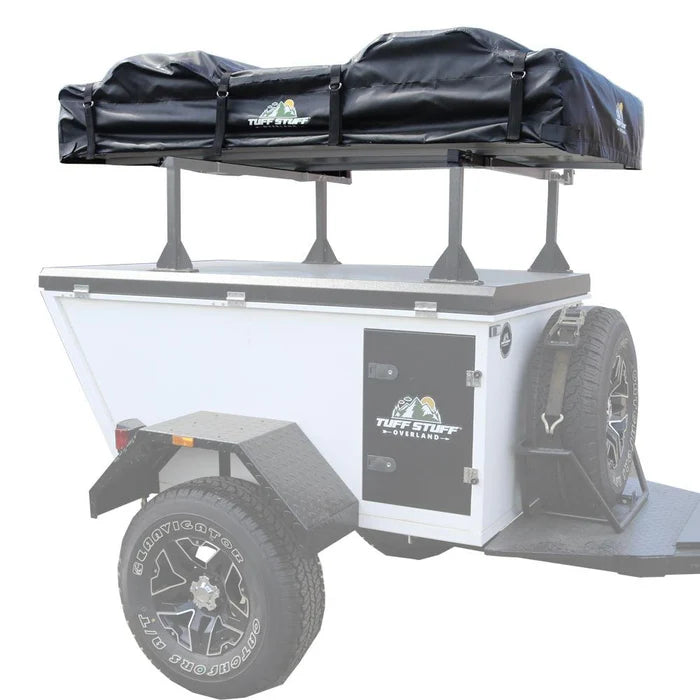
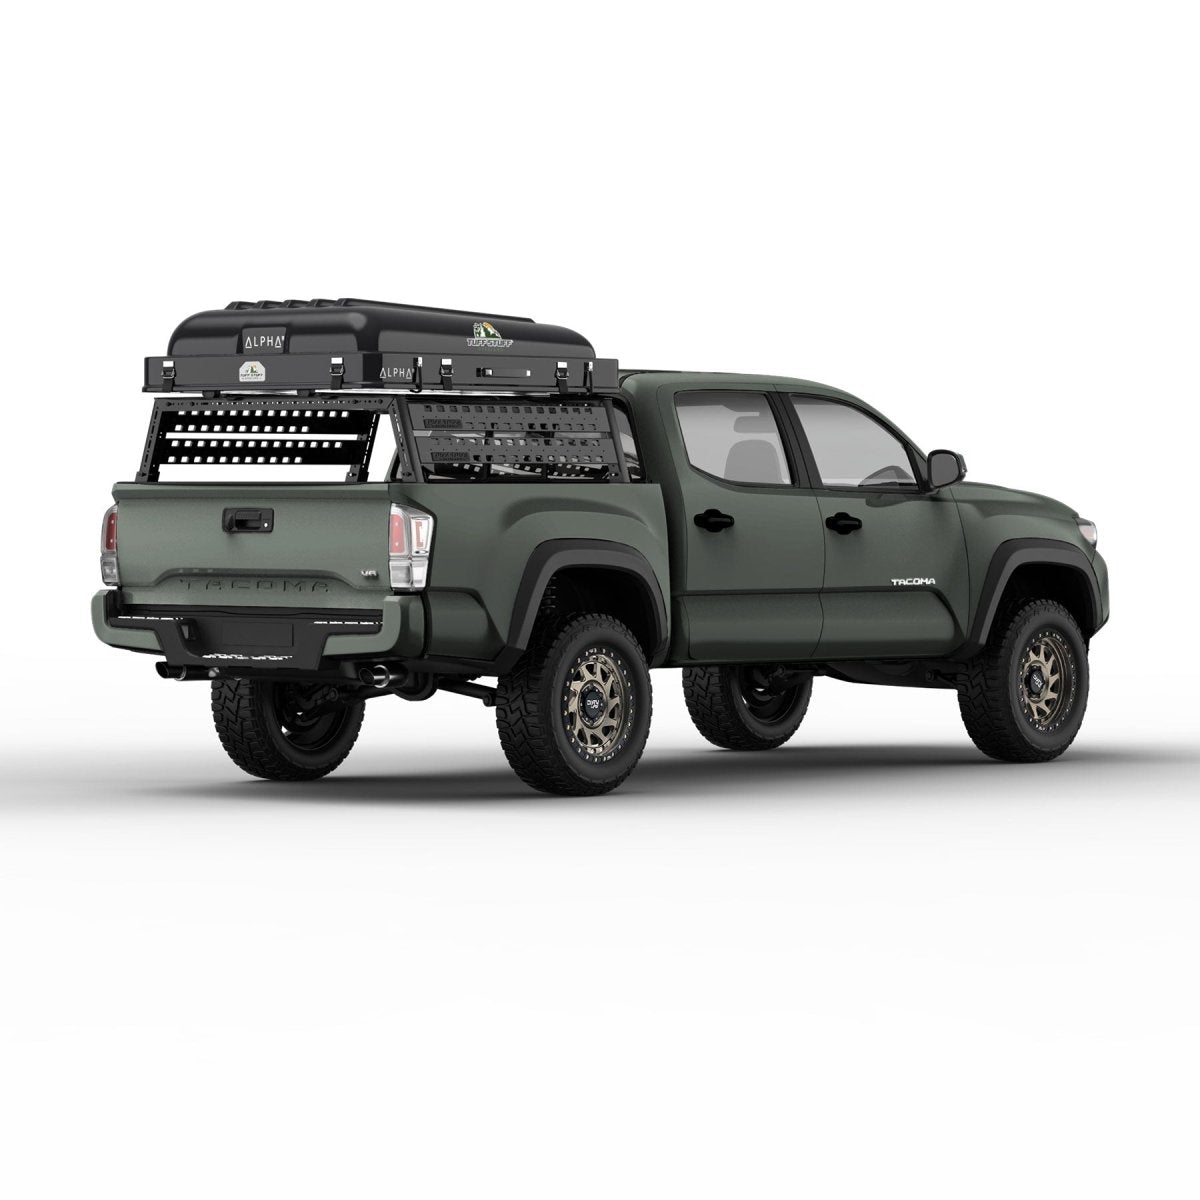
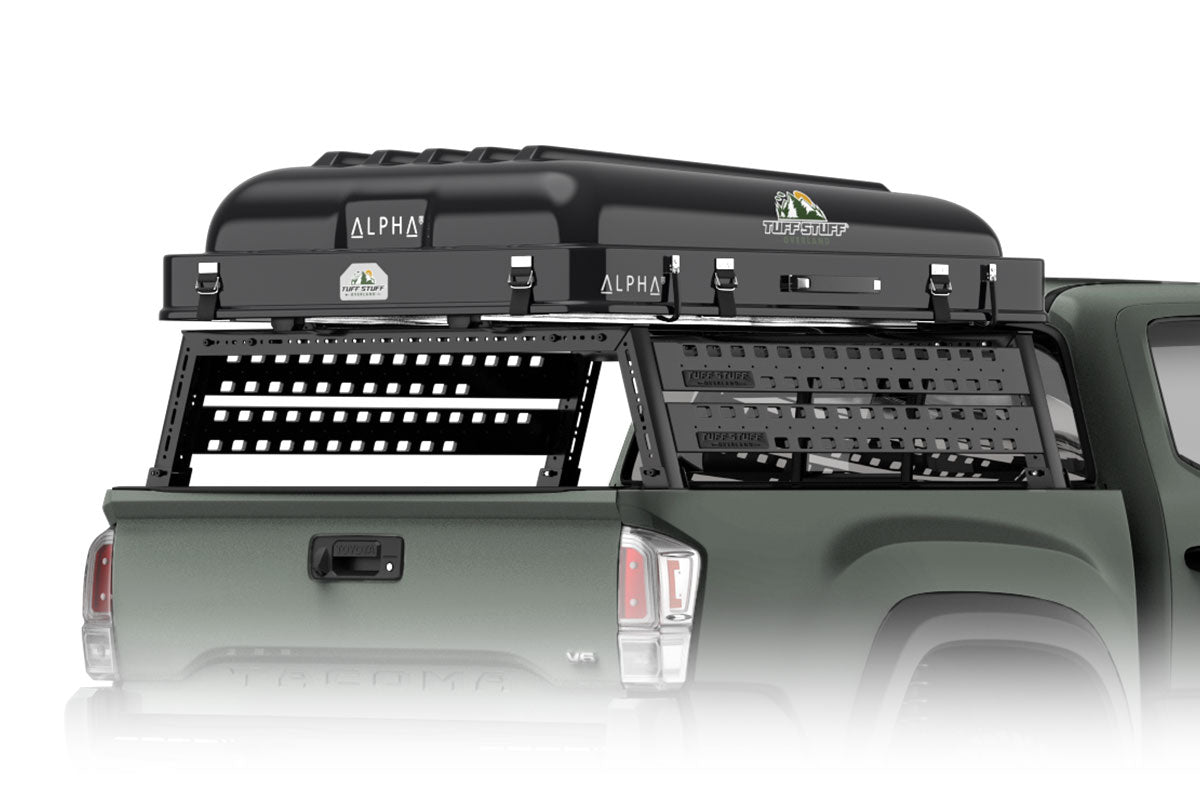
- Roofd rack on top of tent (great for kayaks, bikes, and gear)
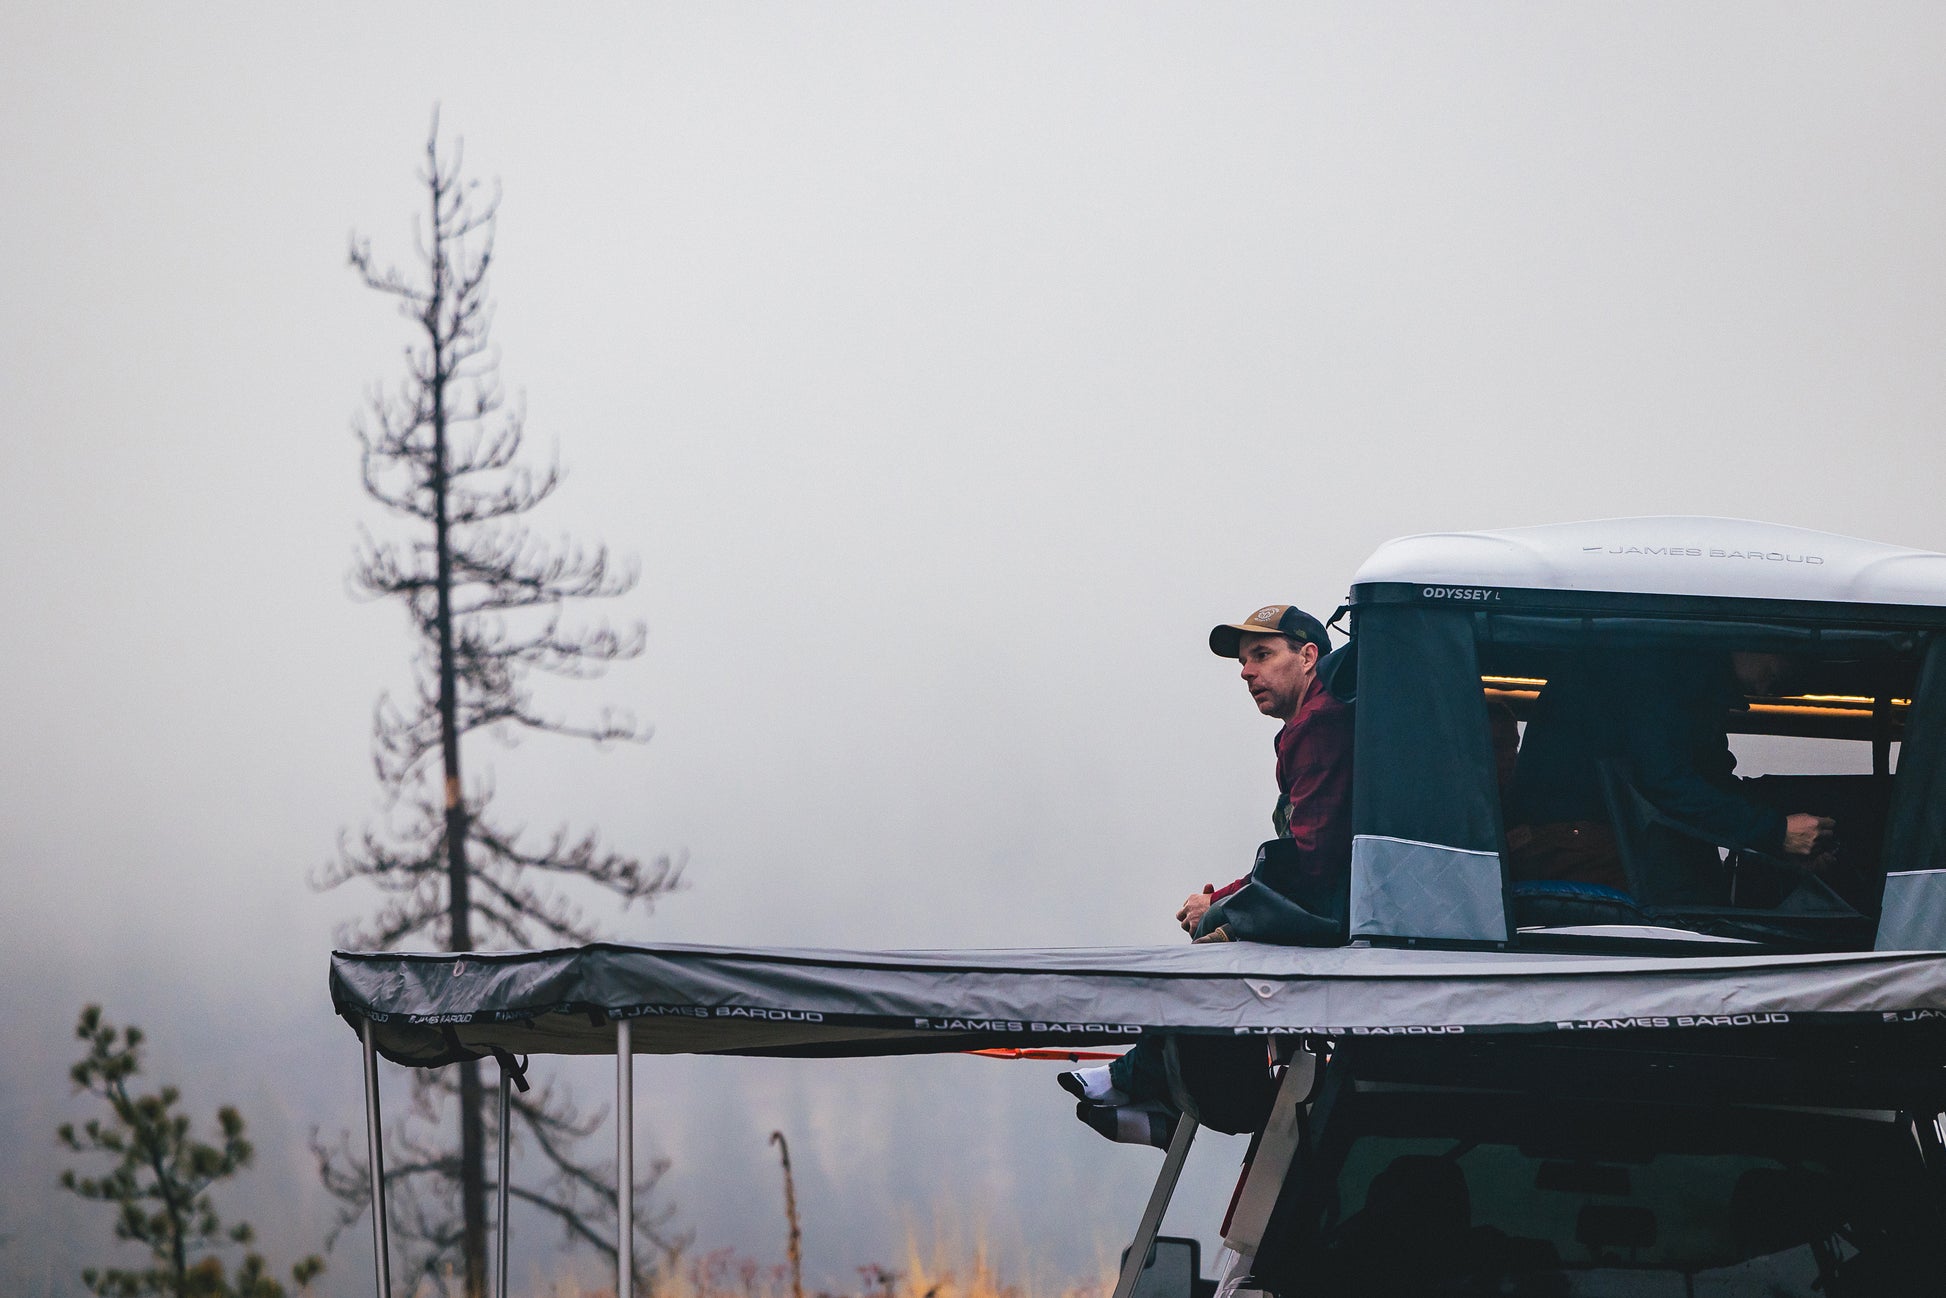
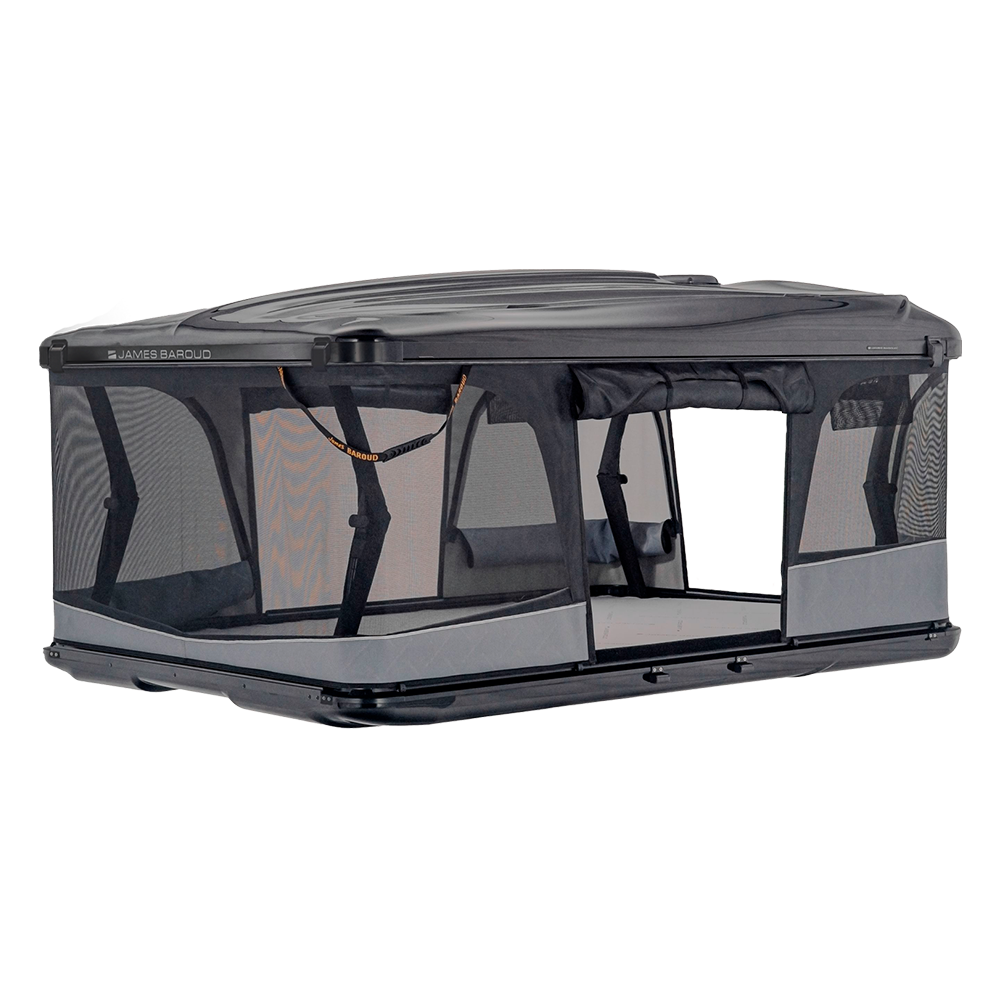
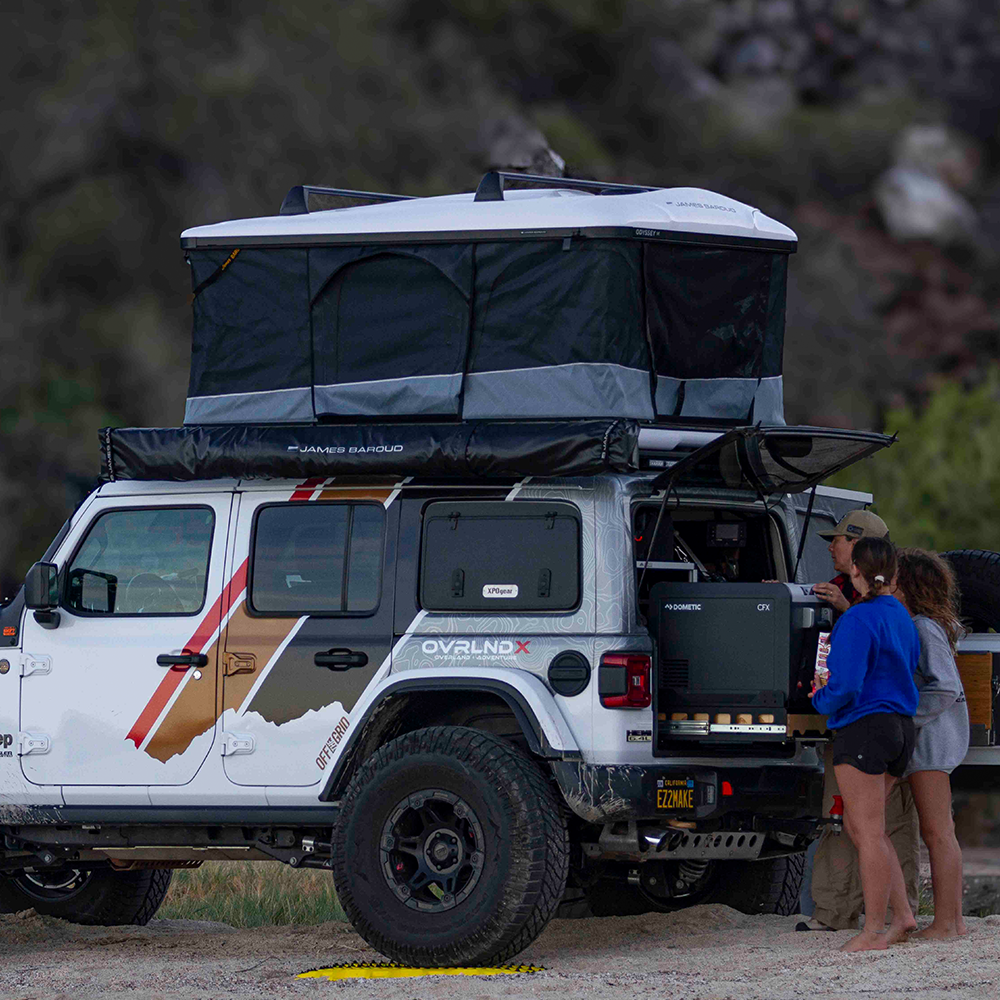
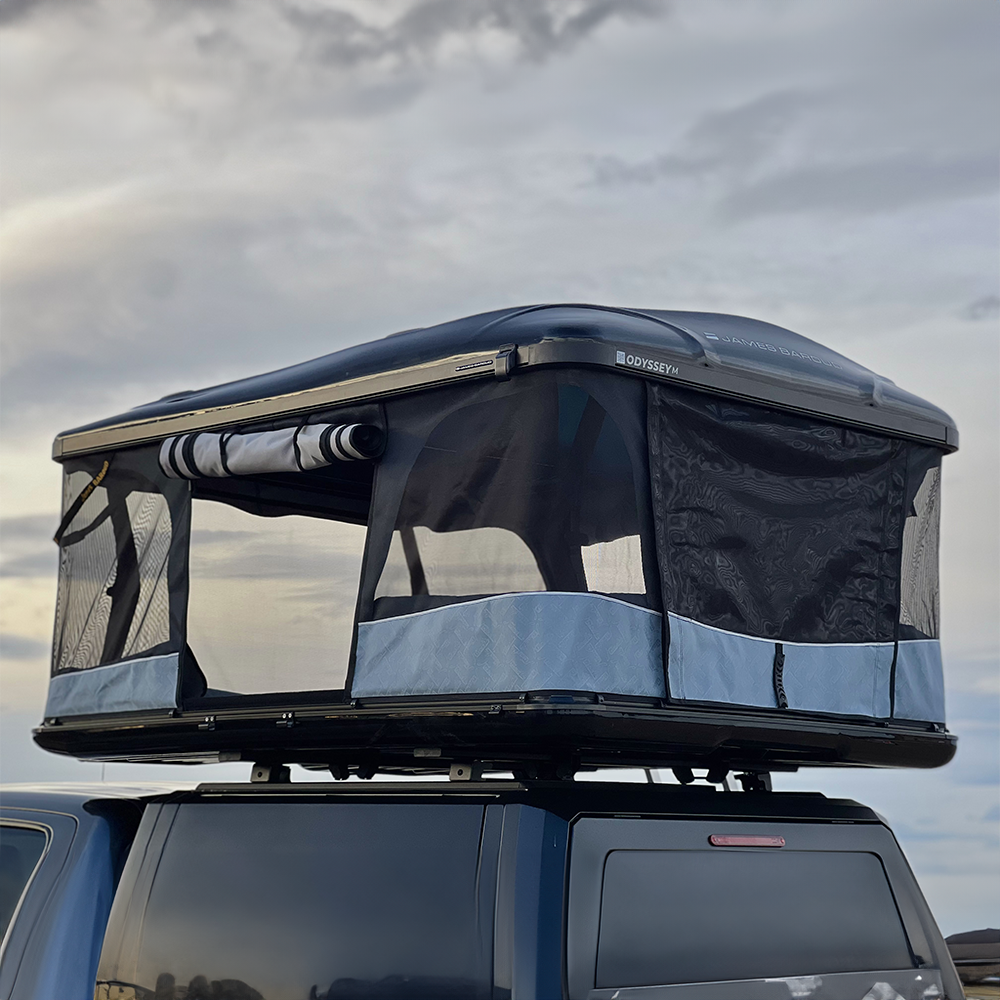
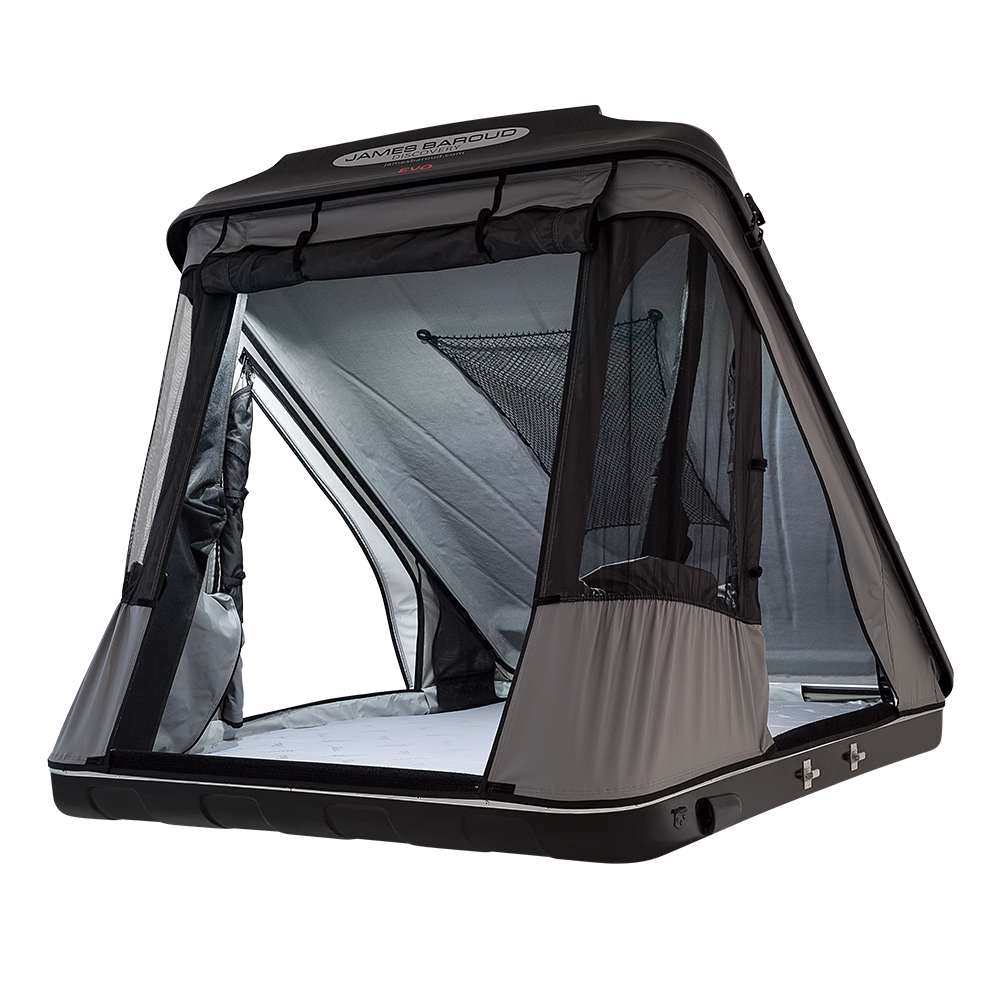
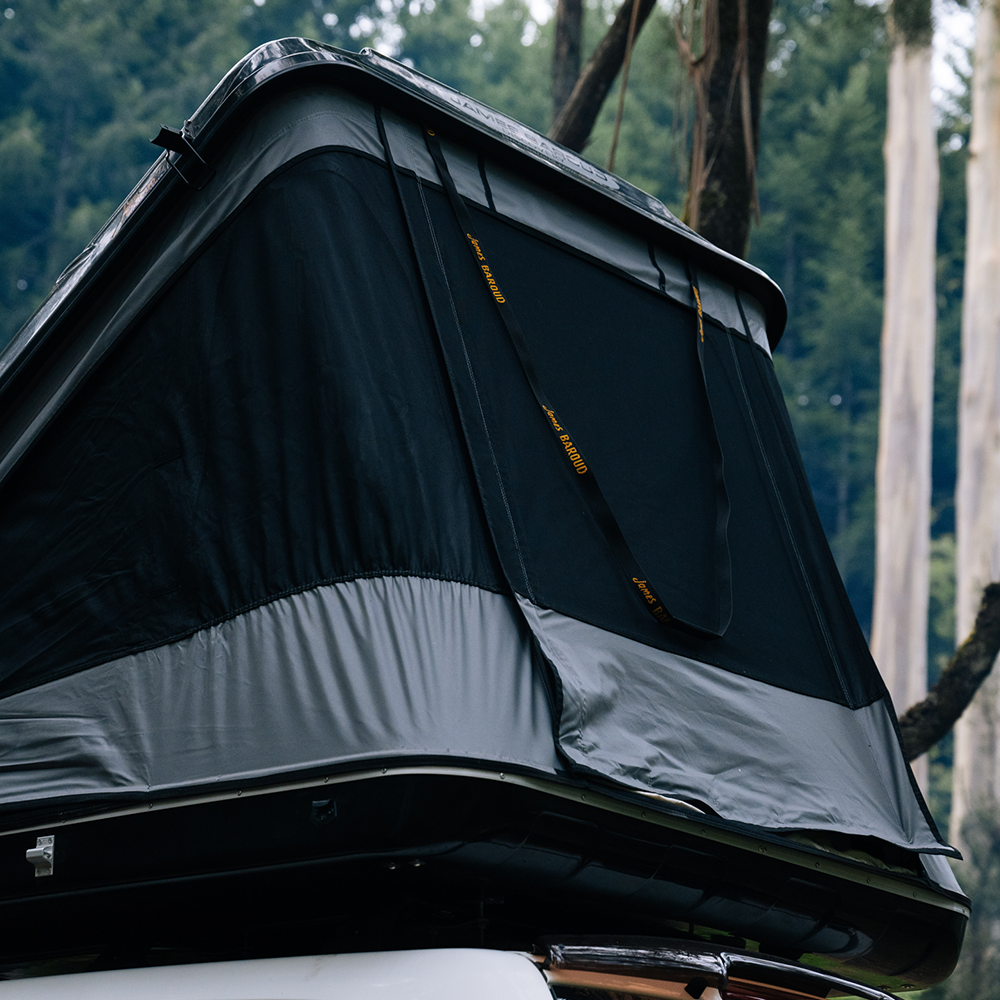
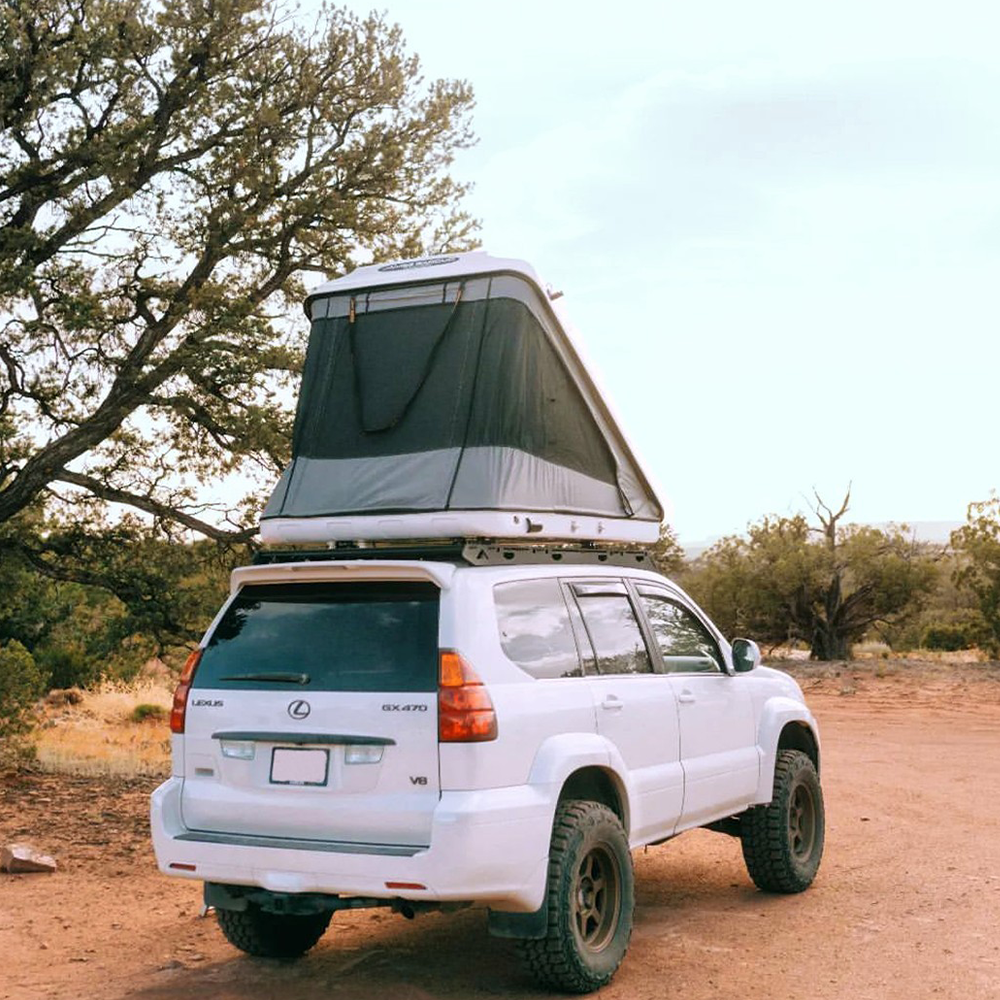
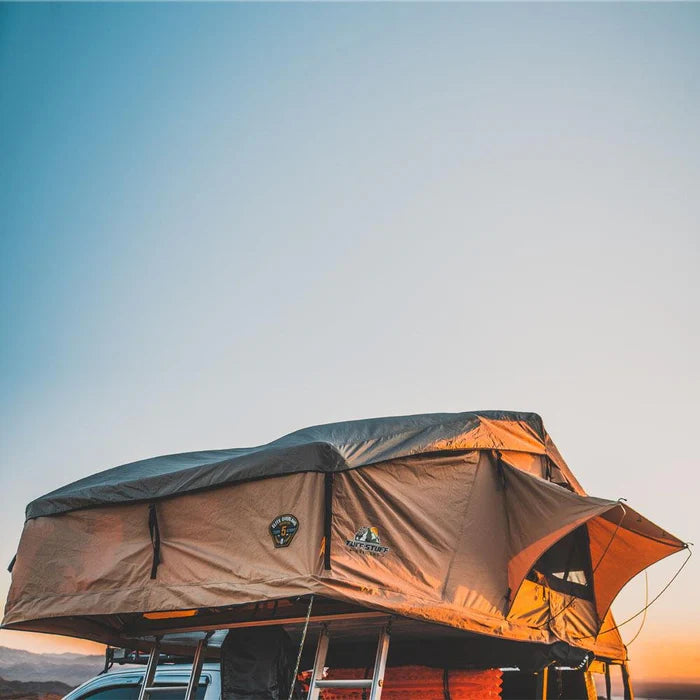
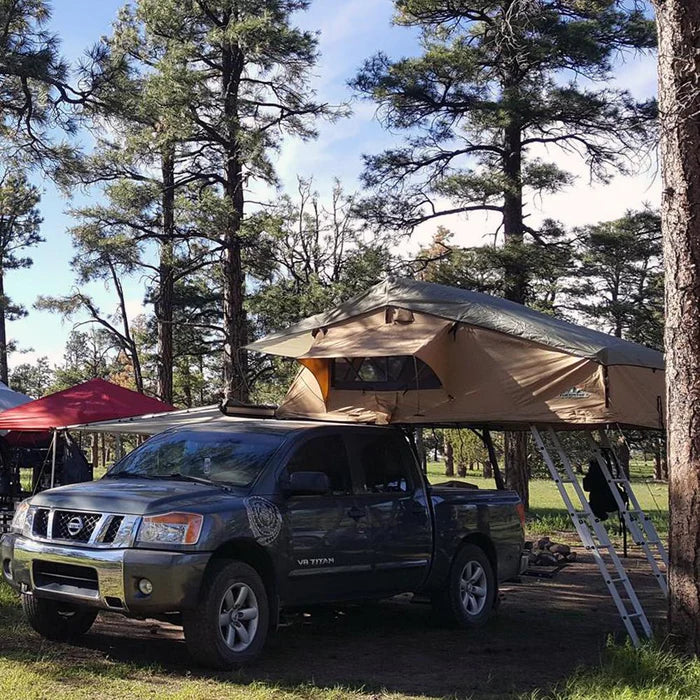
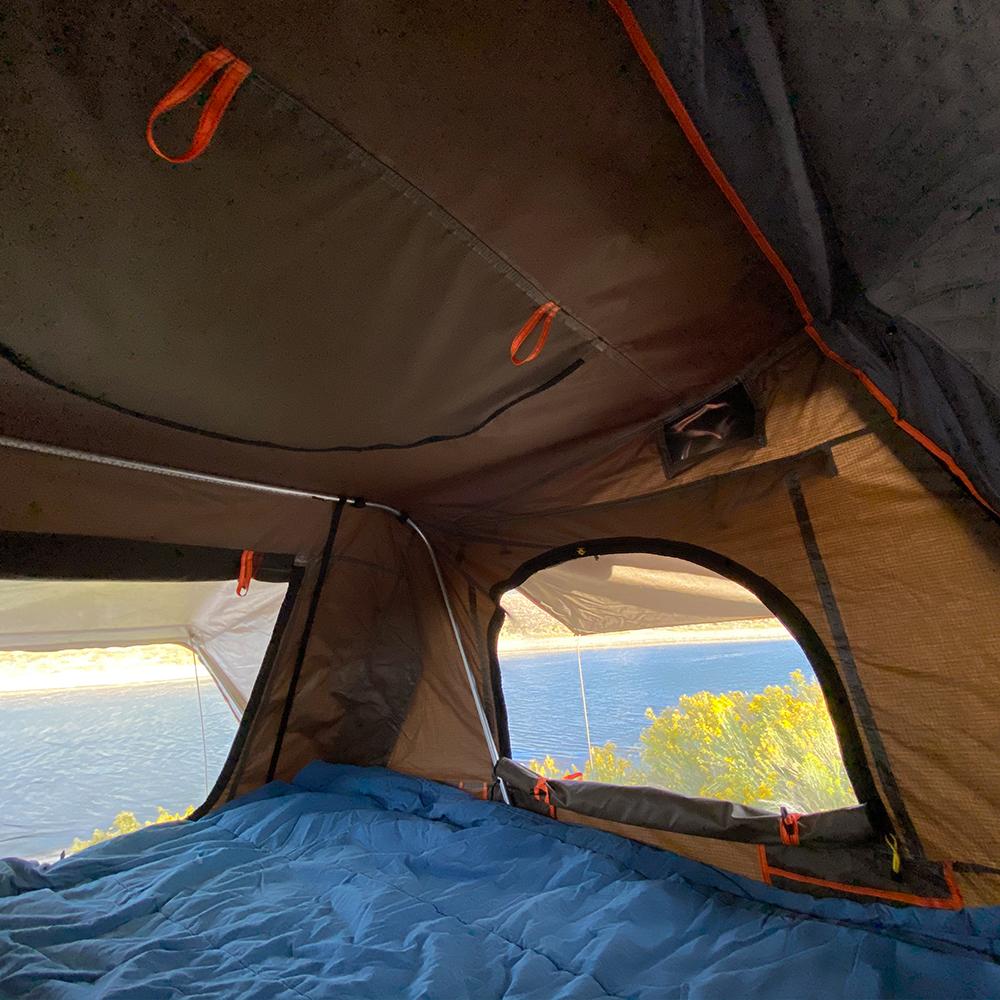
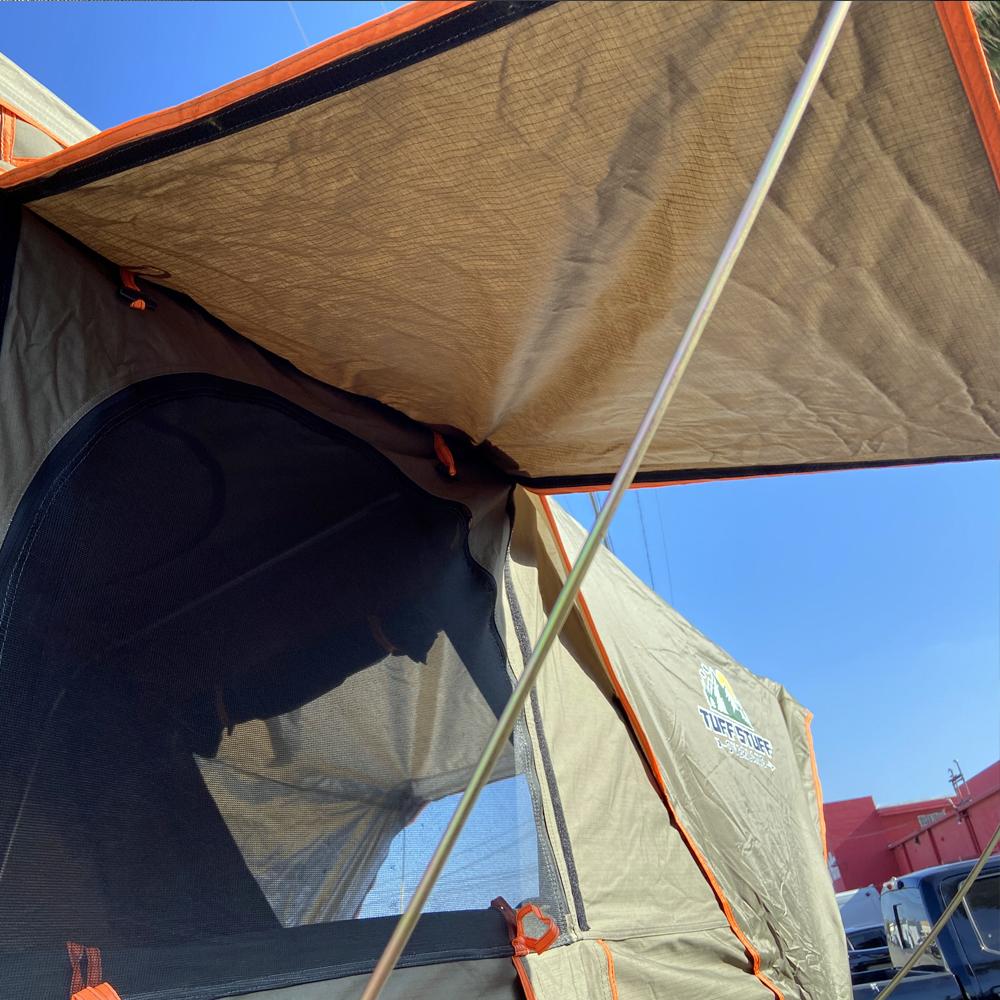
- Blackout coated fabric (full-screen room with 360-degree visibility to full dark room)
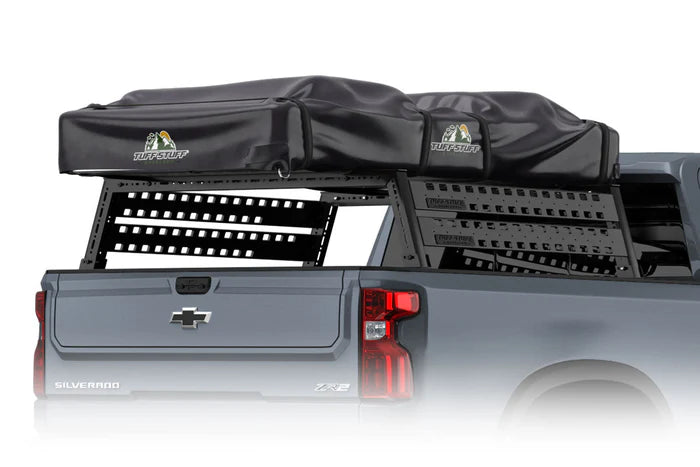
- T-Slot using standard M8 hardware surrounding exterior of tent, 4 T-Slot rails in total (mount awnings, shower tents, water supplies, etc. directly to tent)
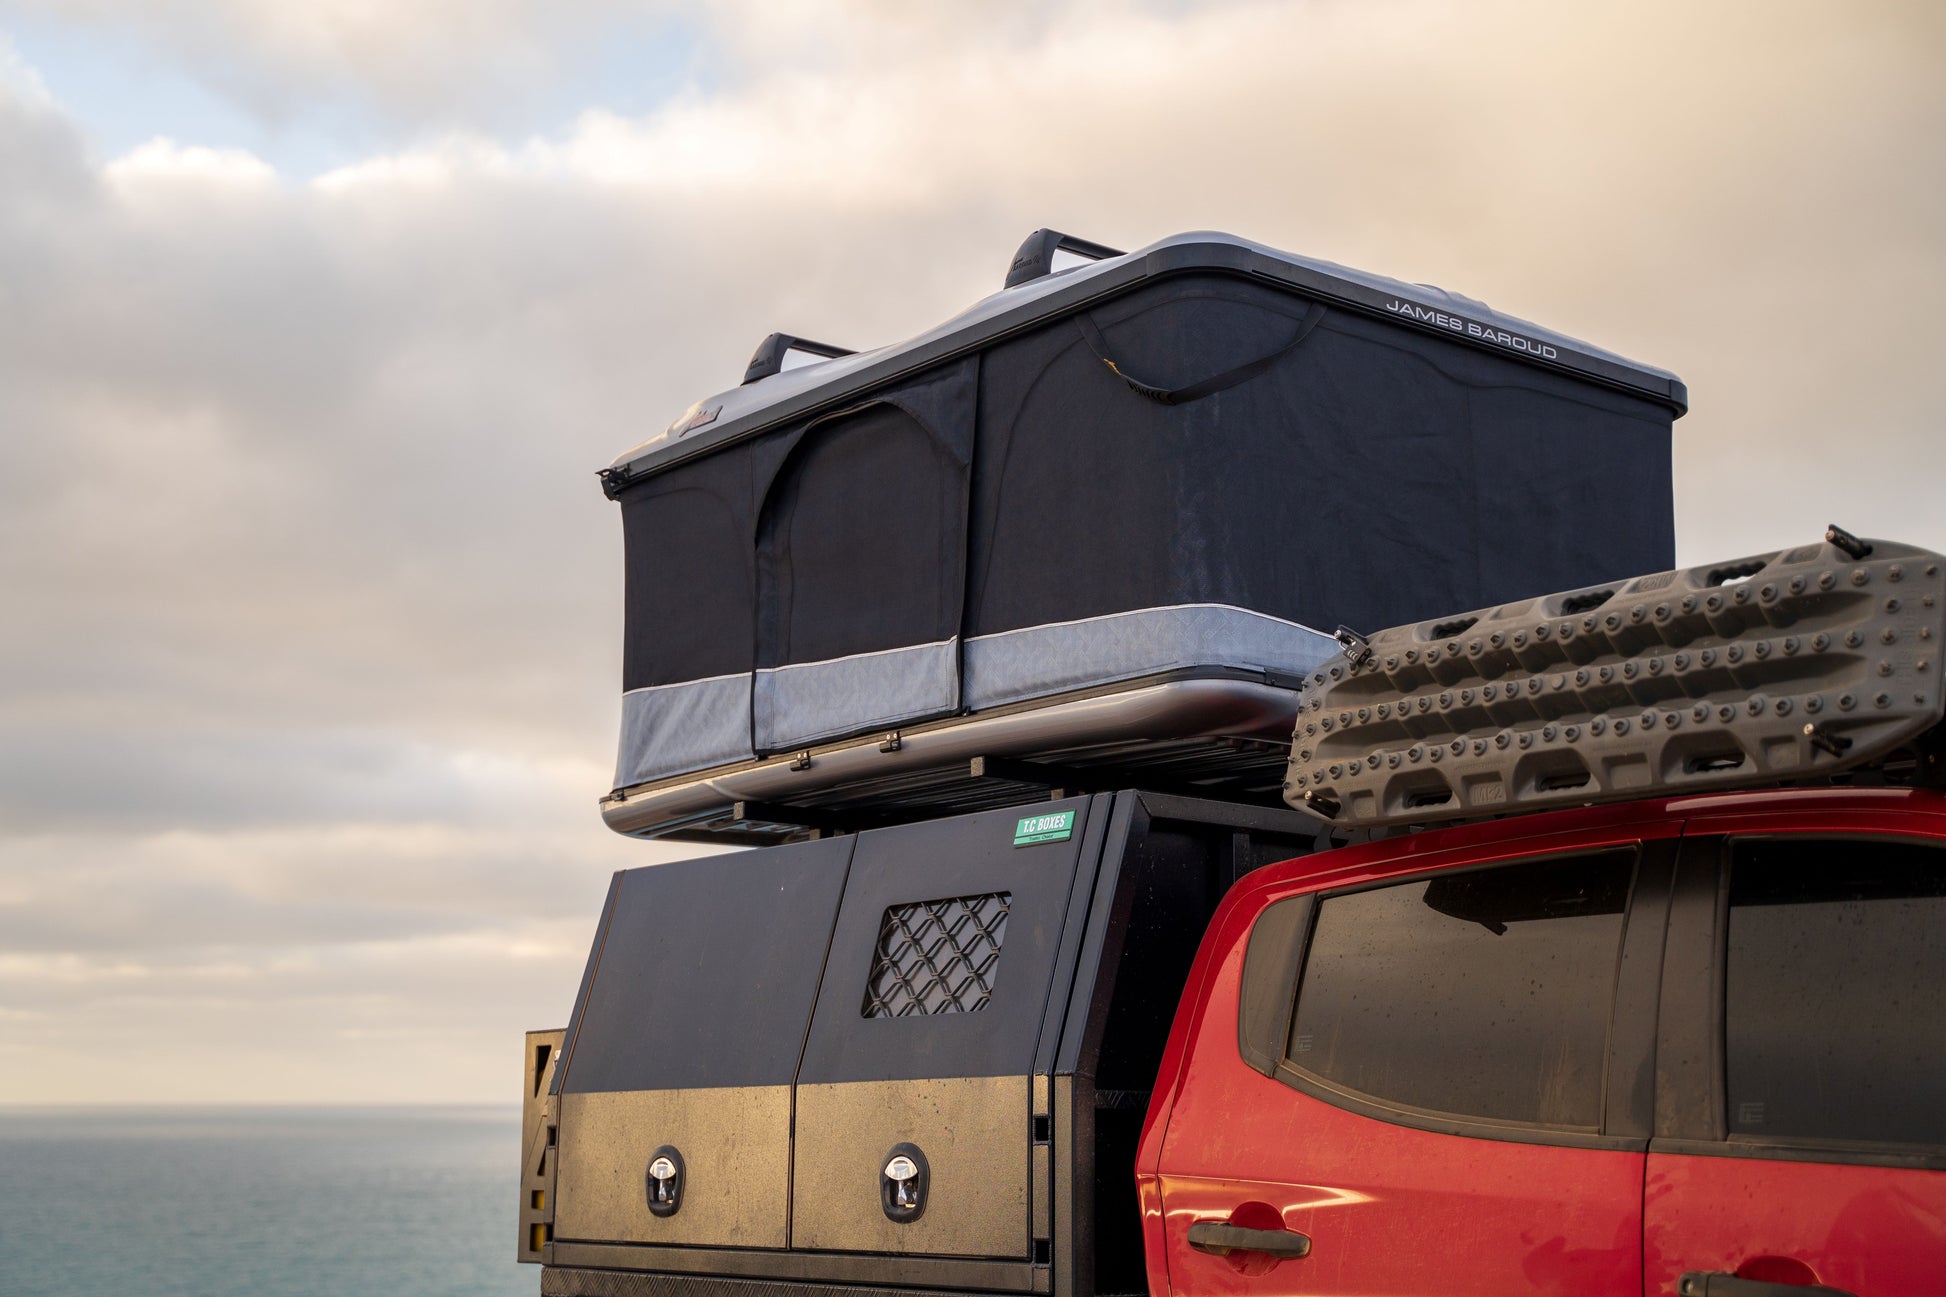
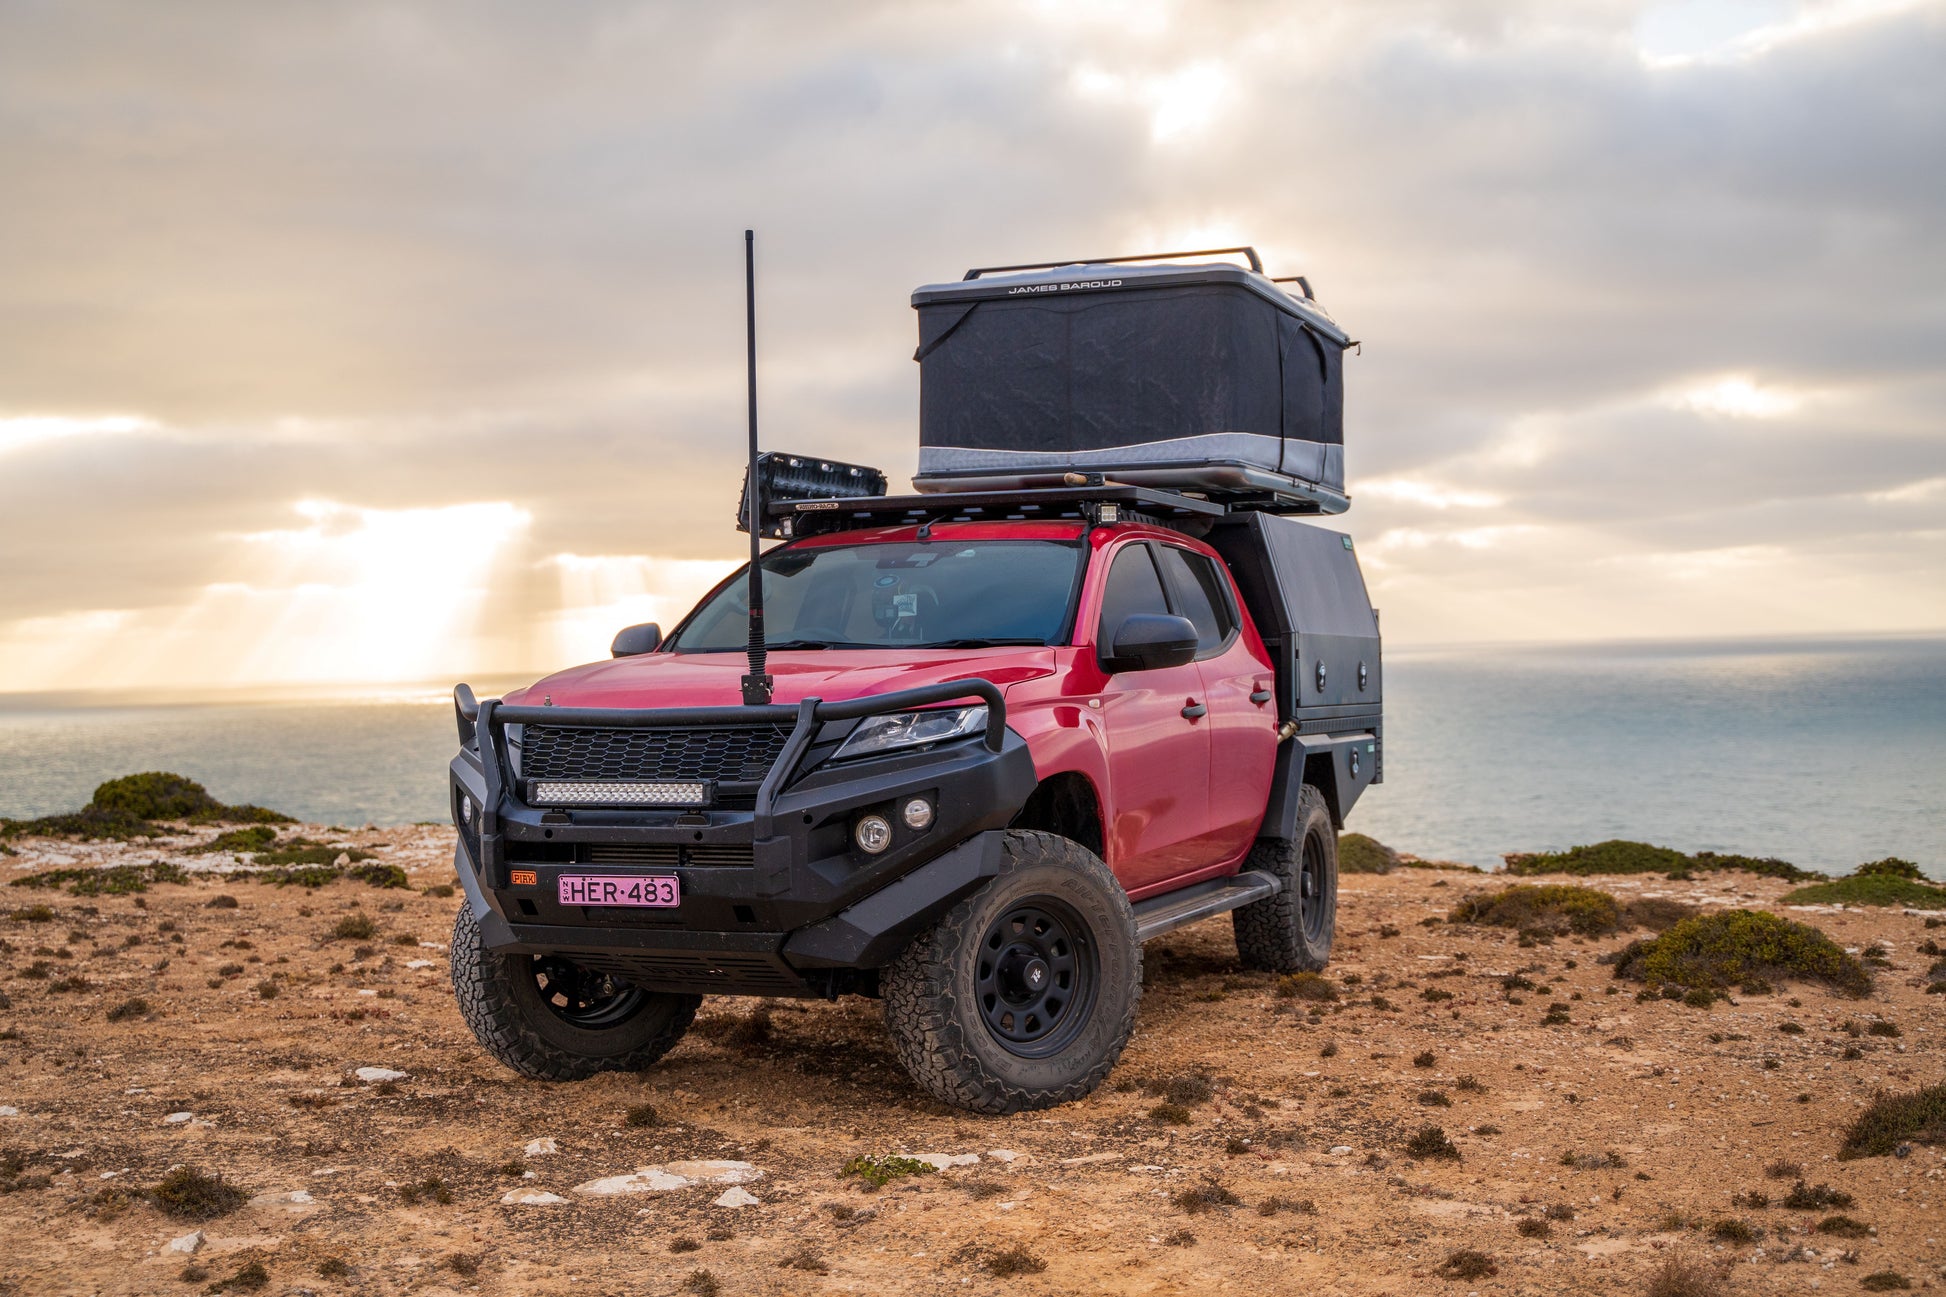
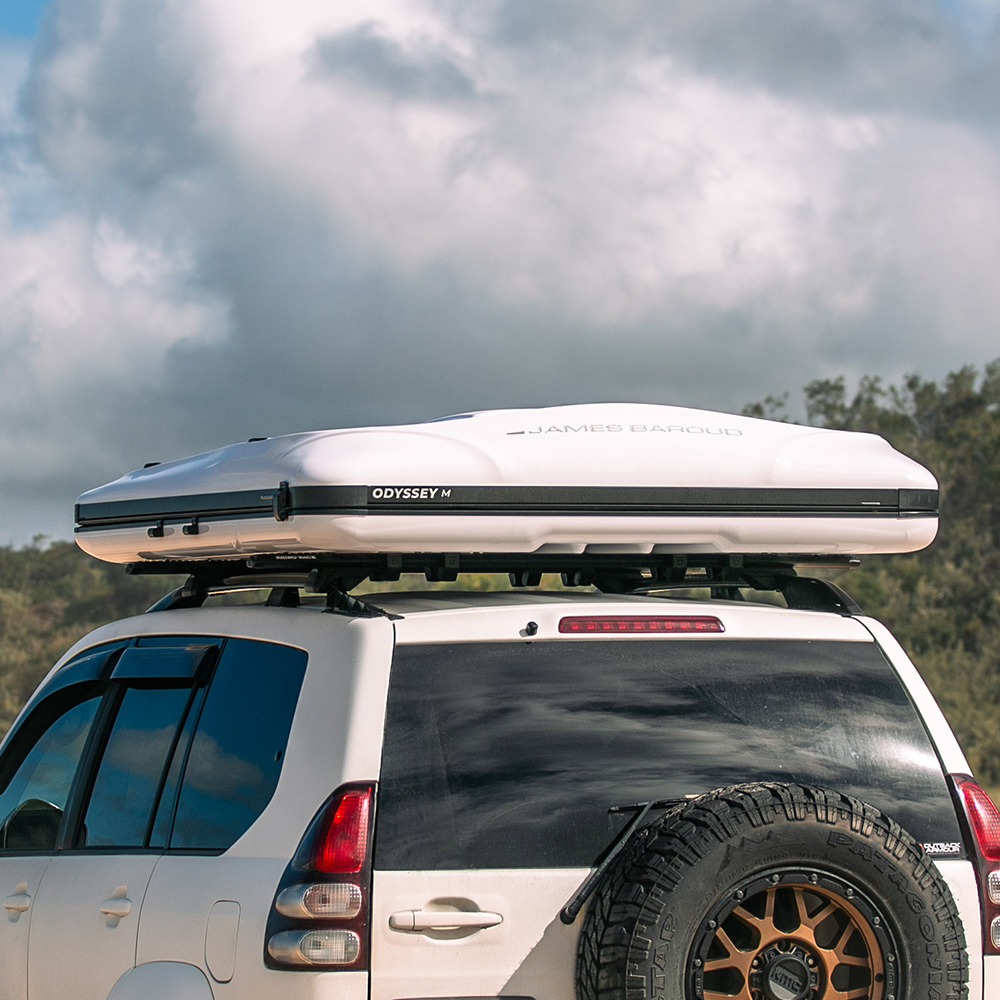
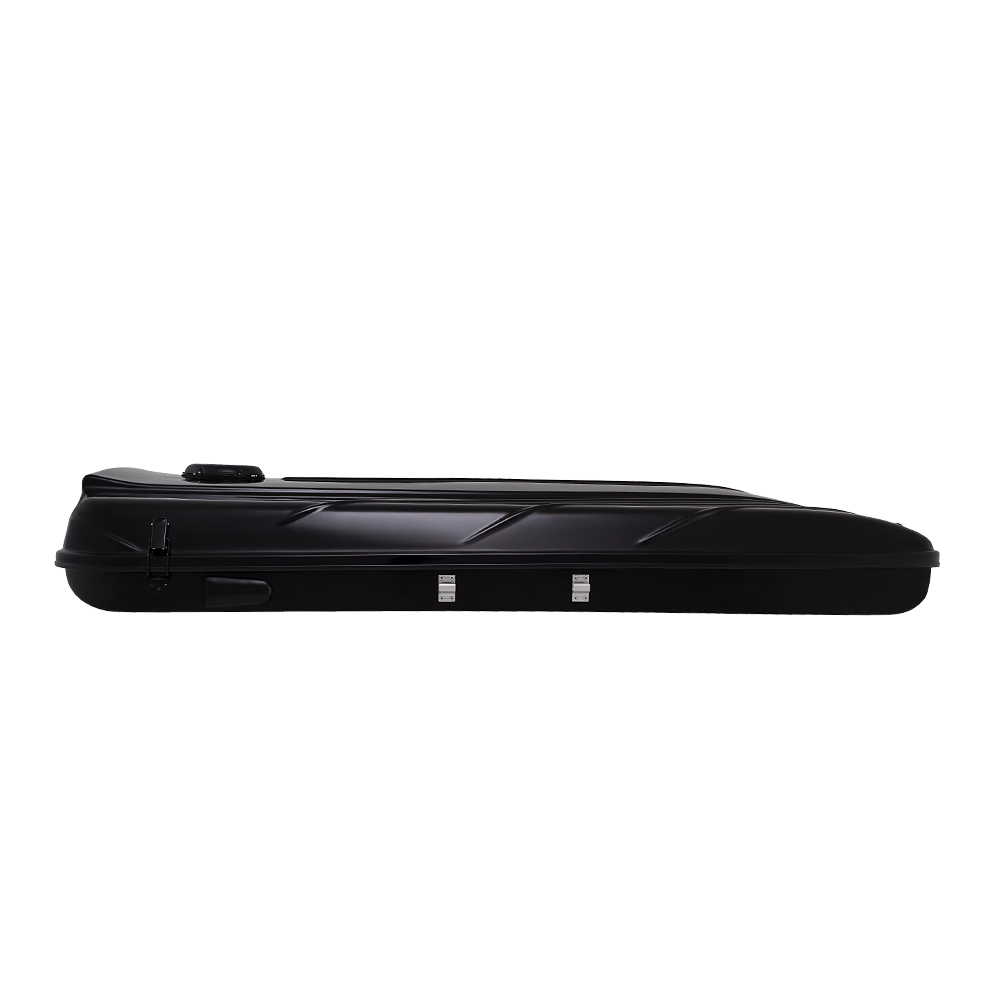
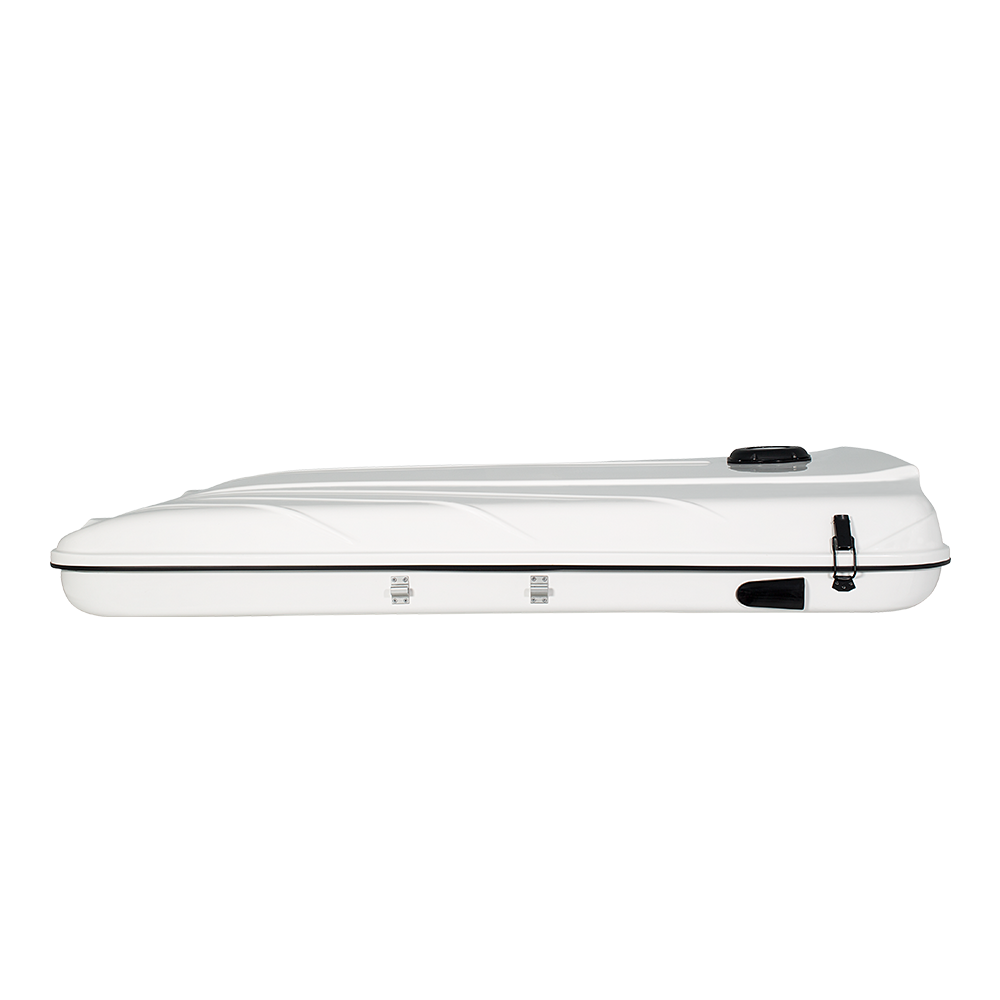
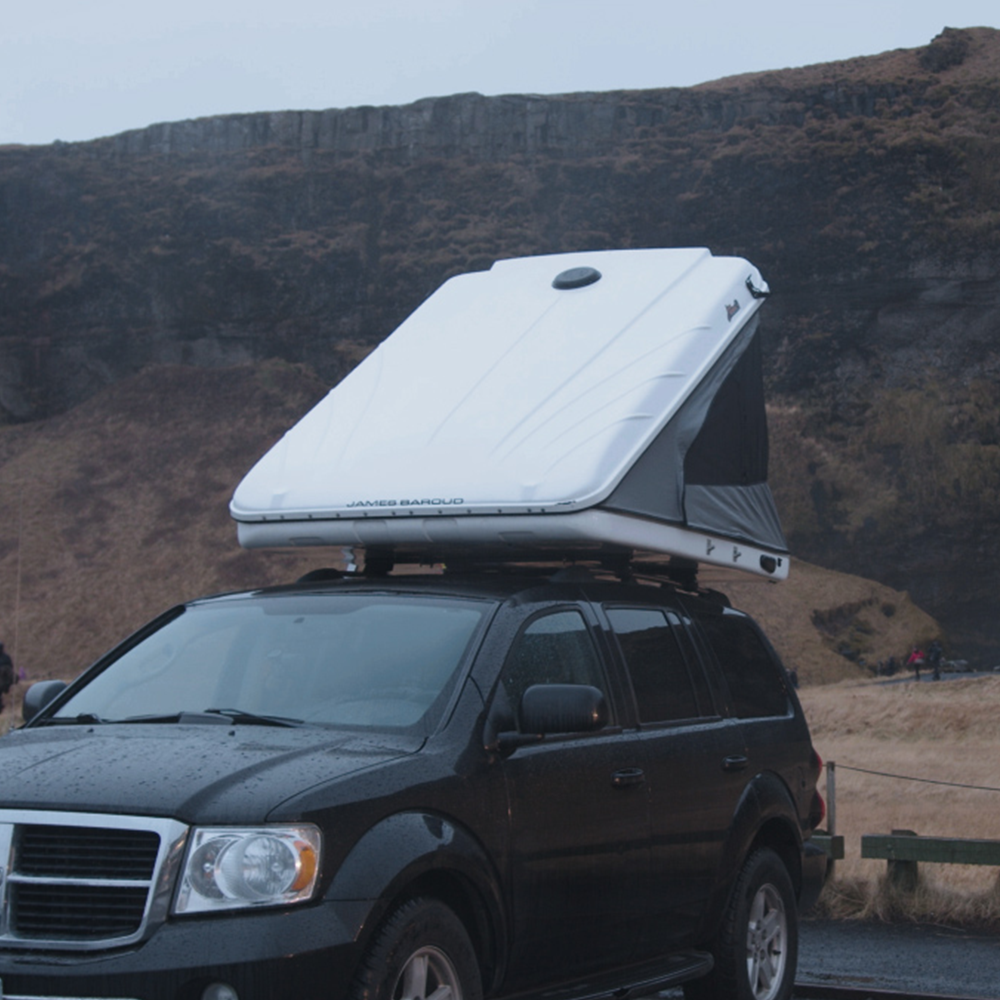
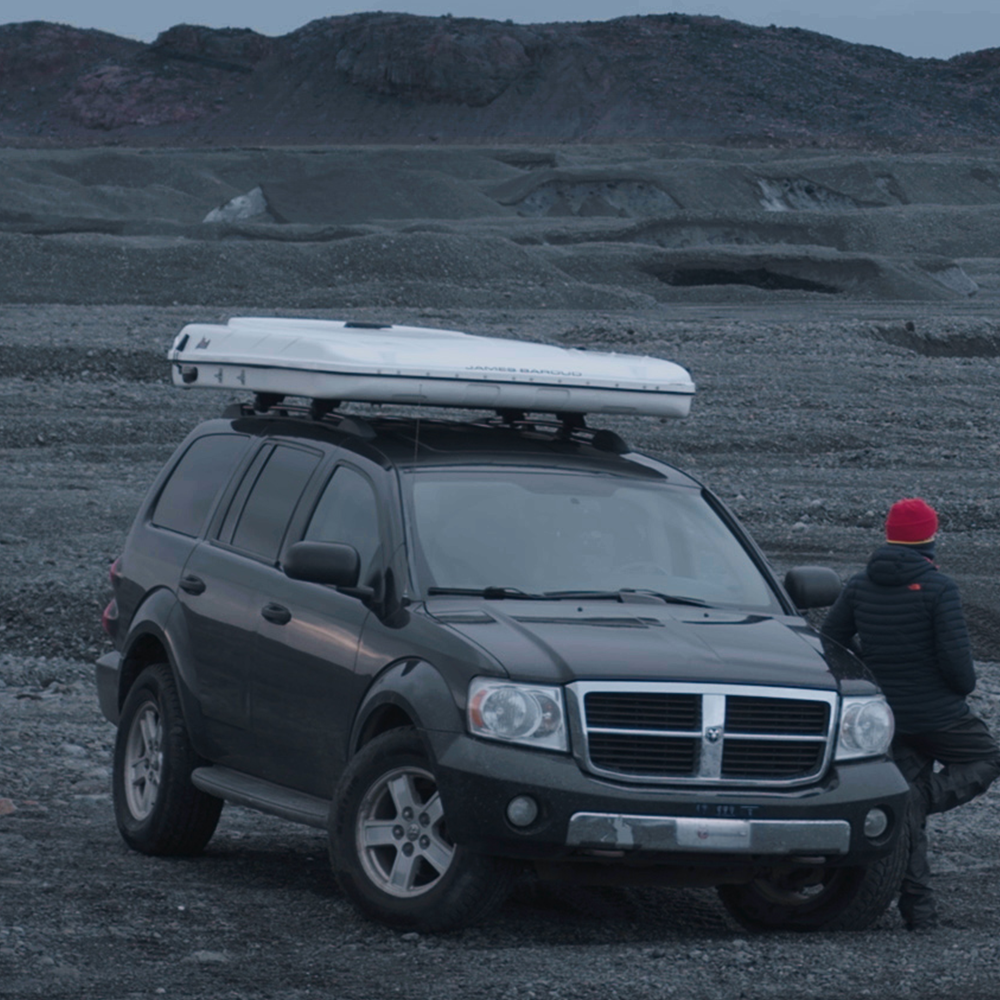
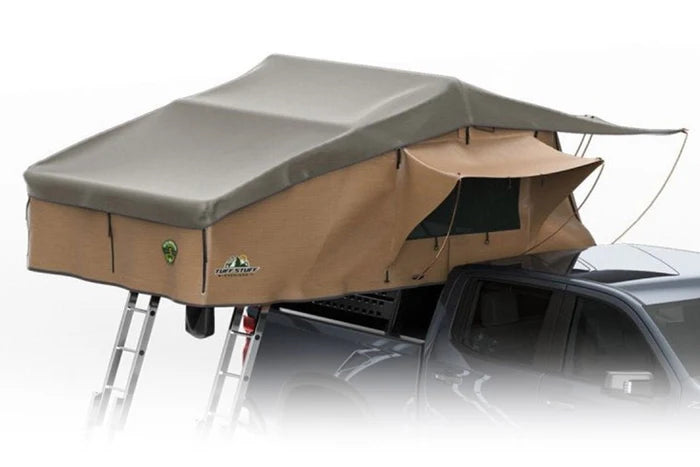
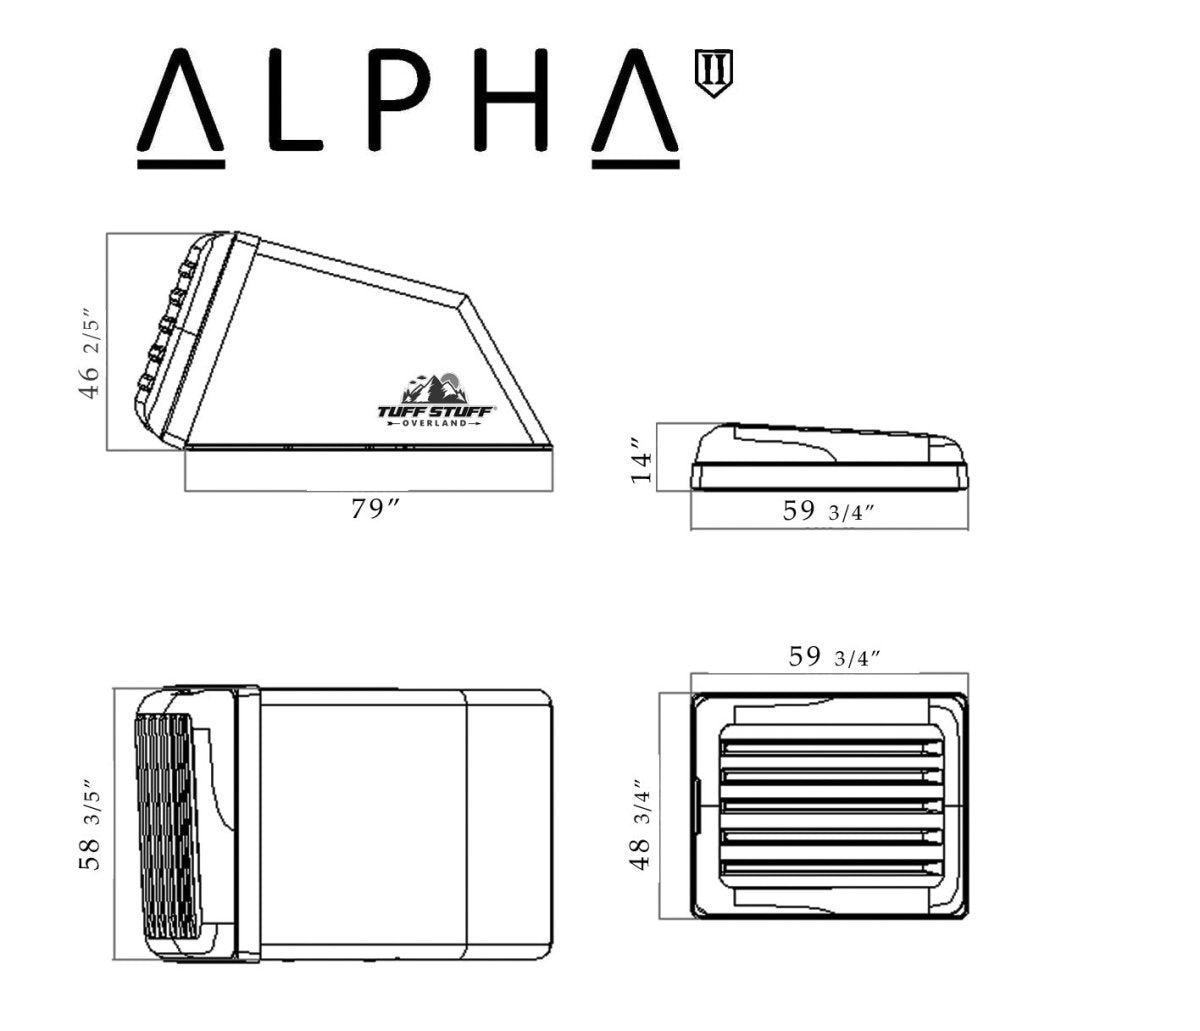
- Under 8" slim profile when packed up and latched (excludes additional roof rack height)
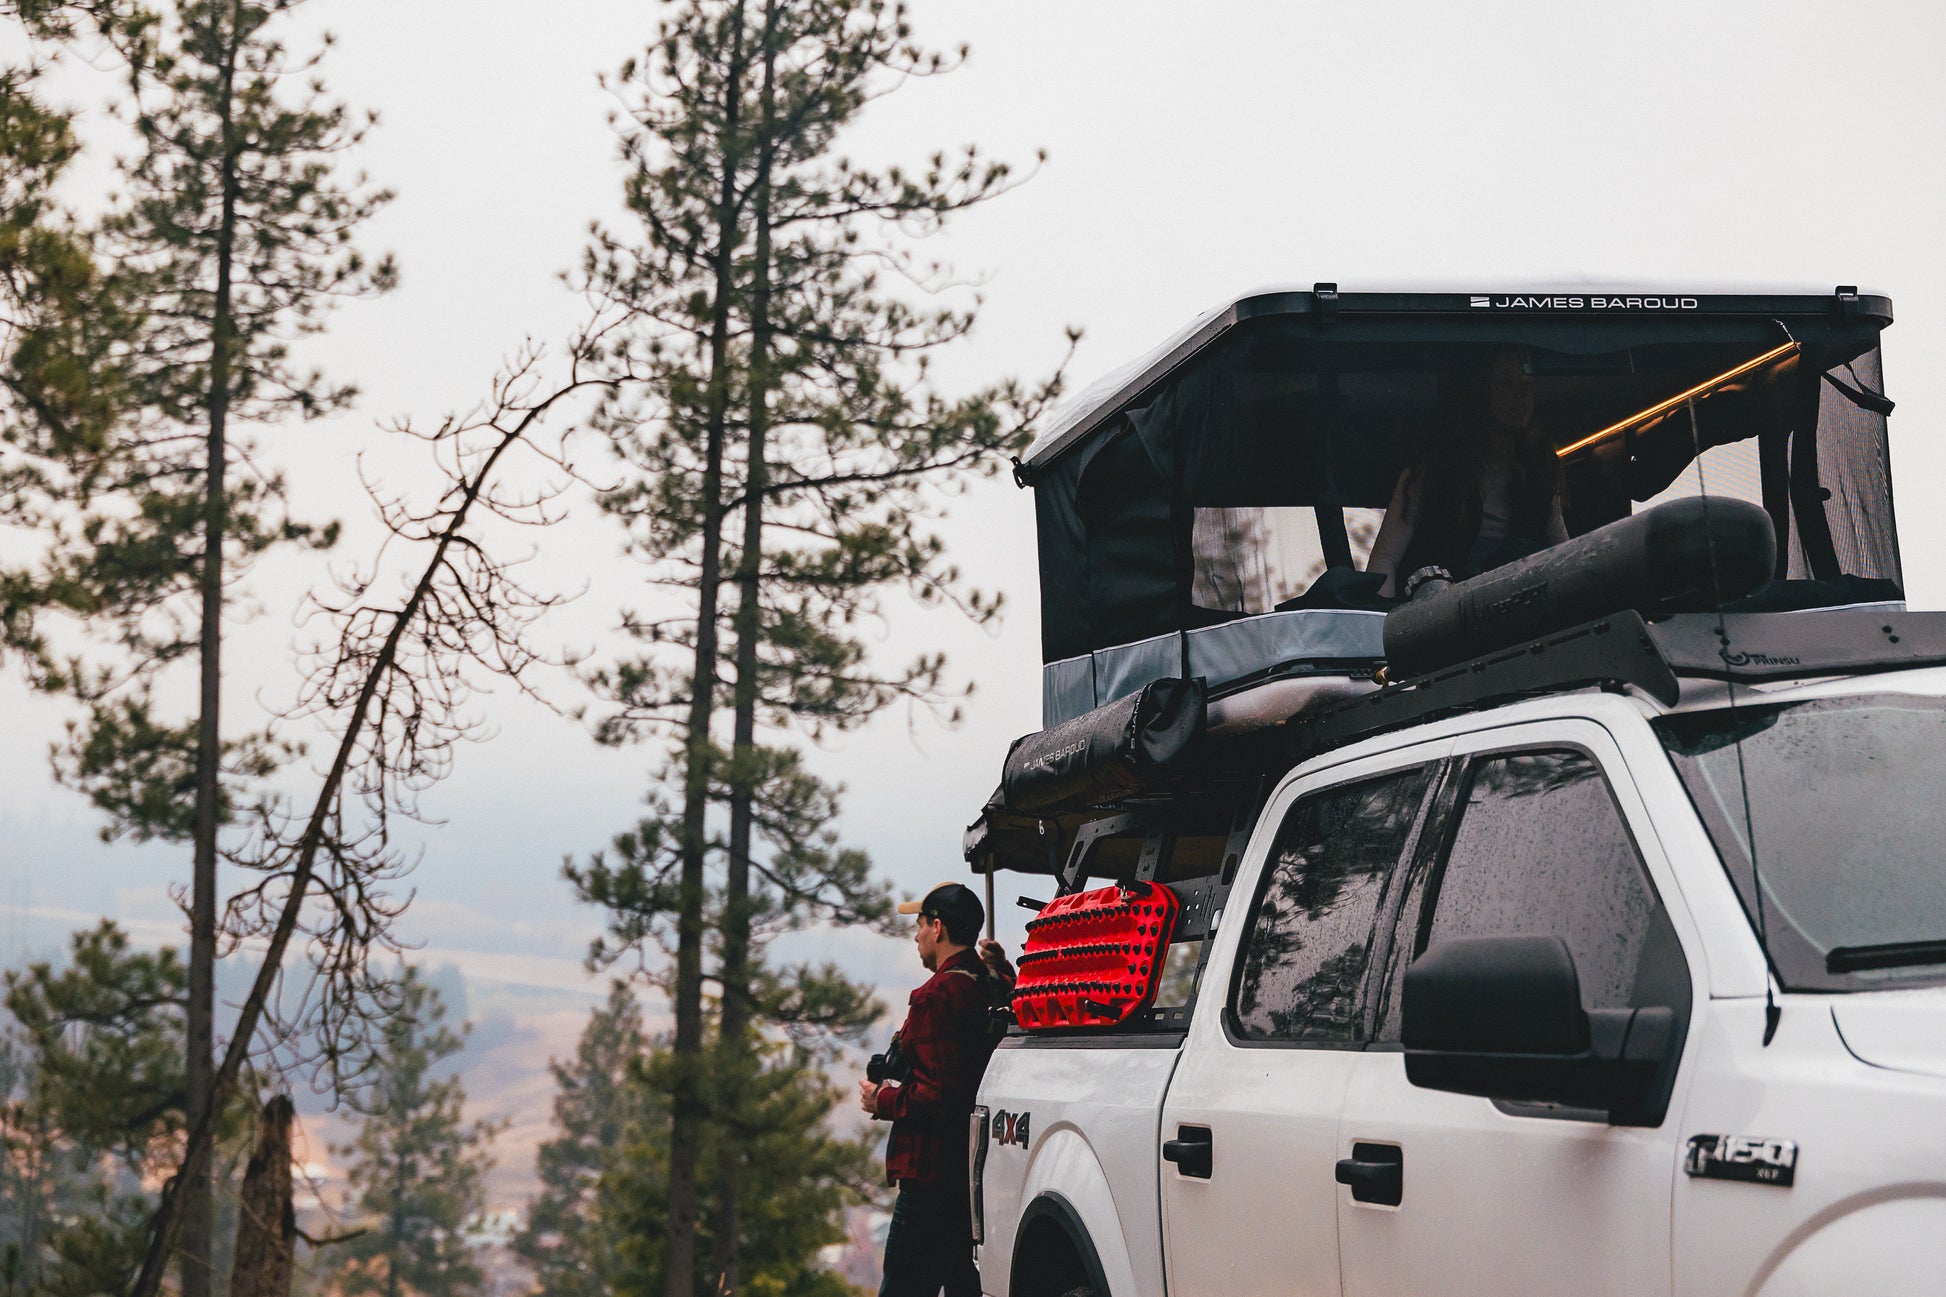
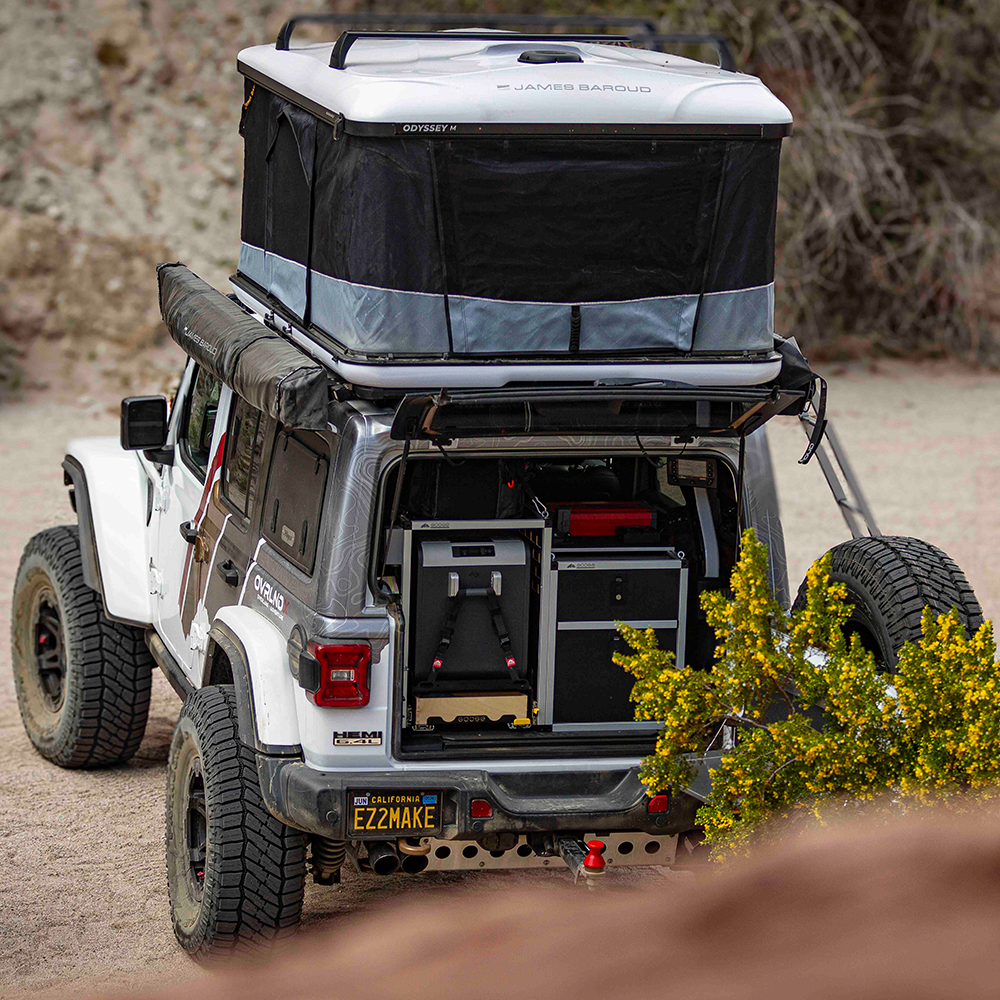
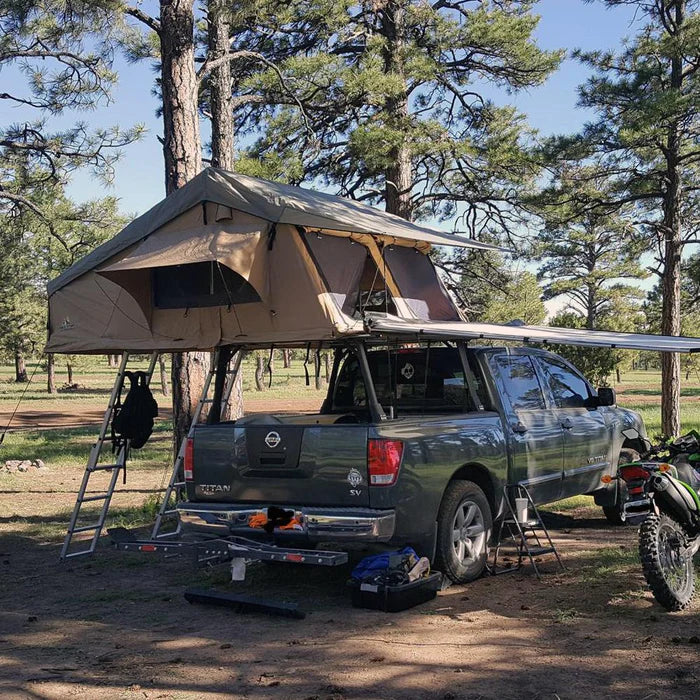
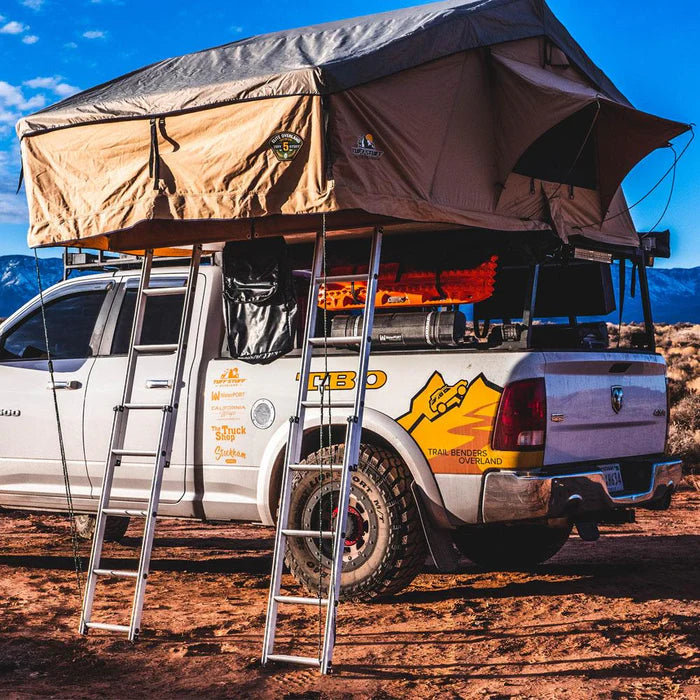
- 3 Entryway options based on build (passenger side, driver side, rear)
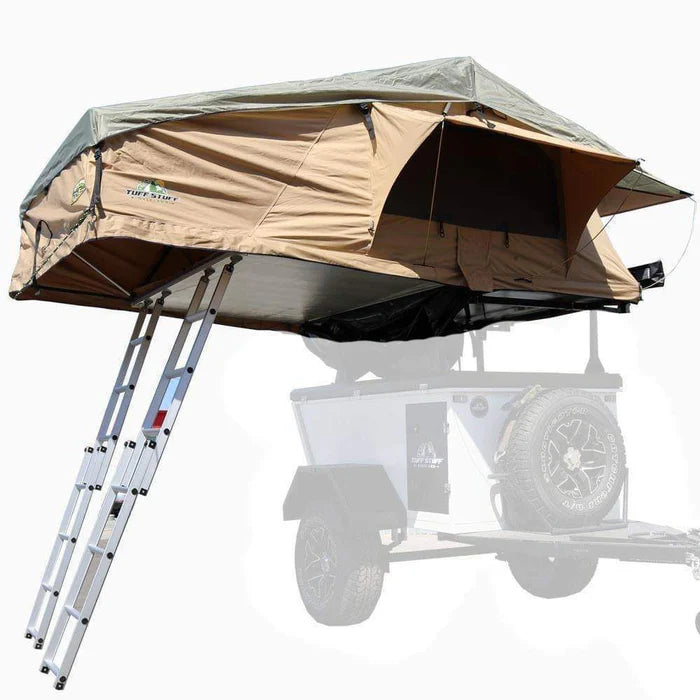
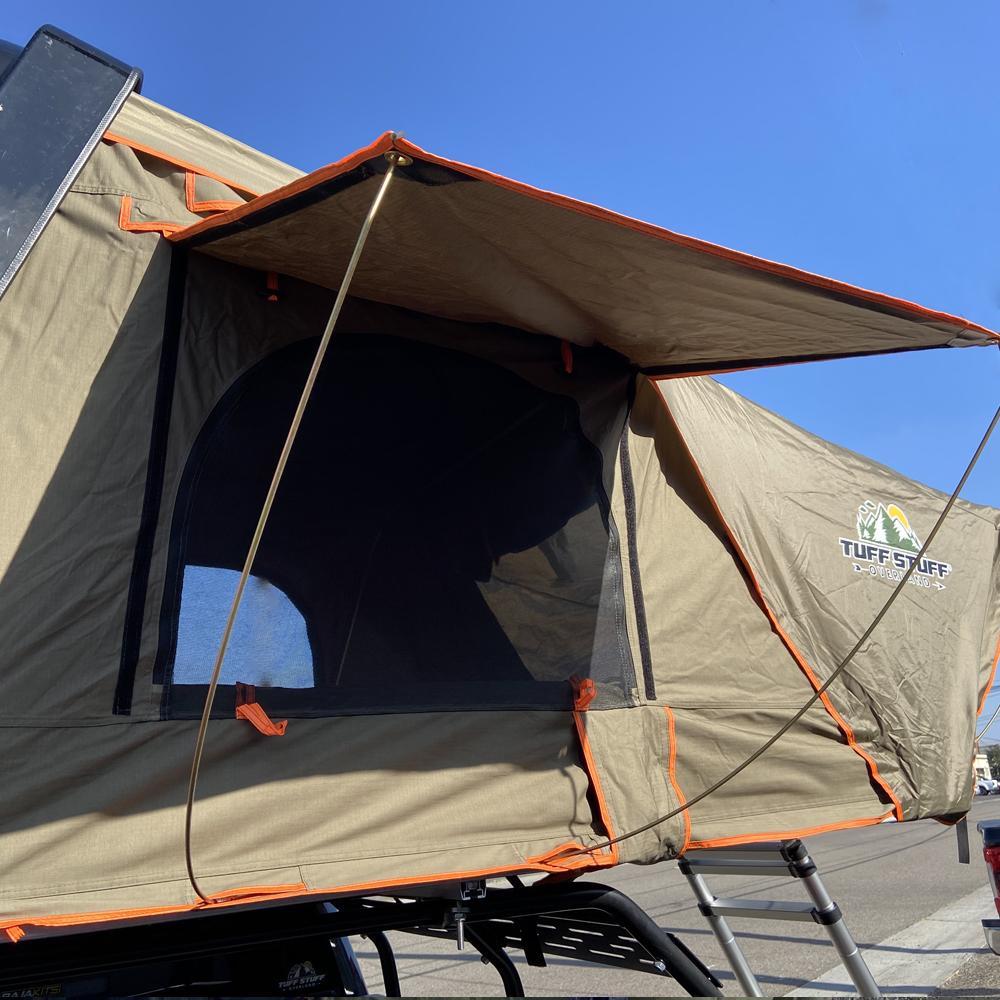
- Window awnings (removable)
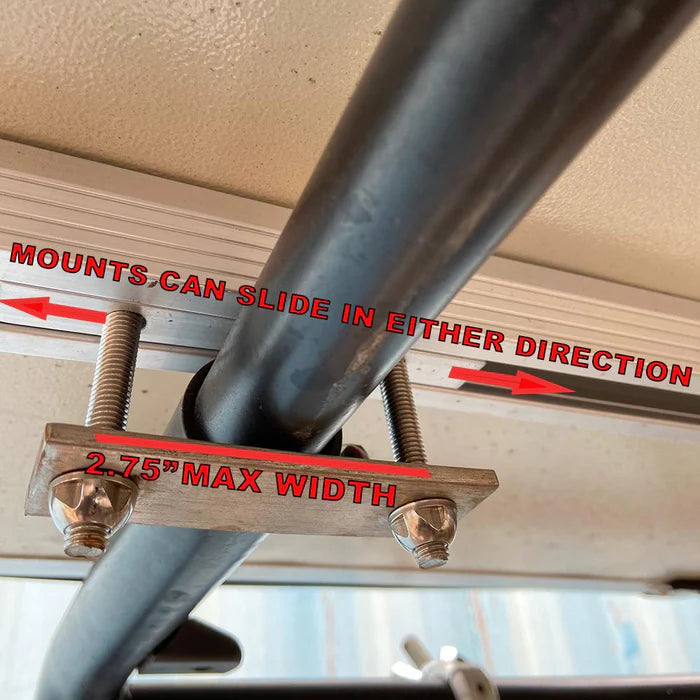
- Mounting hardware & brackets for installation (fits up to 3.25" vehicle cross bars)
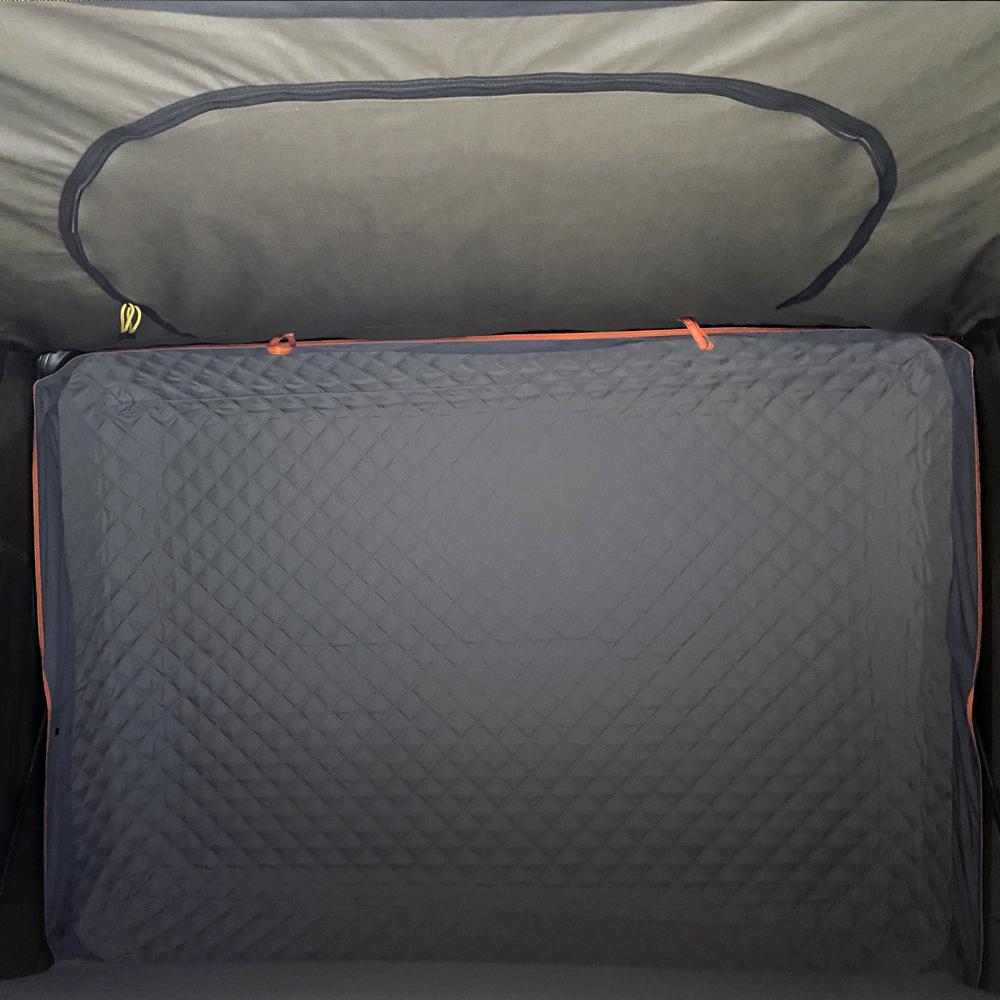
- 2.75" thick Memory Foam mattress
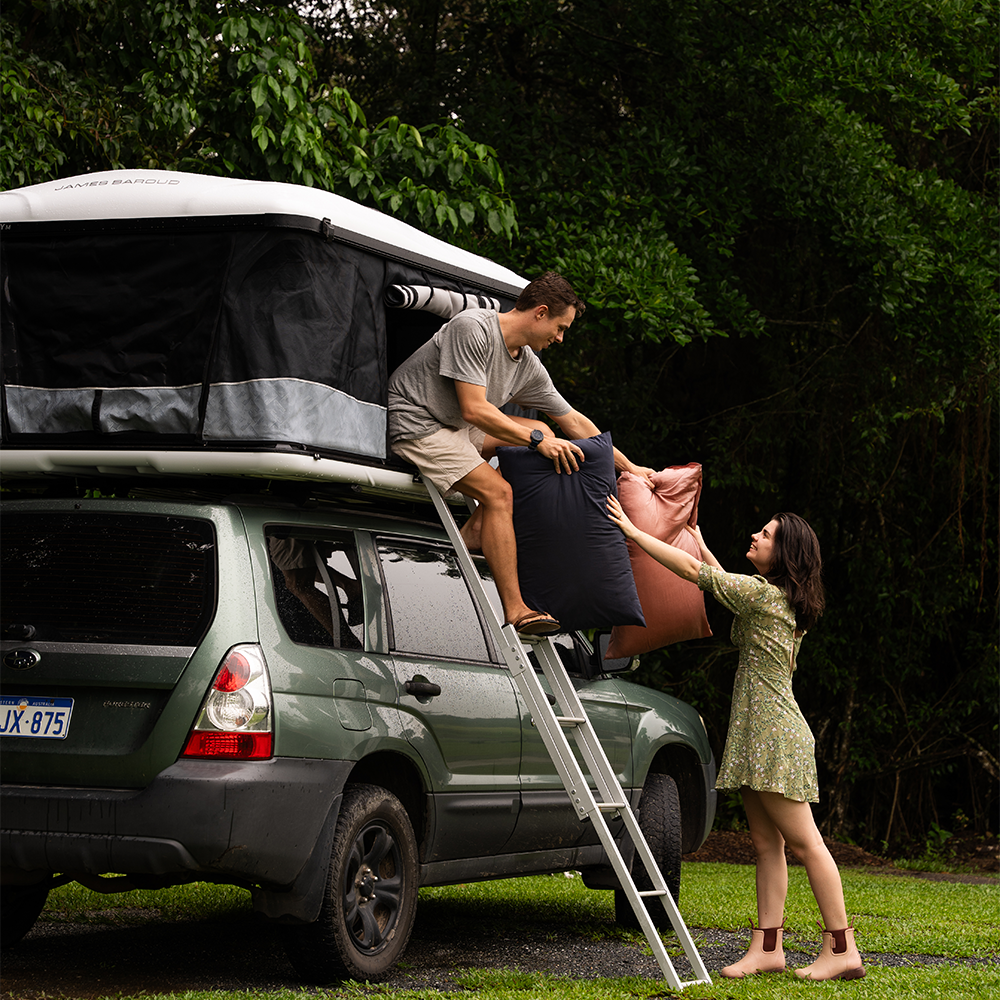
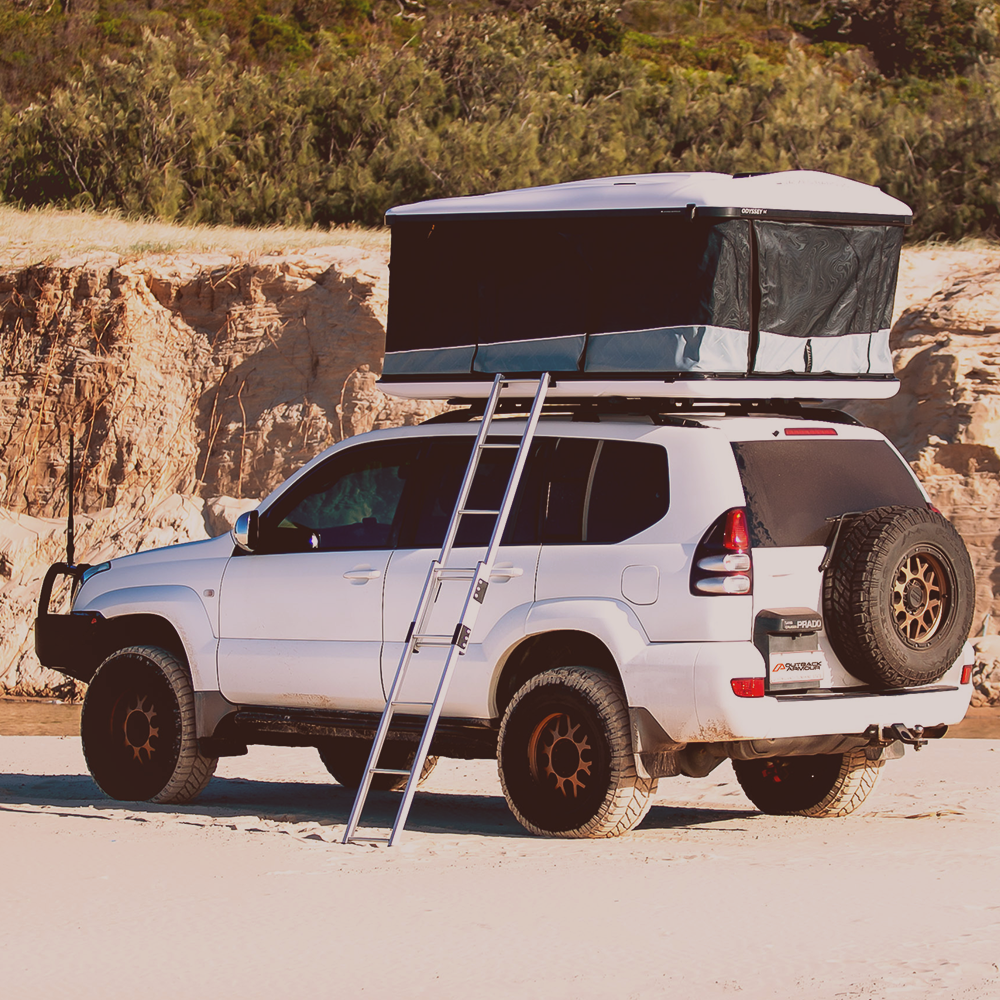
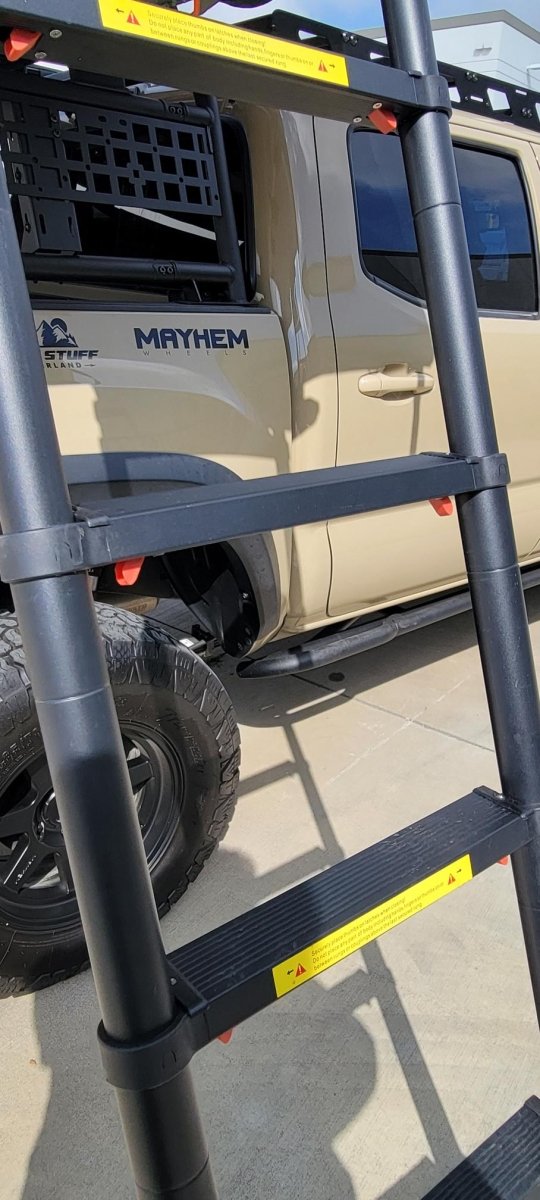
- Telescoping ladder with angled steps (will not bite into your arches!)
- Interior LED Light Strip (requires power from a USB power pack, not included)
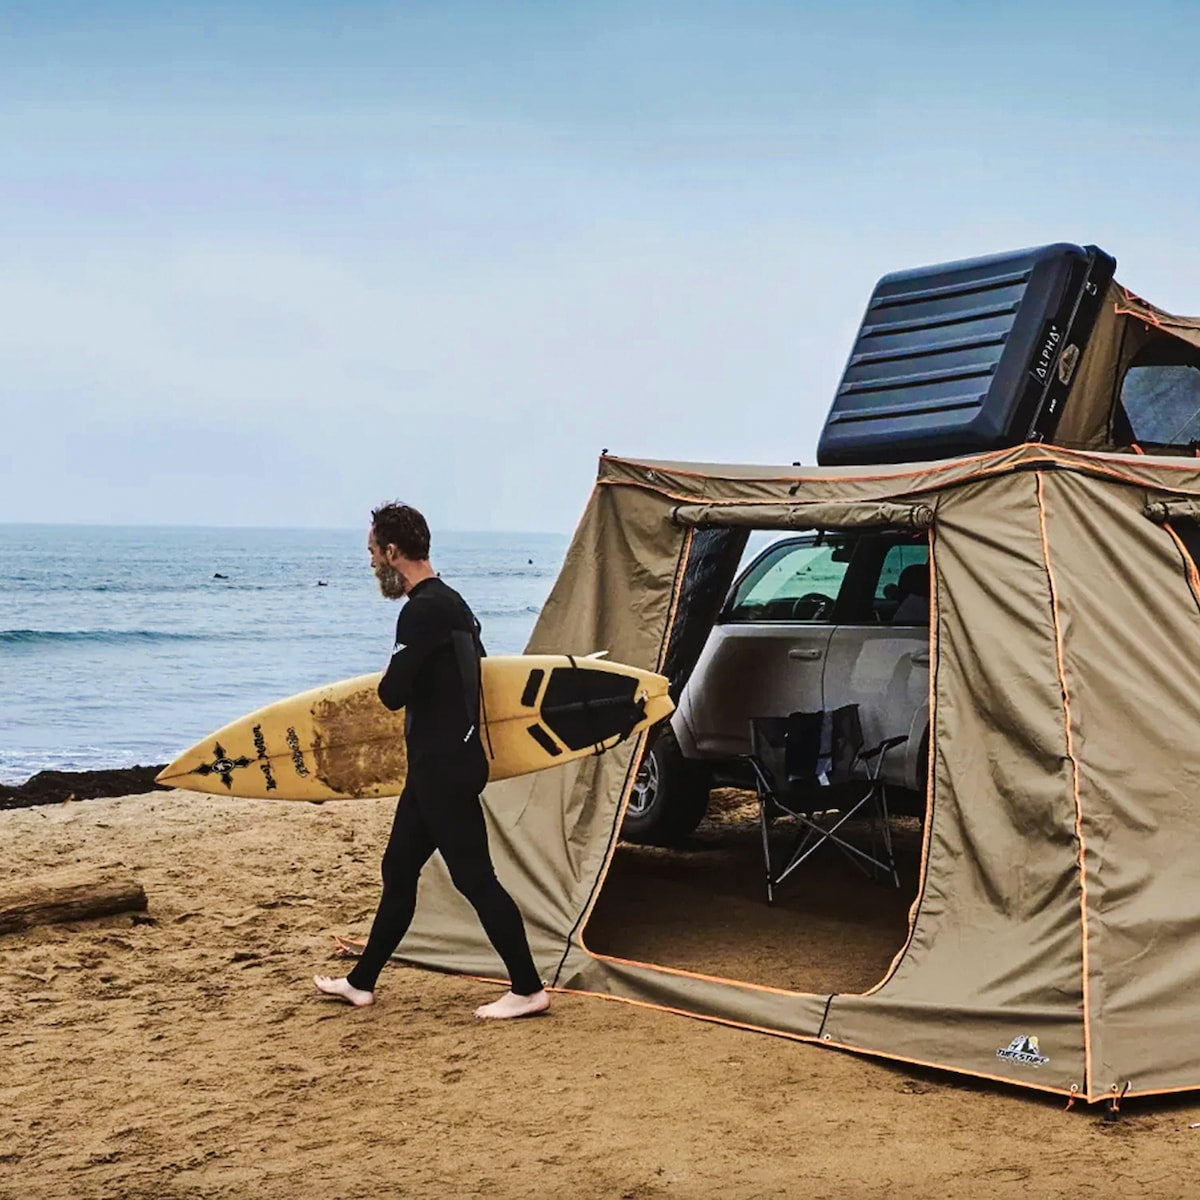
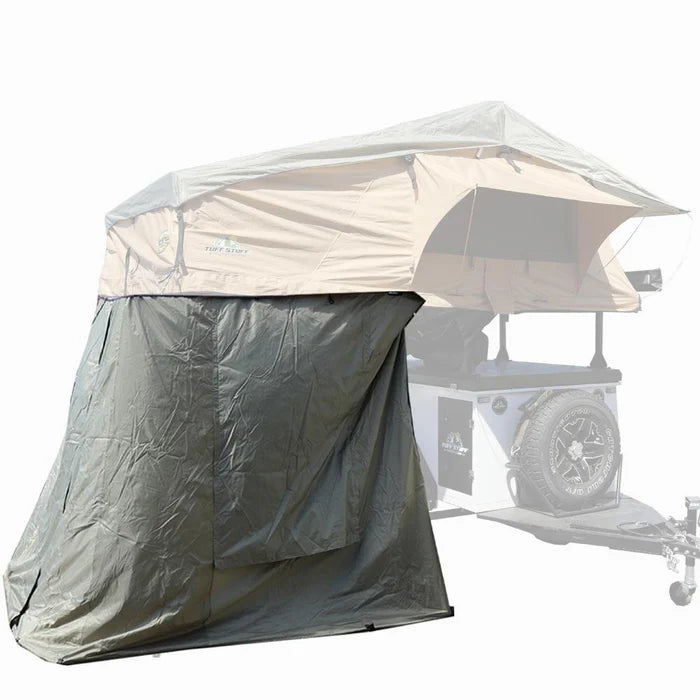
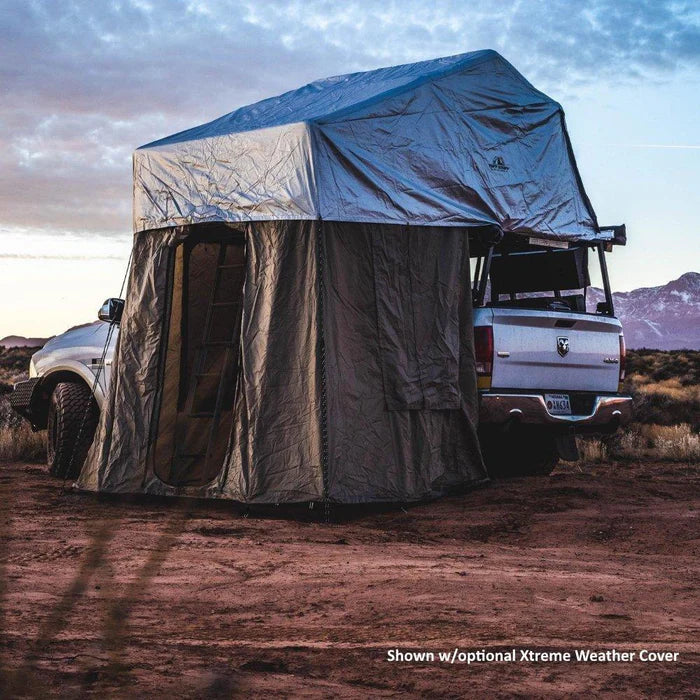
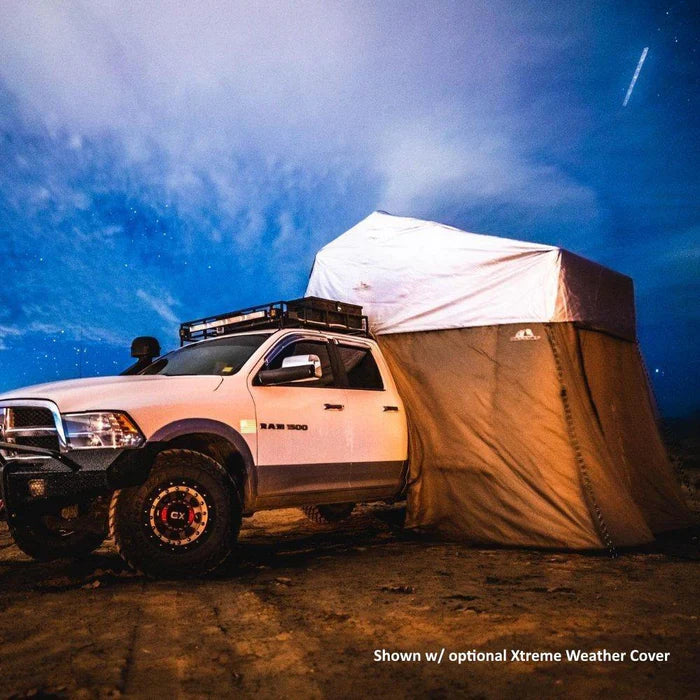
- Annex room not included
Specifications
- Sleeping Capacity: 2-3 People
- Open dimensions L/W/H: 94x61x60 inches
- Closed dimensions L/W/H: 88x61x8 inches
- Roof Pitch: 50 inches
- Mattress L/W/H: 1 qty, Memory Foam, 58x85x2 inches
- Weight: 274 Lbs
- Weight Capacity: 1200 Lbs
- 728 Lbs crossbar load capacity
- Shell: Aluminum
- Tent Material:
- Poly/Cotton Rip-Stop 3200 GSM (high tear resistance and tensile strength)
- Waterproof level >3500MM
- Antibacterial and mold-inhibiting fabric (EPA certified)
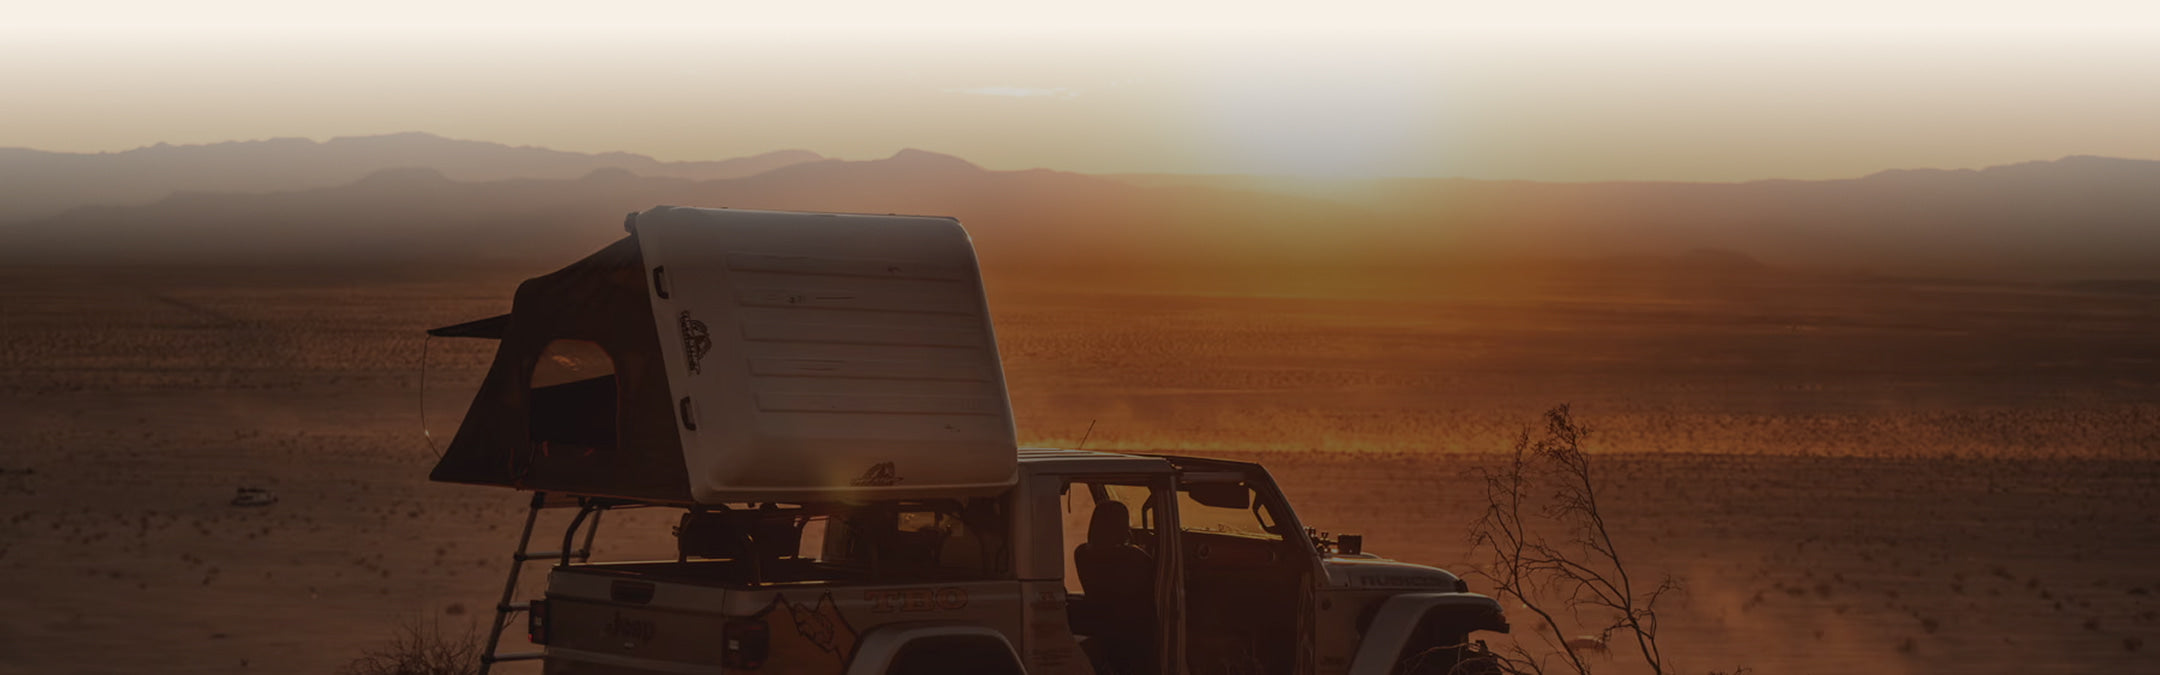
- Blackout coating on all tent materials (like being in a comfy cave w/out a light)
- Gas Struts: 4 qty, German engineered
- Floor: Heavy-duty 1 inch aluminum honeycomb
- Tent Mounting T-Channel Rails (bottom): 31.5" apart
- Sliders: 8 qty, 1.13x1.75x.25 inches
- Flat Brackets: 4 qty, 2.75-3.25 inches (adjustable)
- Installation brackets fit crossbars up to 3.25 inches wide
- M8 Nuts & Bolts: 8 qty, 2.25x13 millimeters
- Rail Caps: 4 qty, 2x1x1.5 inches
- Roof Rack Bars: 2 qty, 50x2.5x1 inches
- Brackets: 4 qty, 5x4.5x4 inches
- M8 Nuts & Bolts: 25 qty, .38x13 millimeters
- Bar Caps: 4 qty, 1x1.3x2.5 inches
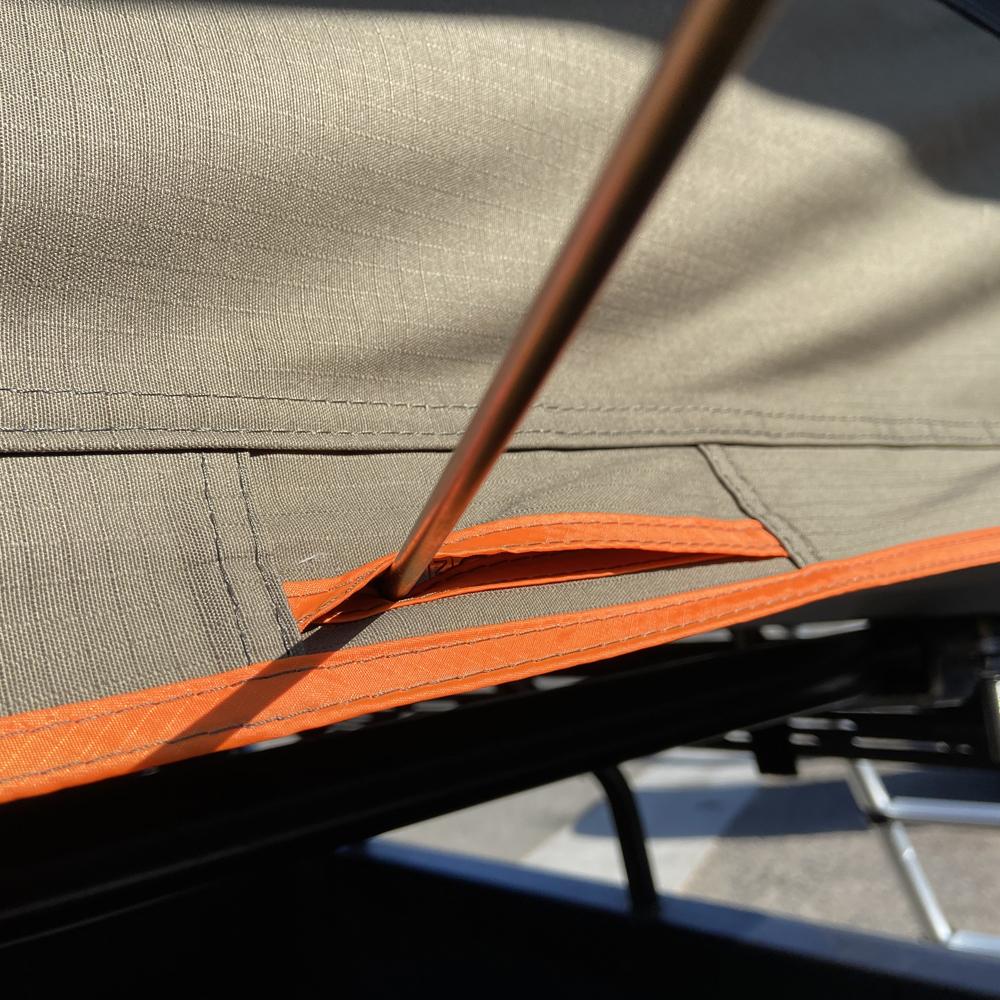
- Windows: 2 window openings w/ mesh screens & window rods
- Window Awnings: 2 qty, 69x44x33 inches, removable (zip-off), trapezoid side window rain awnings
- Window Awning Bag: 1 qty, 14x10x3 inches
- Window Rods: 6 qty, 35x.25 inches
- Window Rod Bag: 1 qty, 36x4x1 inches
- Security Latches: 4 qty (2 front and 2 rear)
- Ladder: Telescoping 103x18 inches tall w/angled steps (included)
- Zippers: YKK with custom para-cord pulls (reduces annoying road noise when driving)
- LED Light Strip: White diffused, dimmable light (Velcro on back of light to mount on either side of tent)
- Shoe Bag: 2 qty, 13x17x3 inches
Instructions
Mounting Tent
- Mounting your tent requires a minimum of 2 people for lifting. This Alpine may take three! She's not dainty.
- Position the tent on top of the vehicle's roof rack, bed rack, or trailer, and center it to your liking. If you have a hatchback make sure you have clearance to open the back.
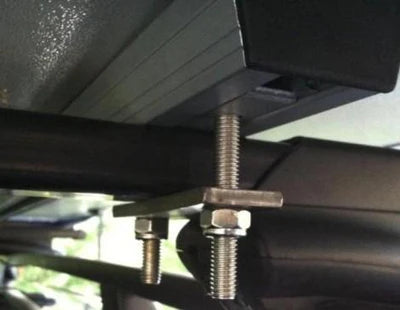
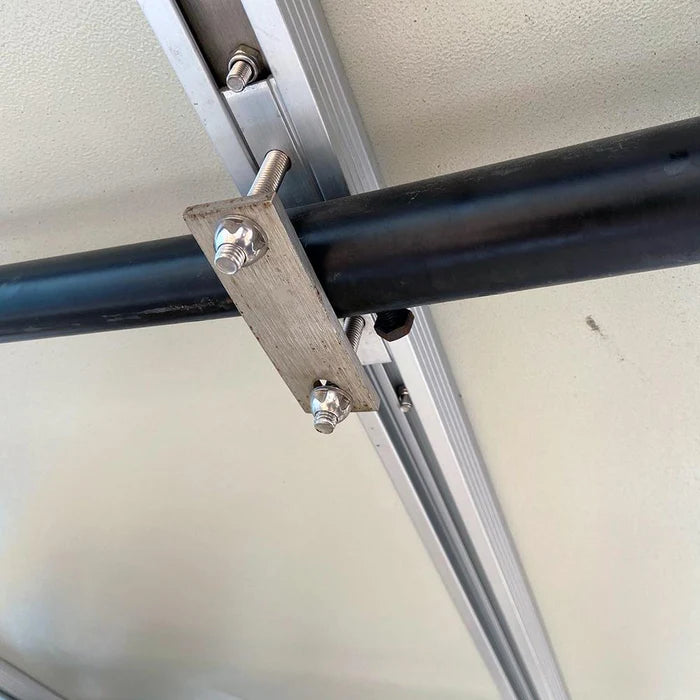
- Using the supplied hardware and mounting plates, slide the hardware into the channel so there are 2 bolts per corner (one in front and one behind the vehicle's crossbars)
- Run the bolts through the holes of the mounting brackets, and thread nuts onto each bolt
- Confirm you are happy with the position of the tent, vehicle balance, and appearance then tighten all nuts to the brackets until the tent cannot move
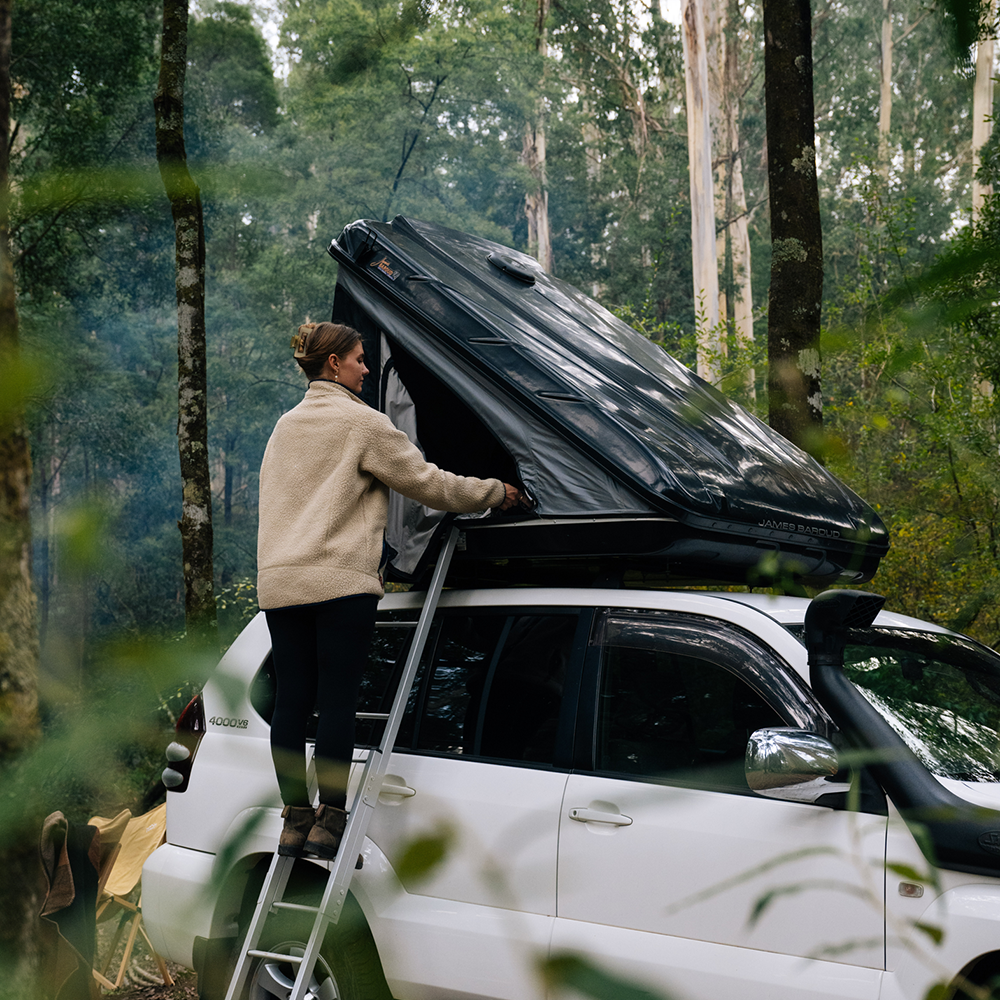
The Wedge
- Locate the 2 latches at the rear of the tent
- Pull each red latch upward releasing its tension, then unhook the latch from the hook
- Push up on the handles and the tent will rise into a wedge shape on its own
- Locate the elastic cinch strap and pull it upward into the T-slot for storage
- Attach your ladder at the desired entry point
- For detailed ladder instructions, see Alpine Ladder Instructions
- Unzip the screen and fabric covers, rolling them up and securing them with the storage clips
- Deploy the included window awnings (see Window Awning Instructions) and Shoe Bags (see Shoe Bag Instructions)
- Climb into your tent in its wedge form and it’s ready to use
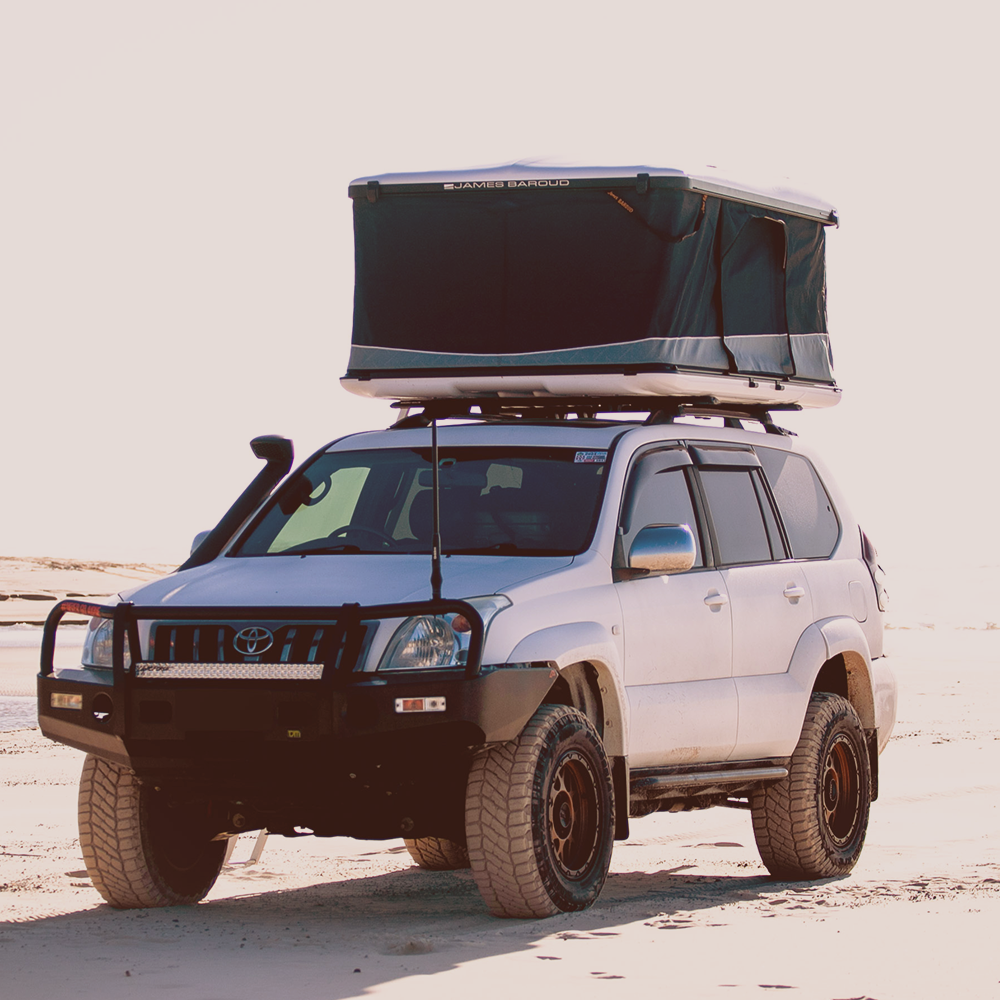
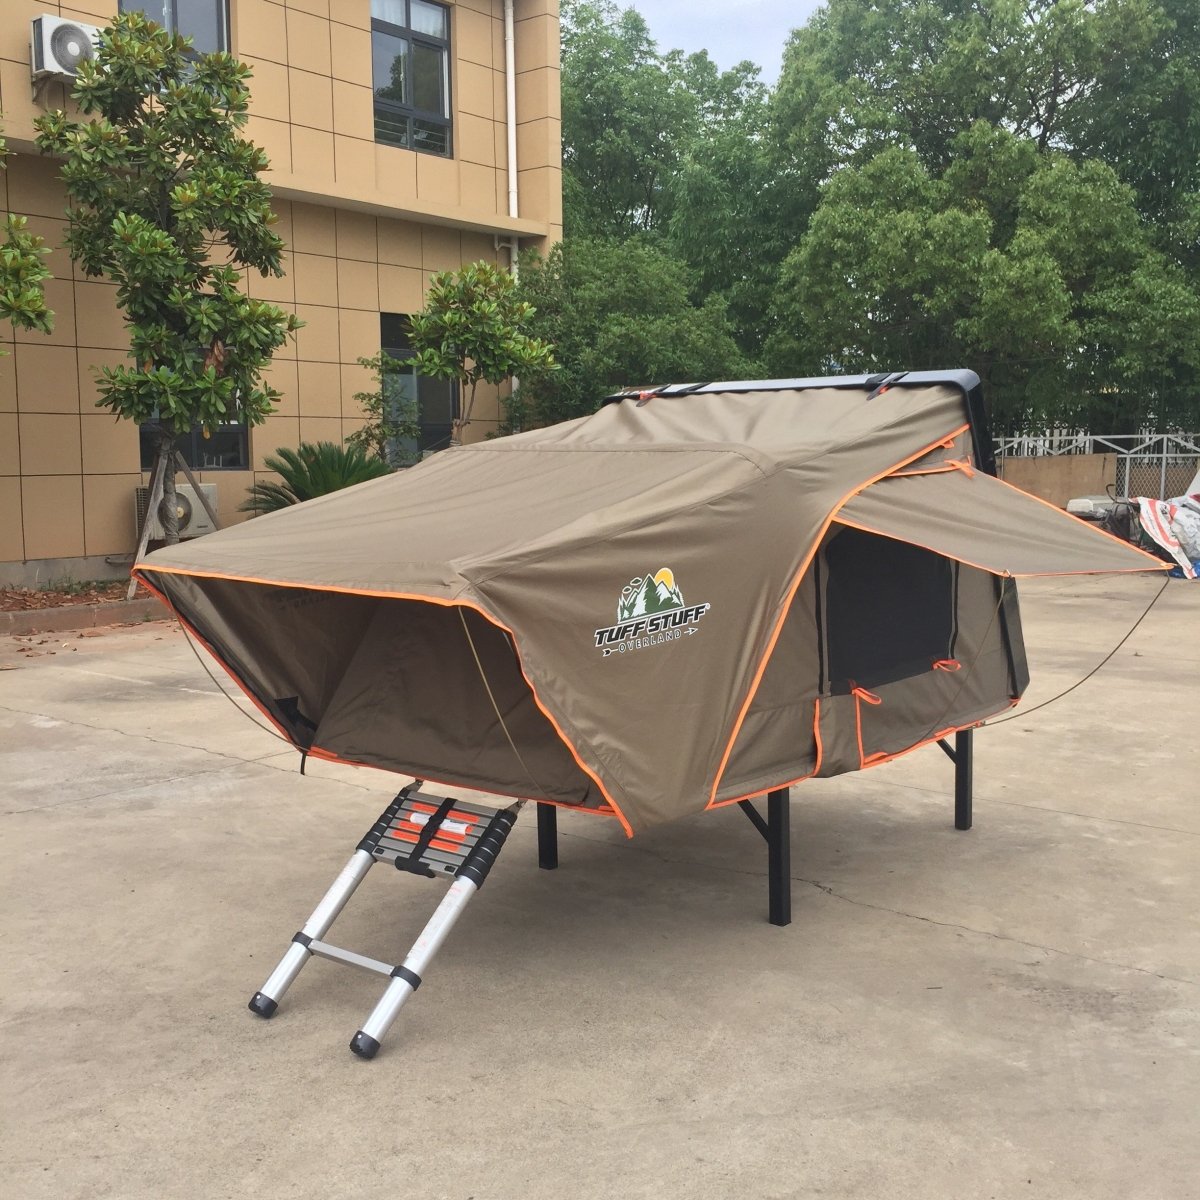
The Pop-Up
- Once your Alpine is in its wedge form, locate the 2 latches at the front of the tent and unlatch them from the frame of the tent
- Push up on the handles to transform the Alpine from a wedge to a full pop-up
- Locate the elastic cinch strap and pull it downward into the T-Slot for storage
- Unzip all the window covers to create a full-screen room, rolling up each fabric cover and securing with the storage clips
- Zip up all the fabric window covers to create a full dark room
- It is seriously dark w/all of the windows and doors zipped up... that sun is not going to ruin your plans to sleep in w/nature a bit.