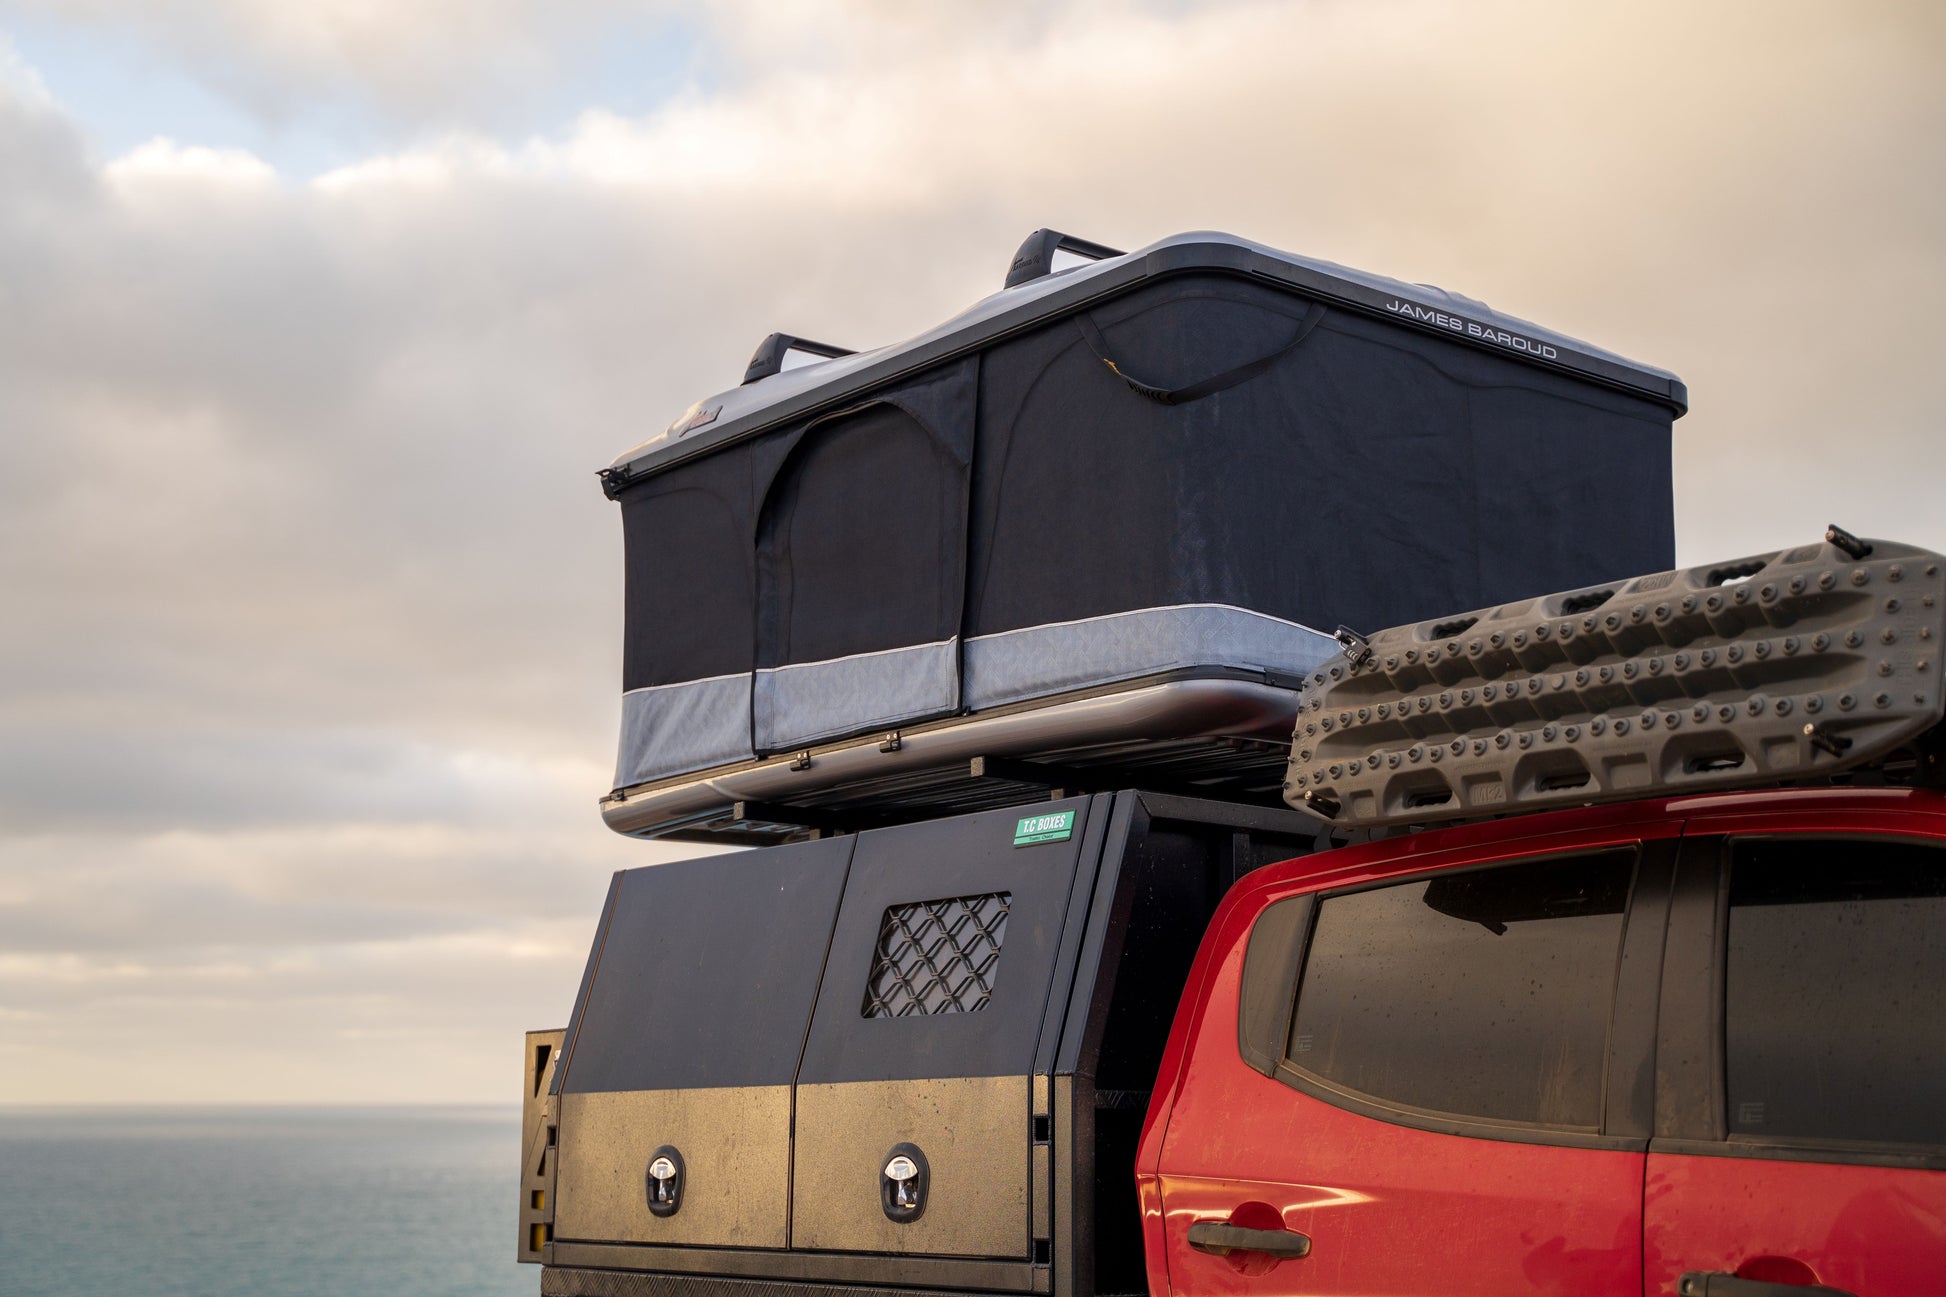
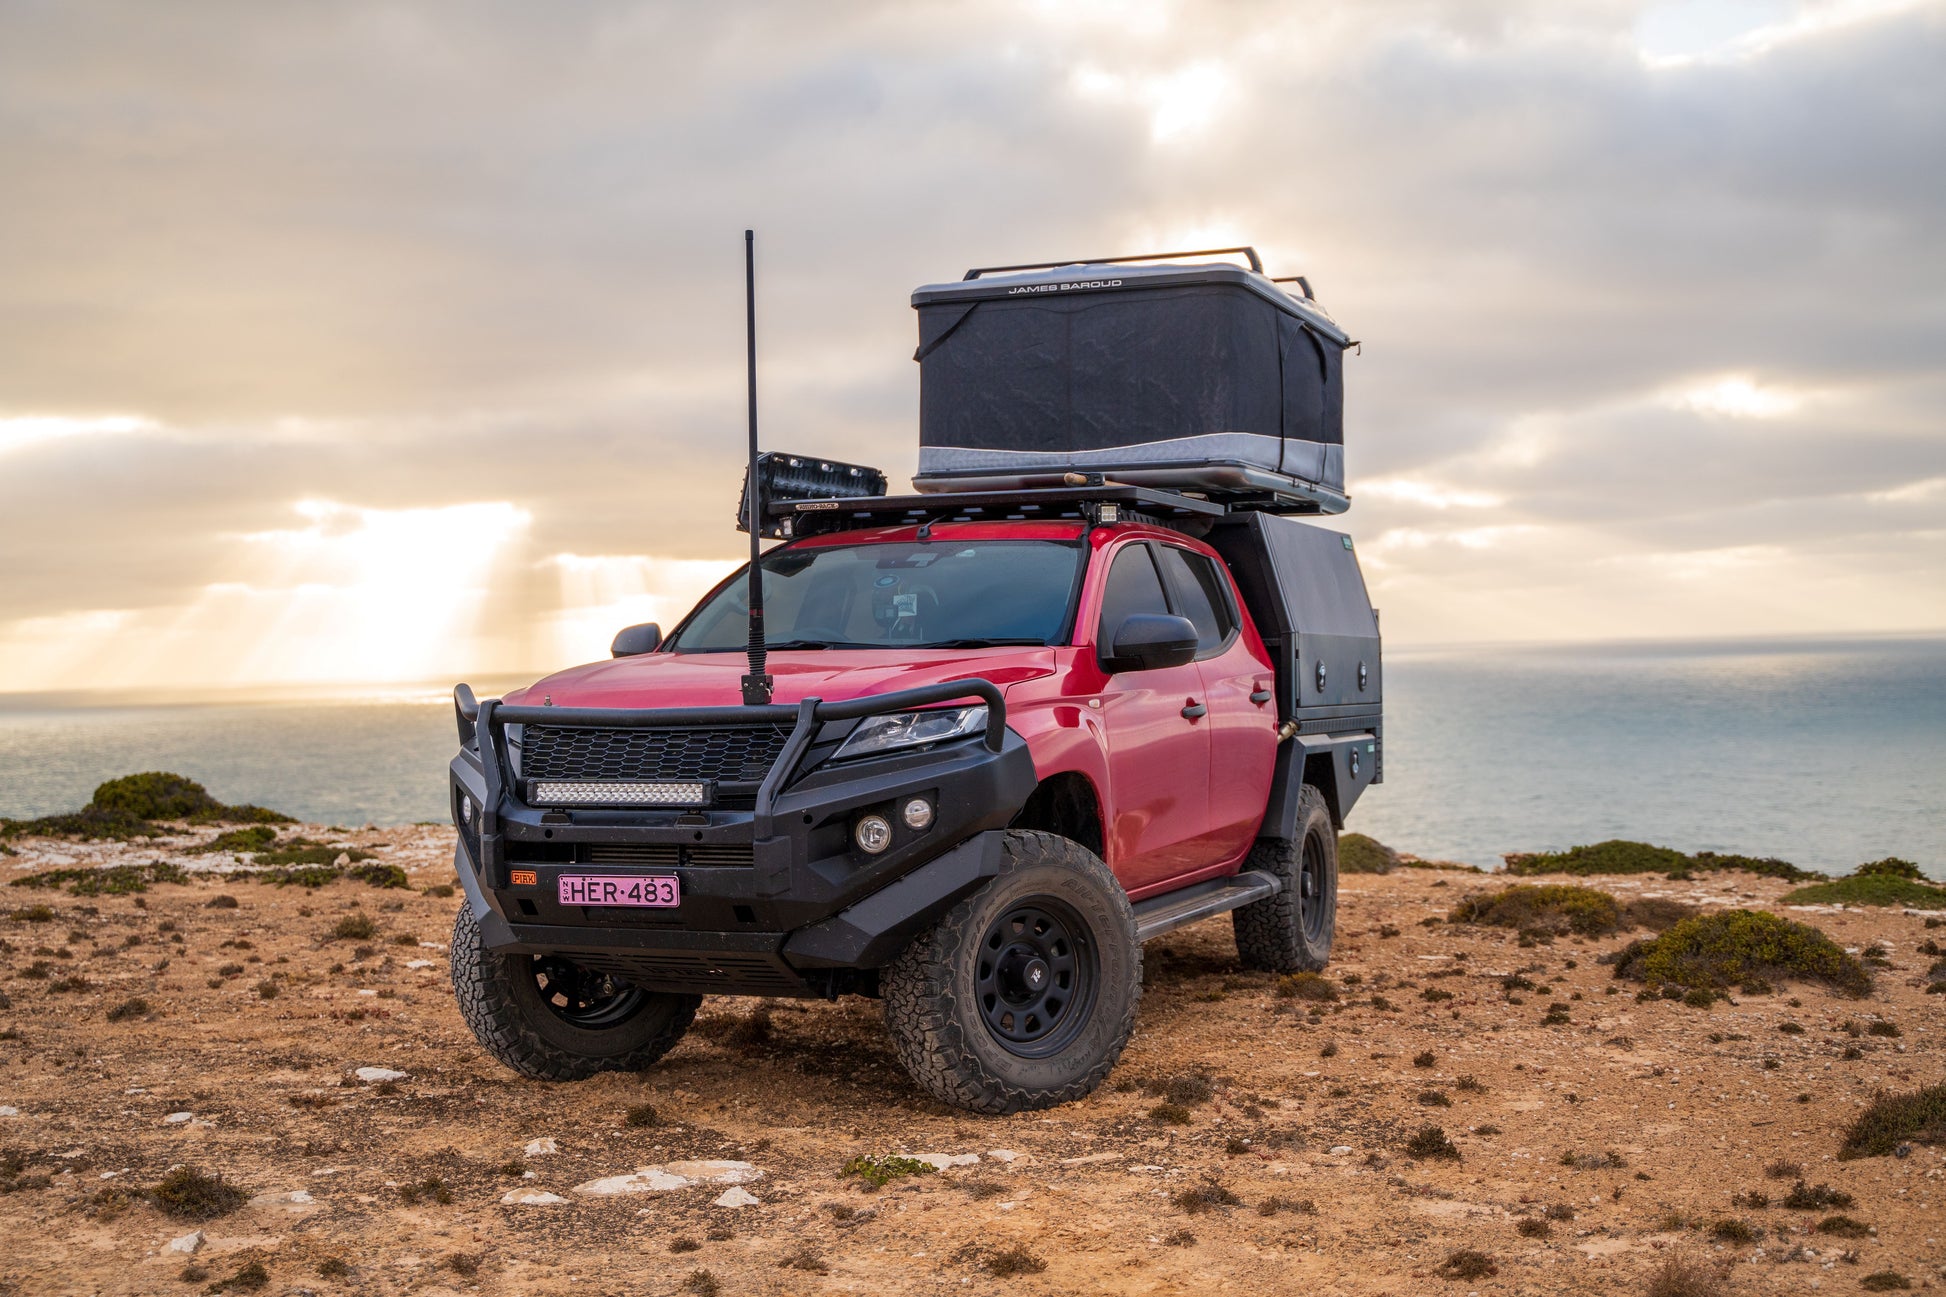
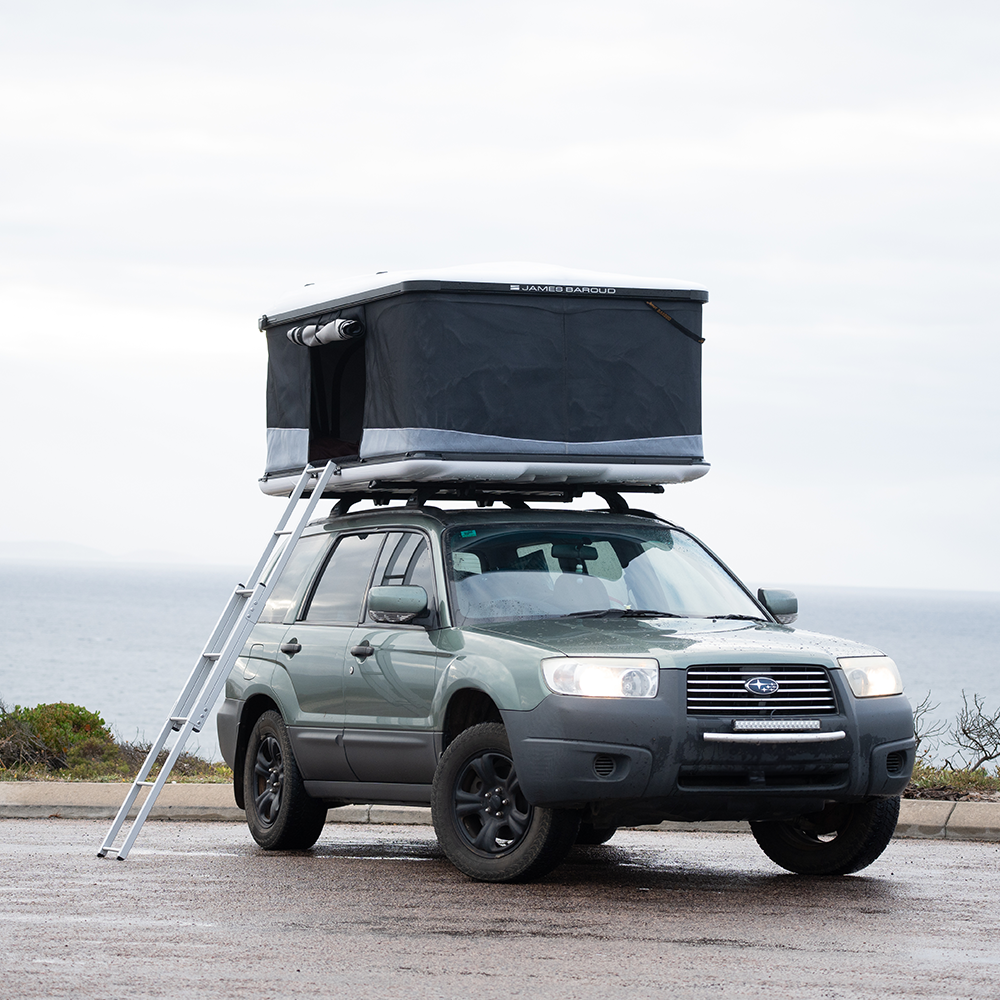
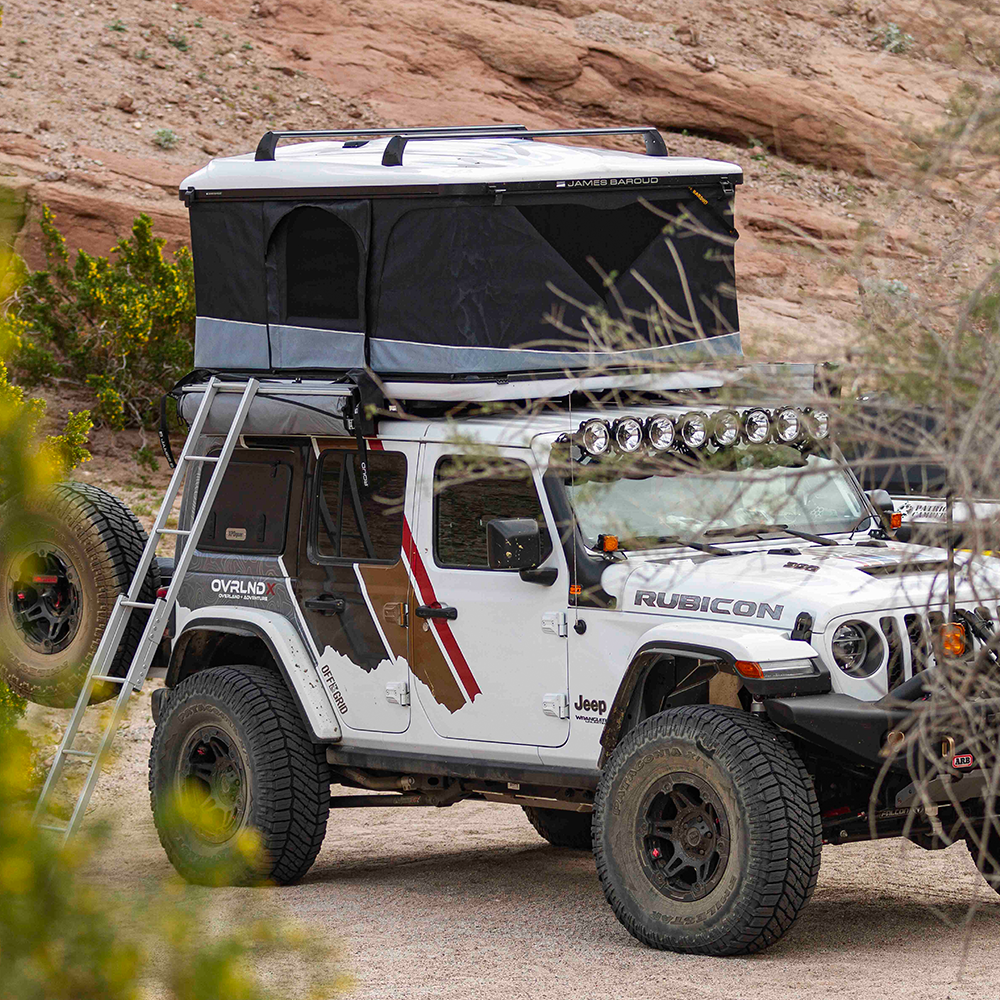
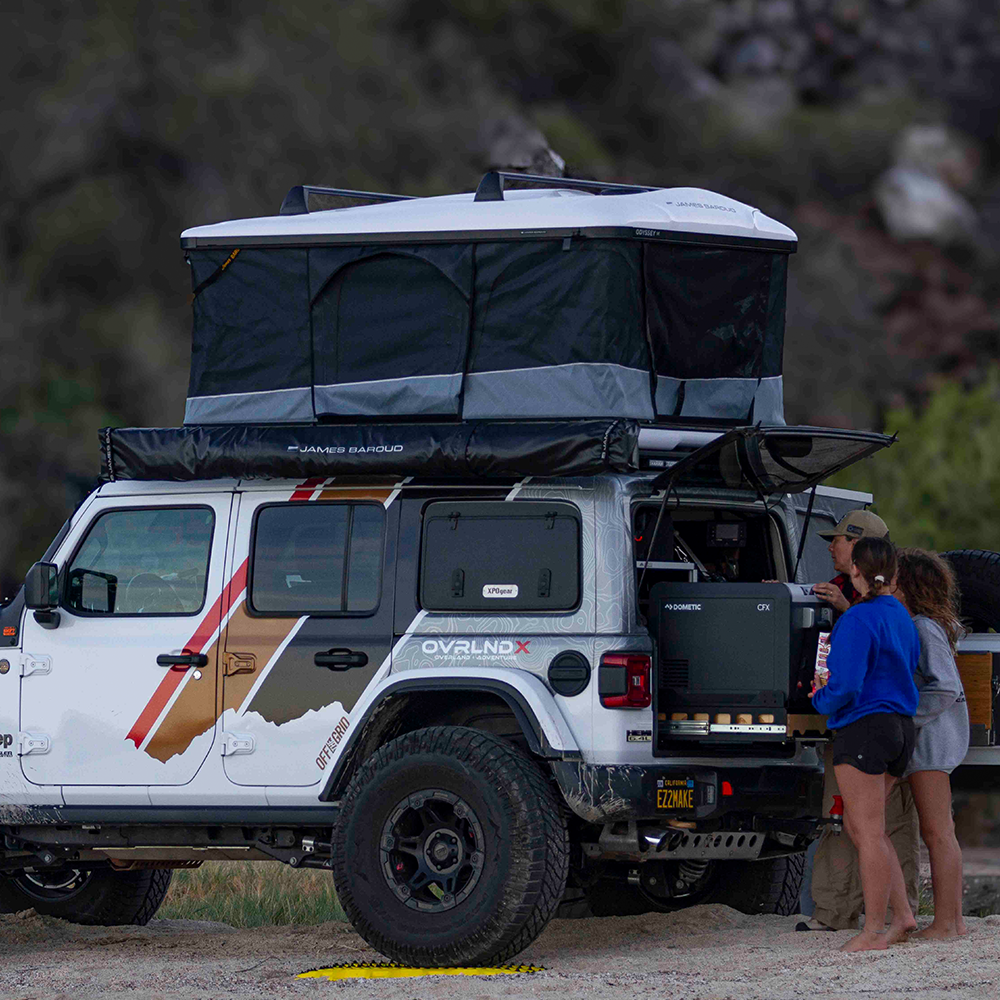
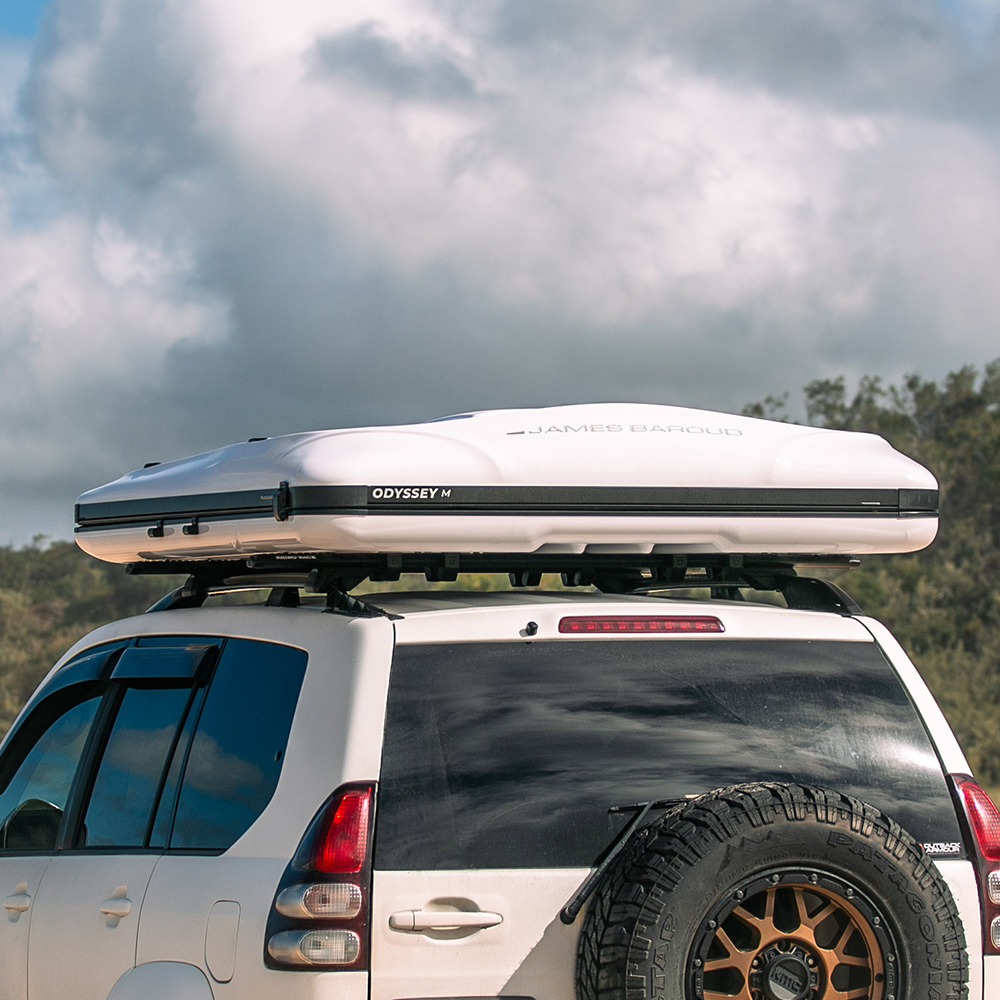
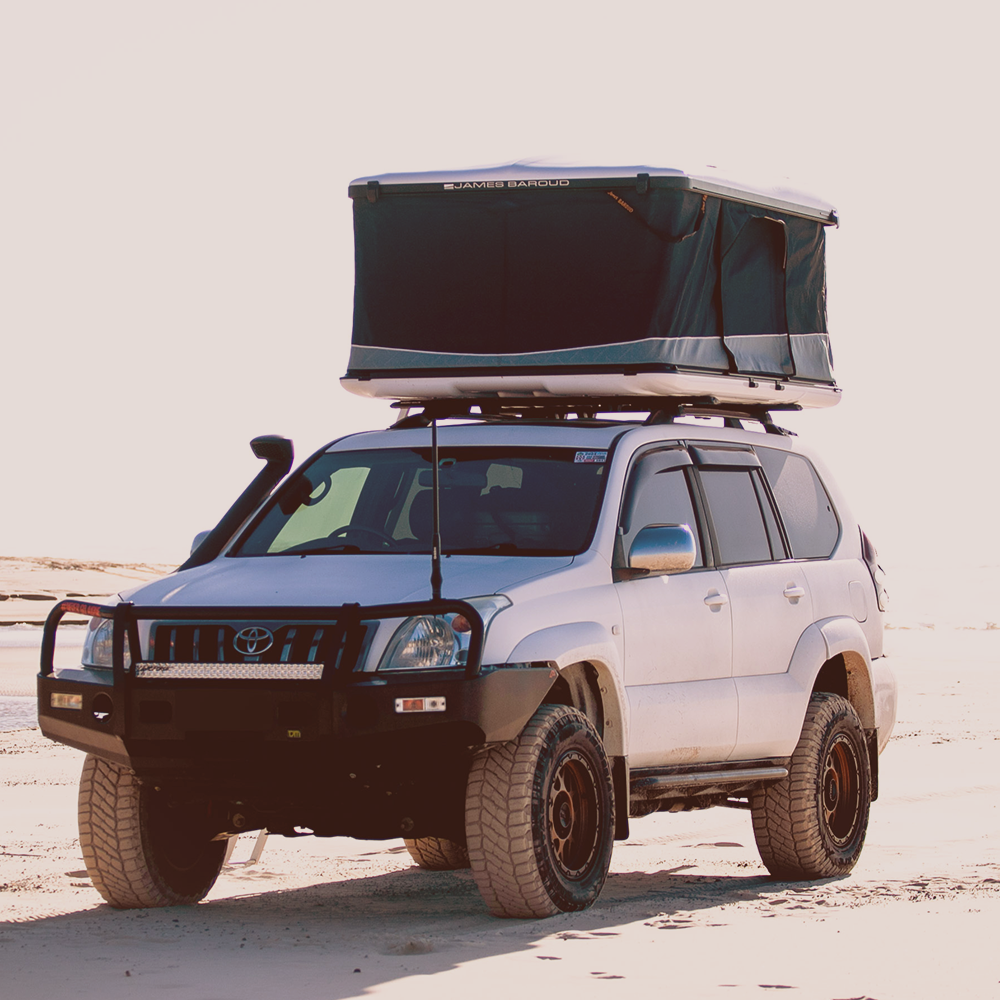
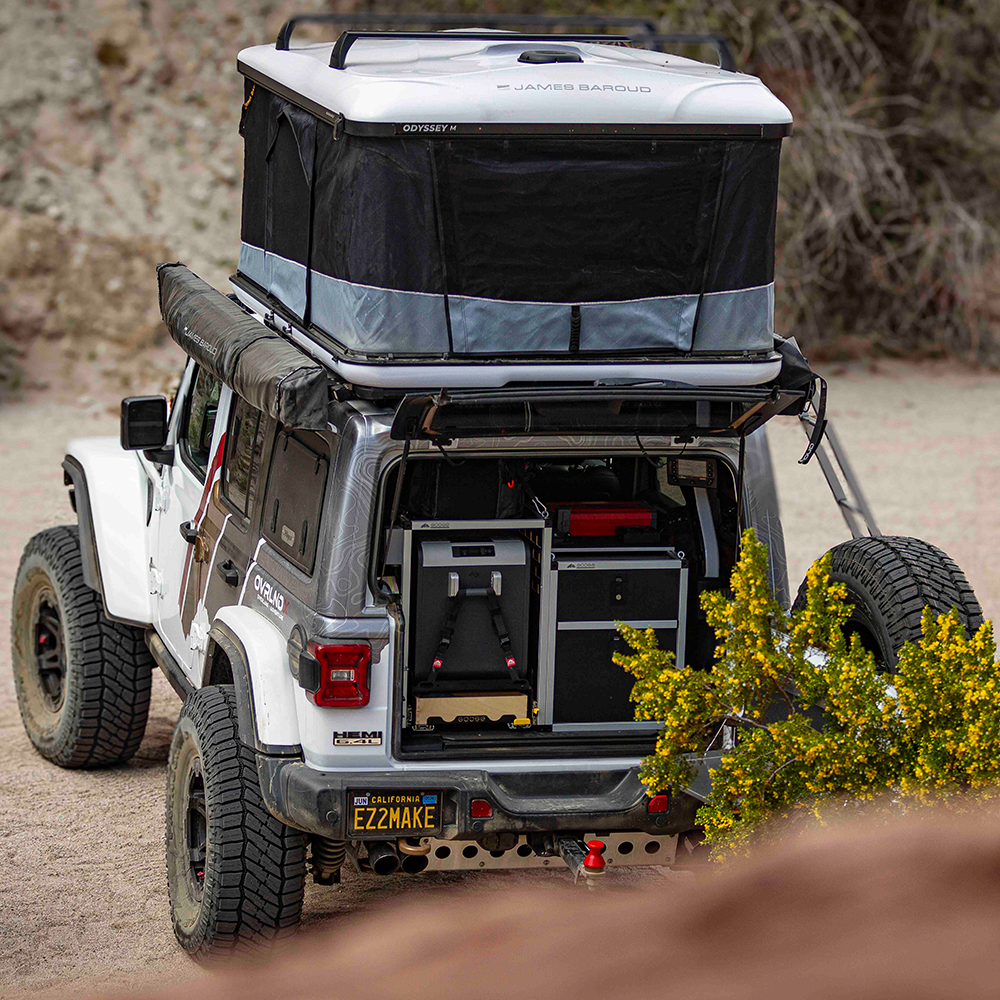
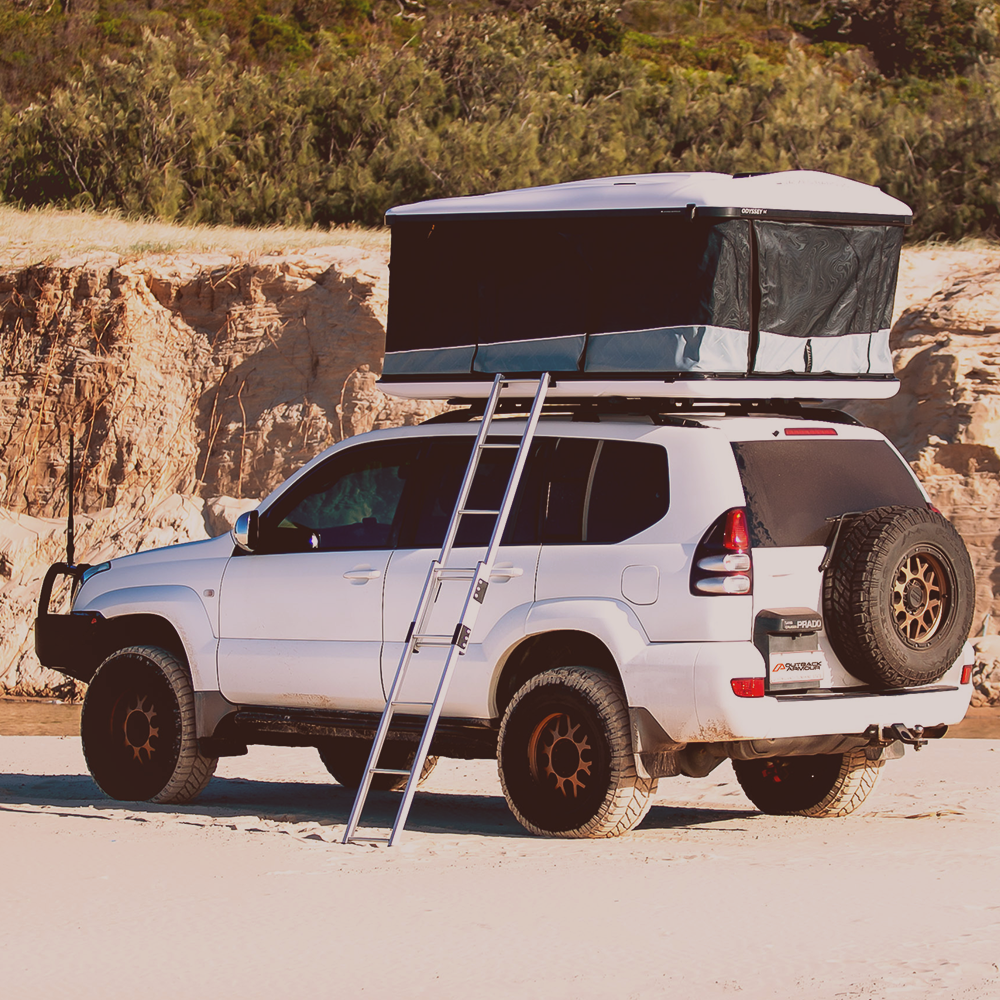
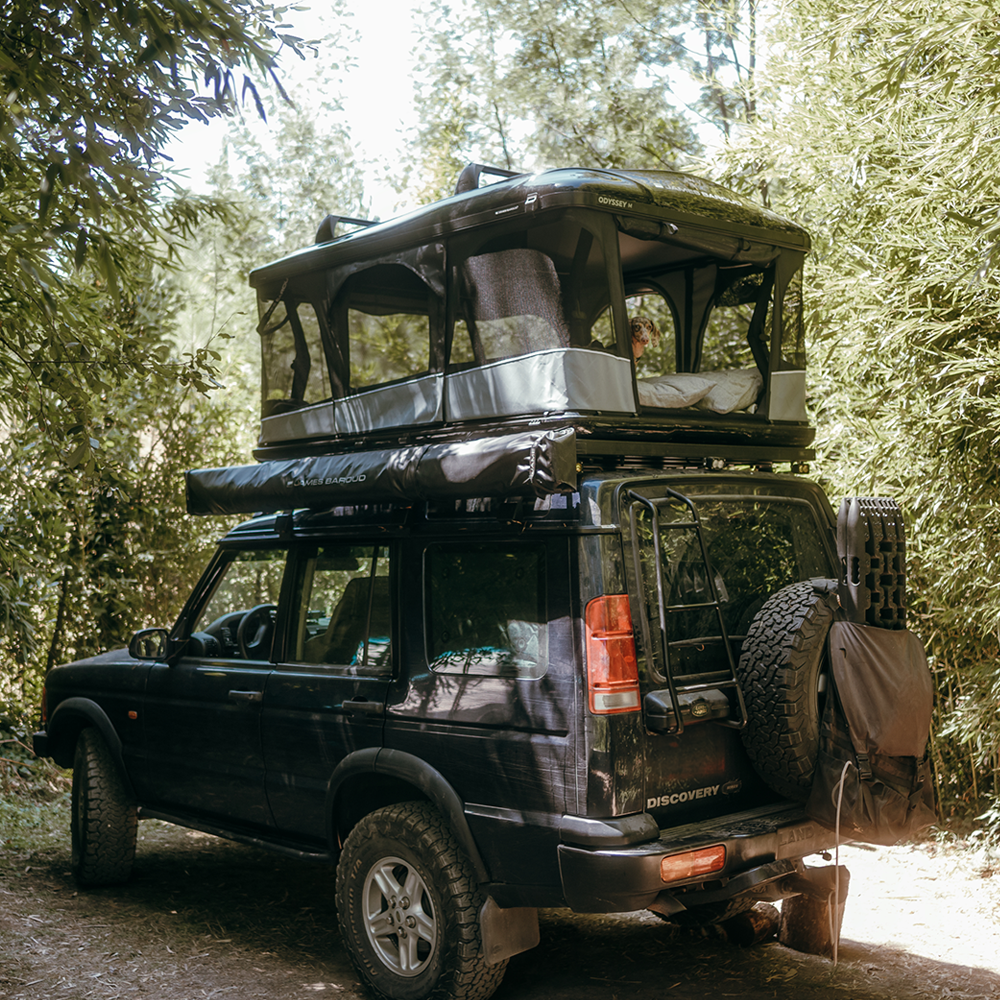
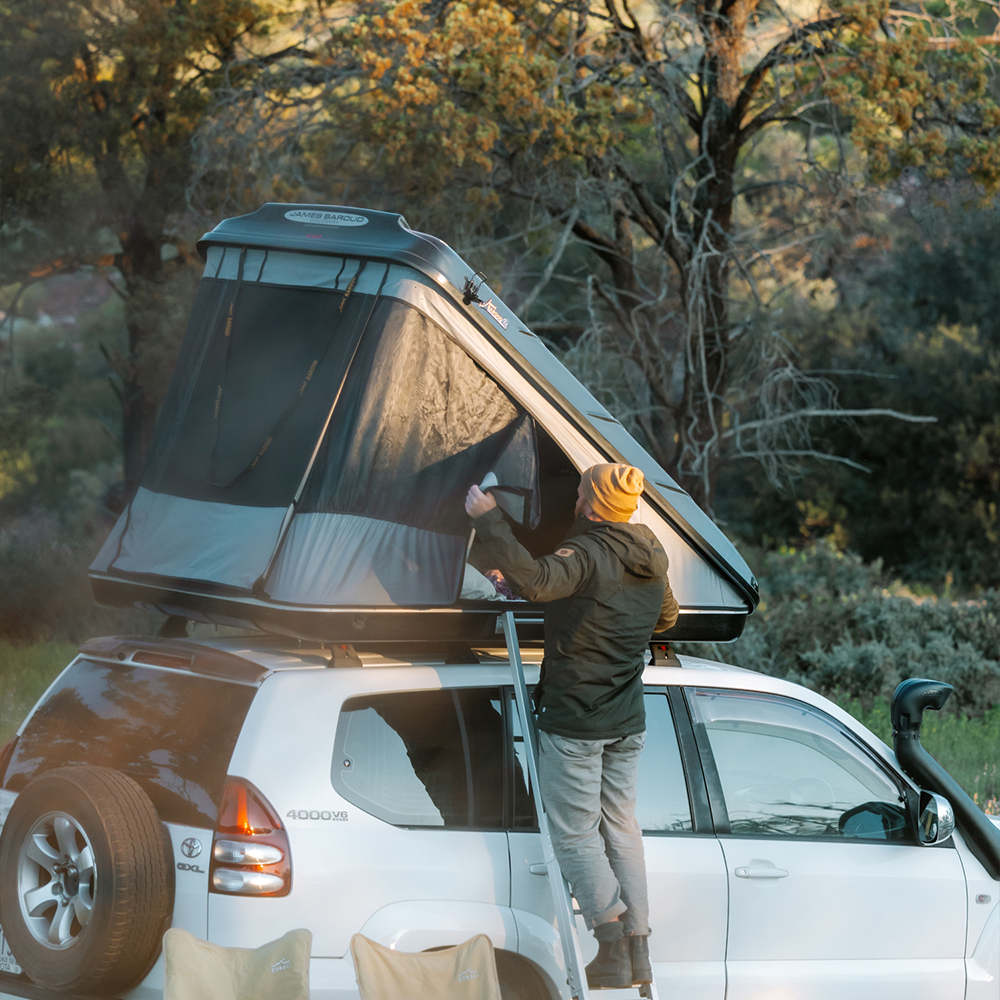
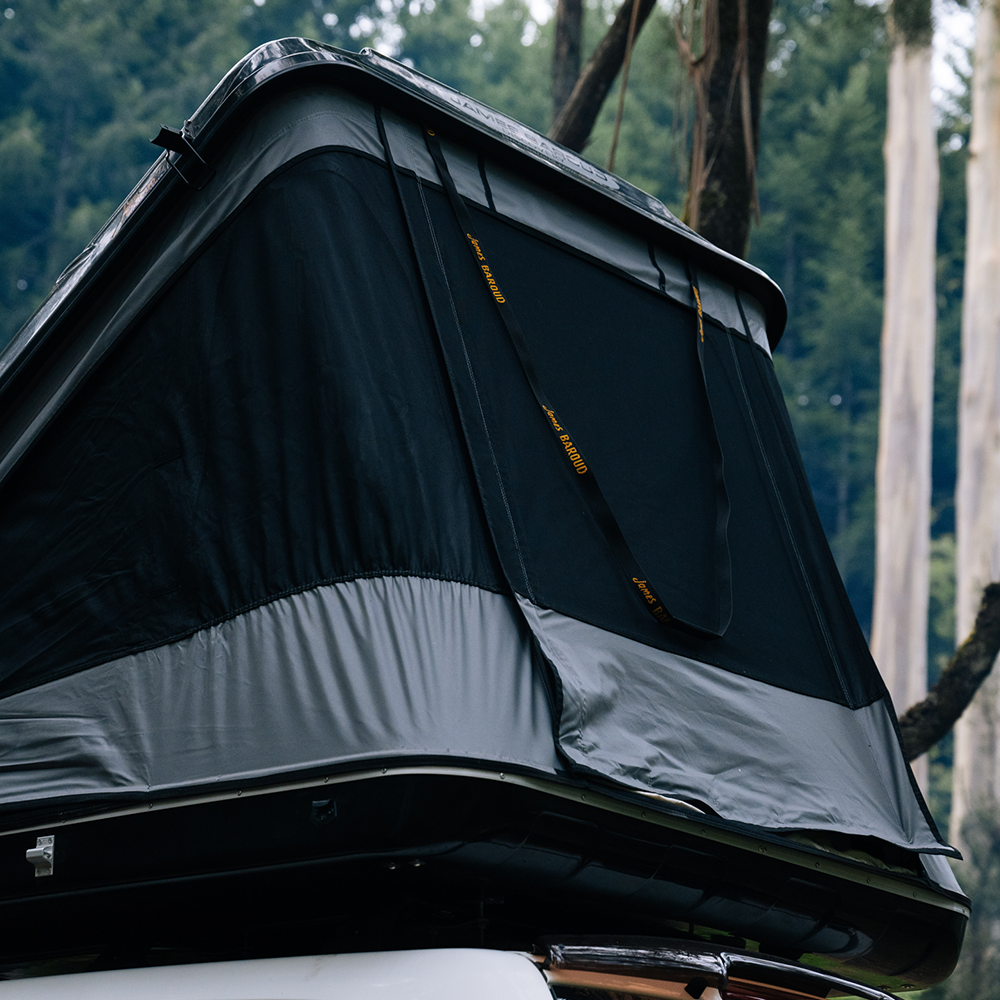
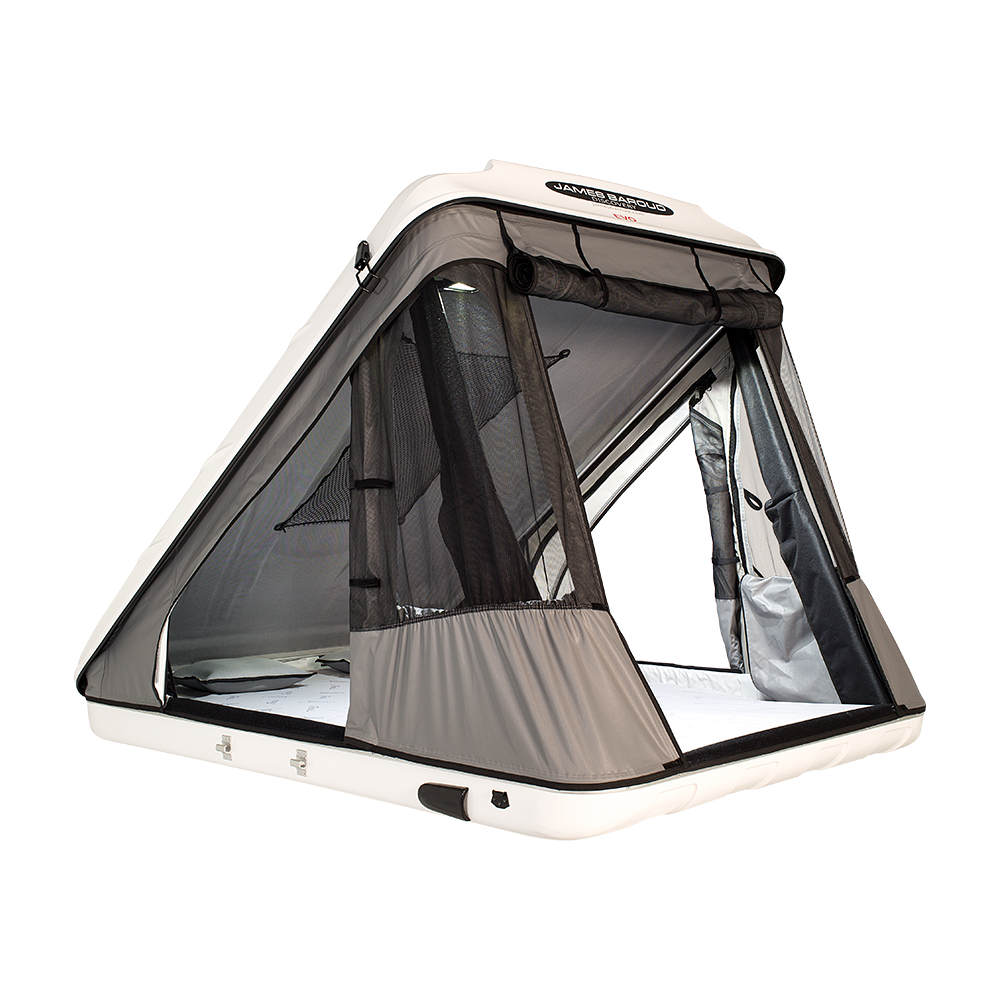
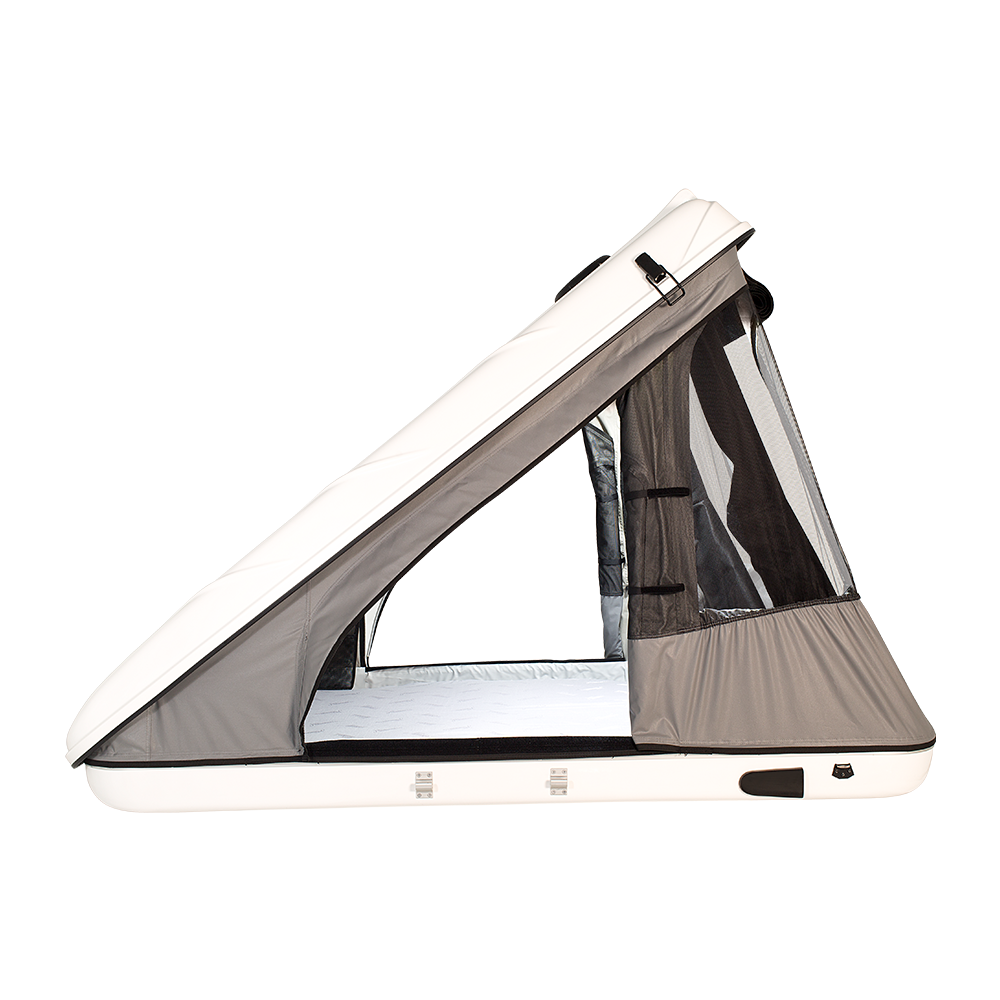
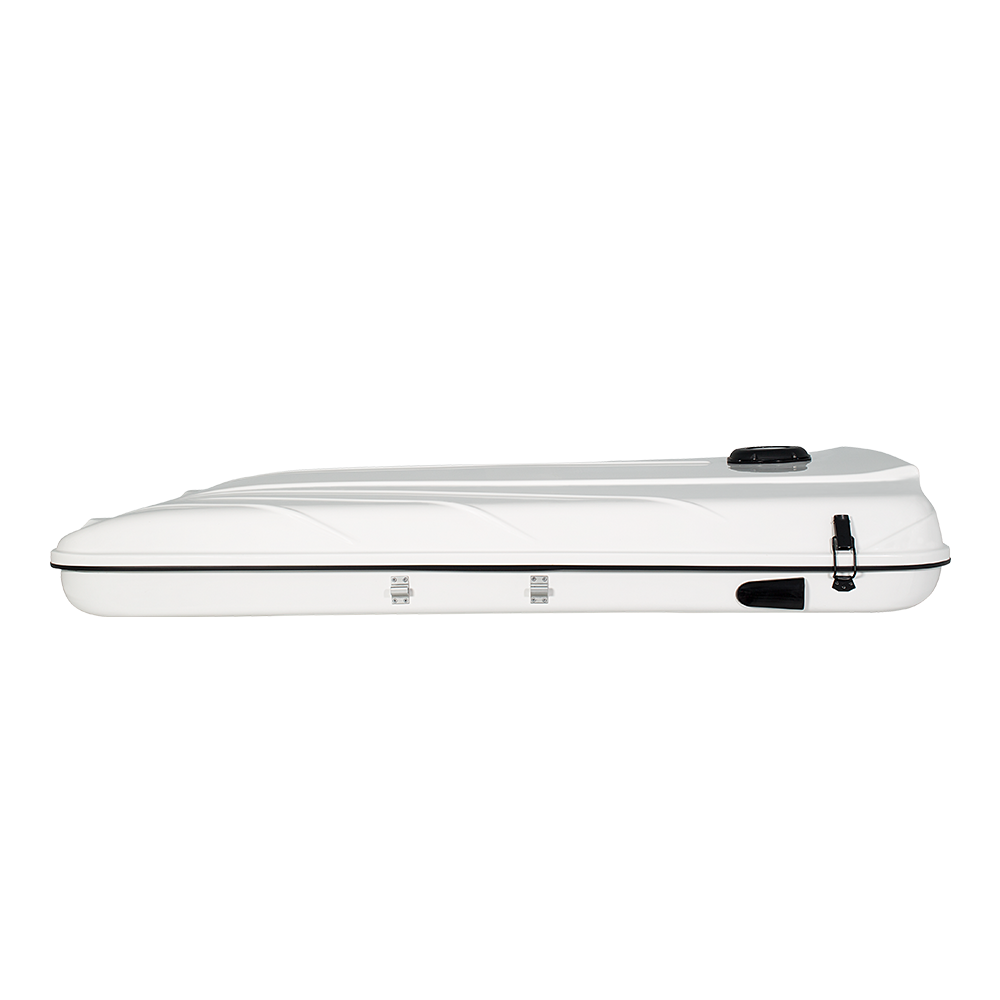
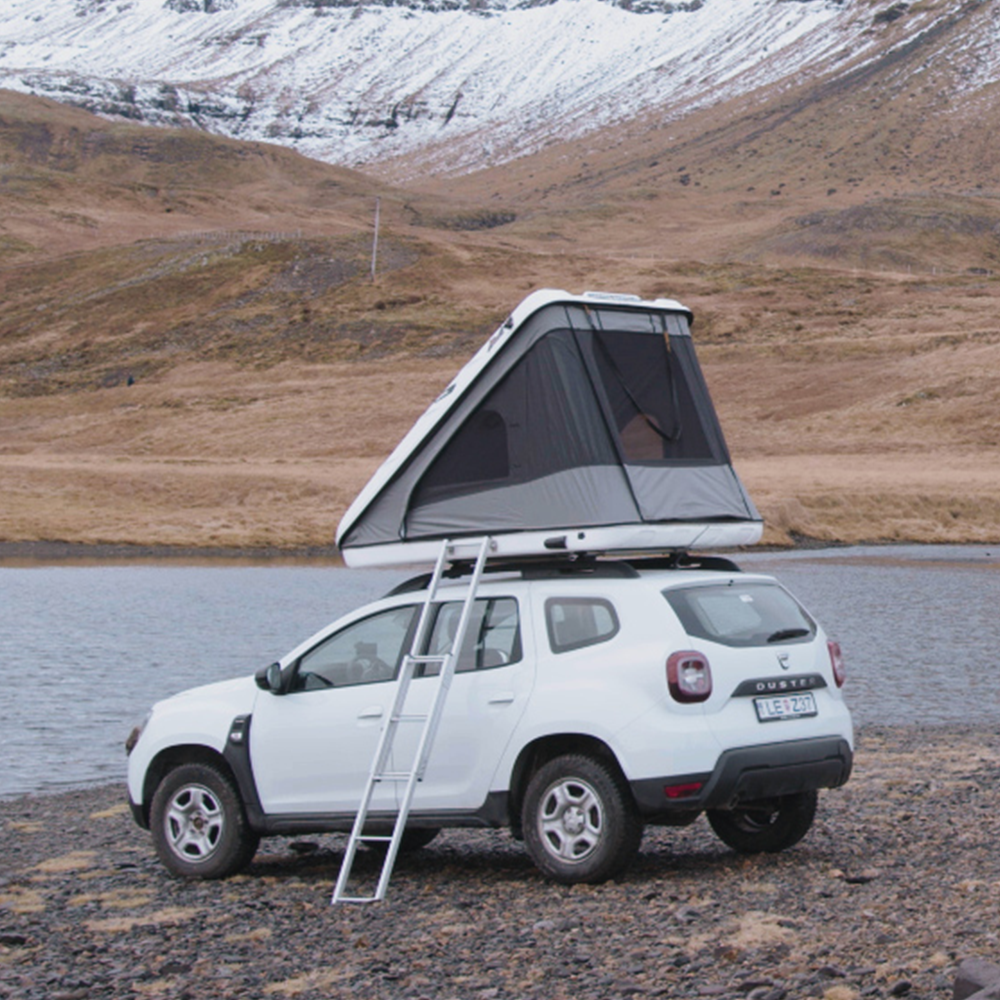
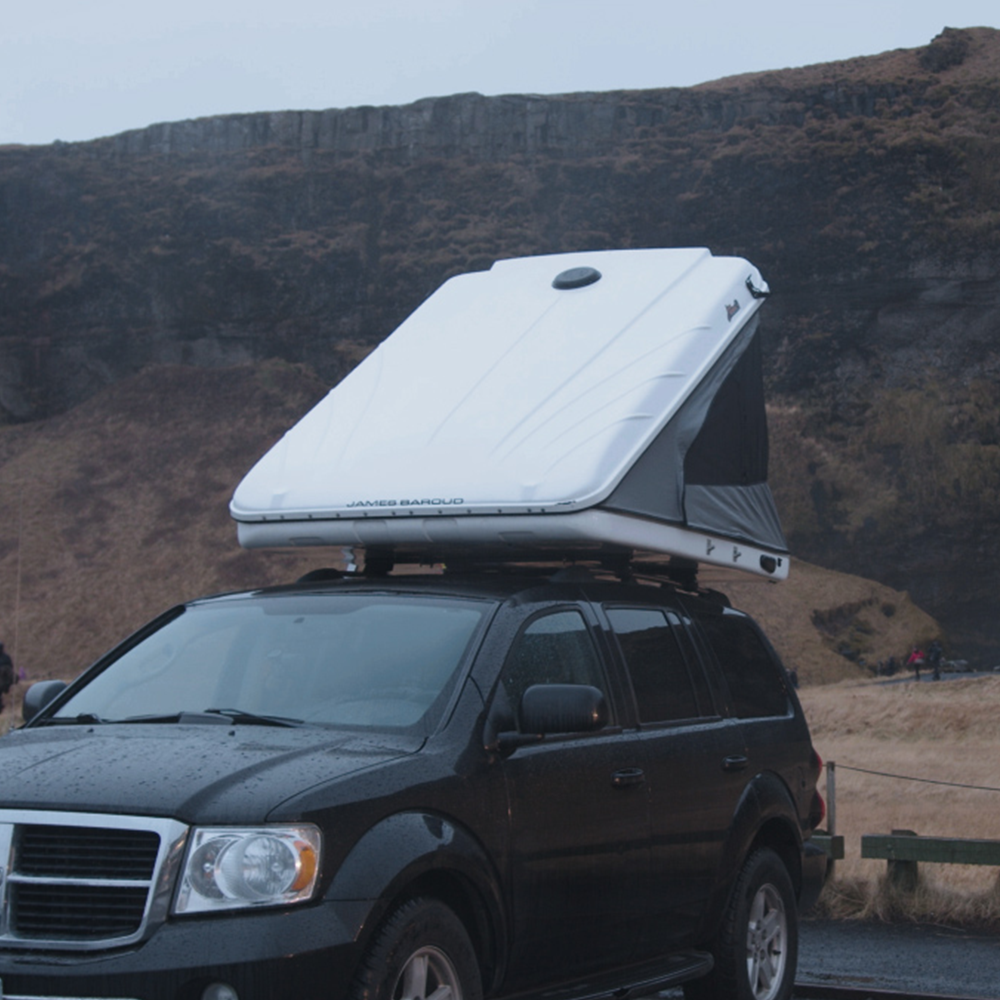
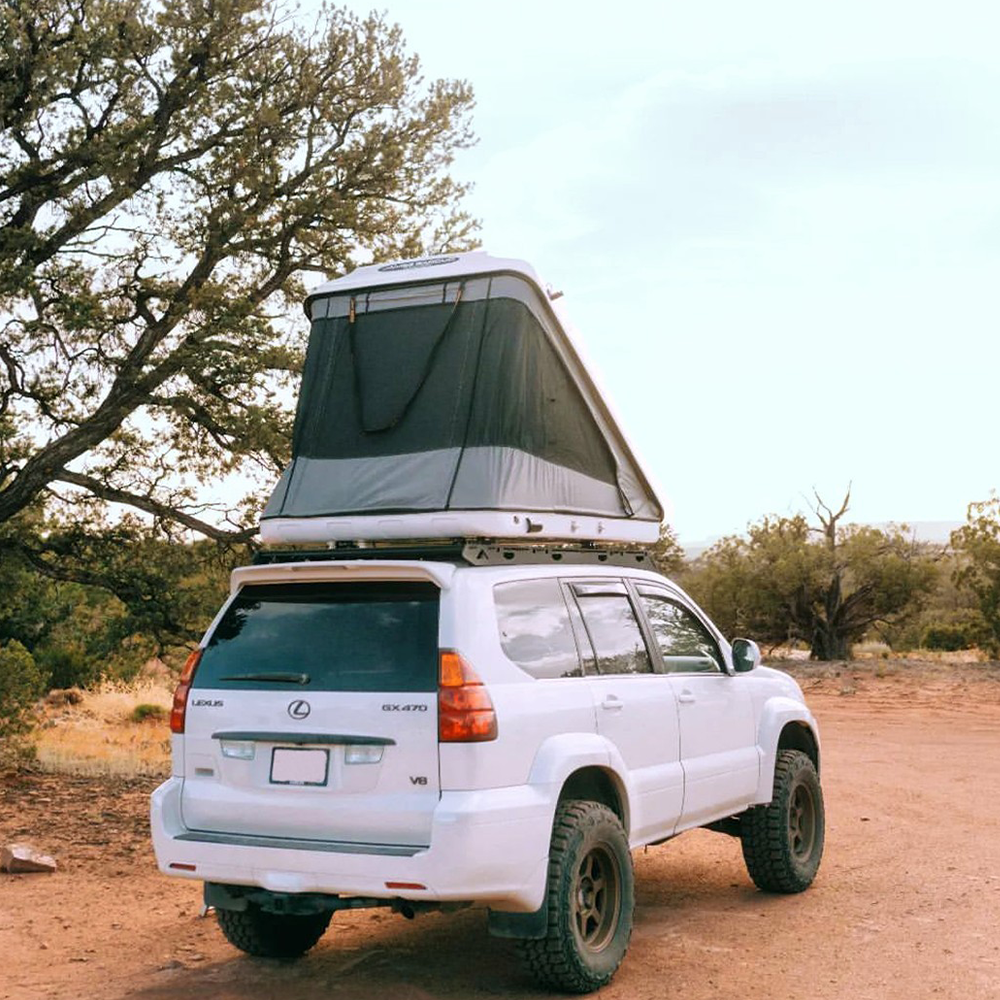
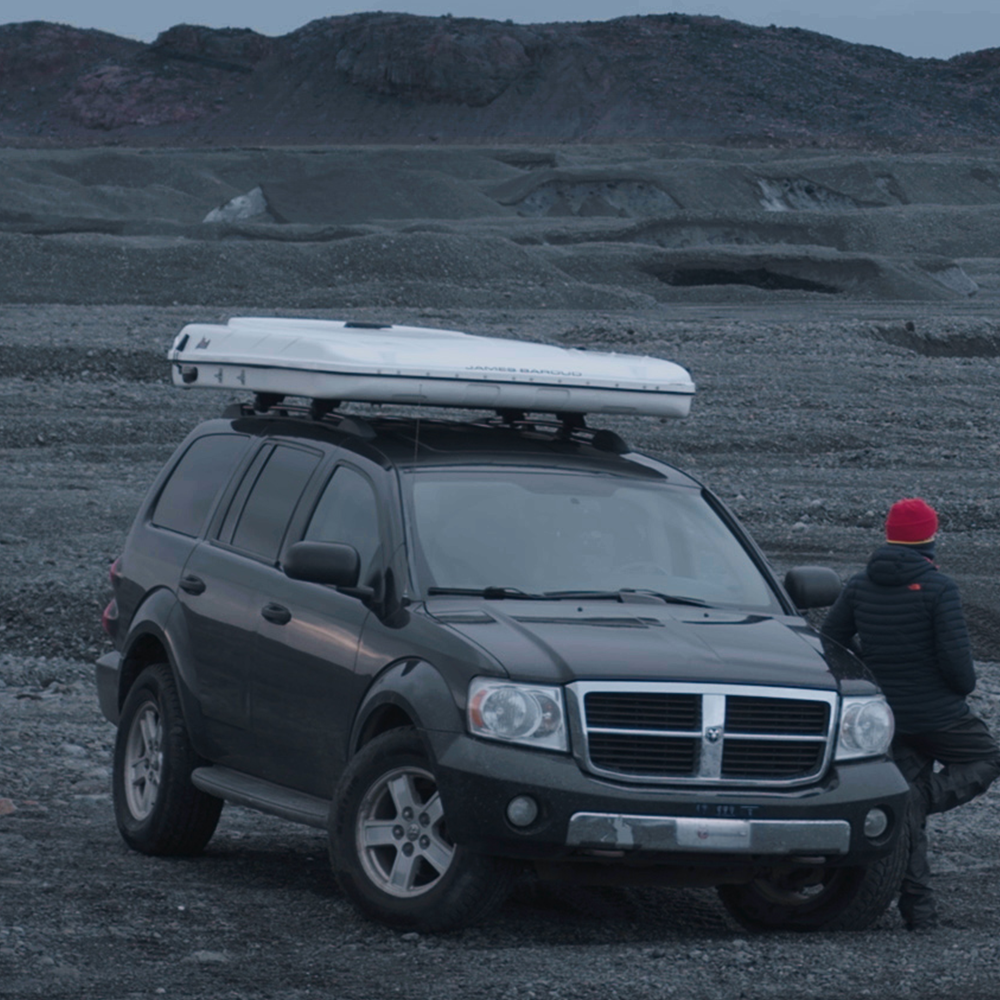
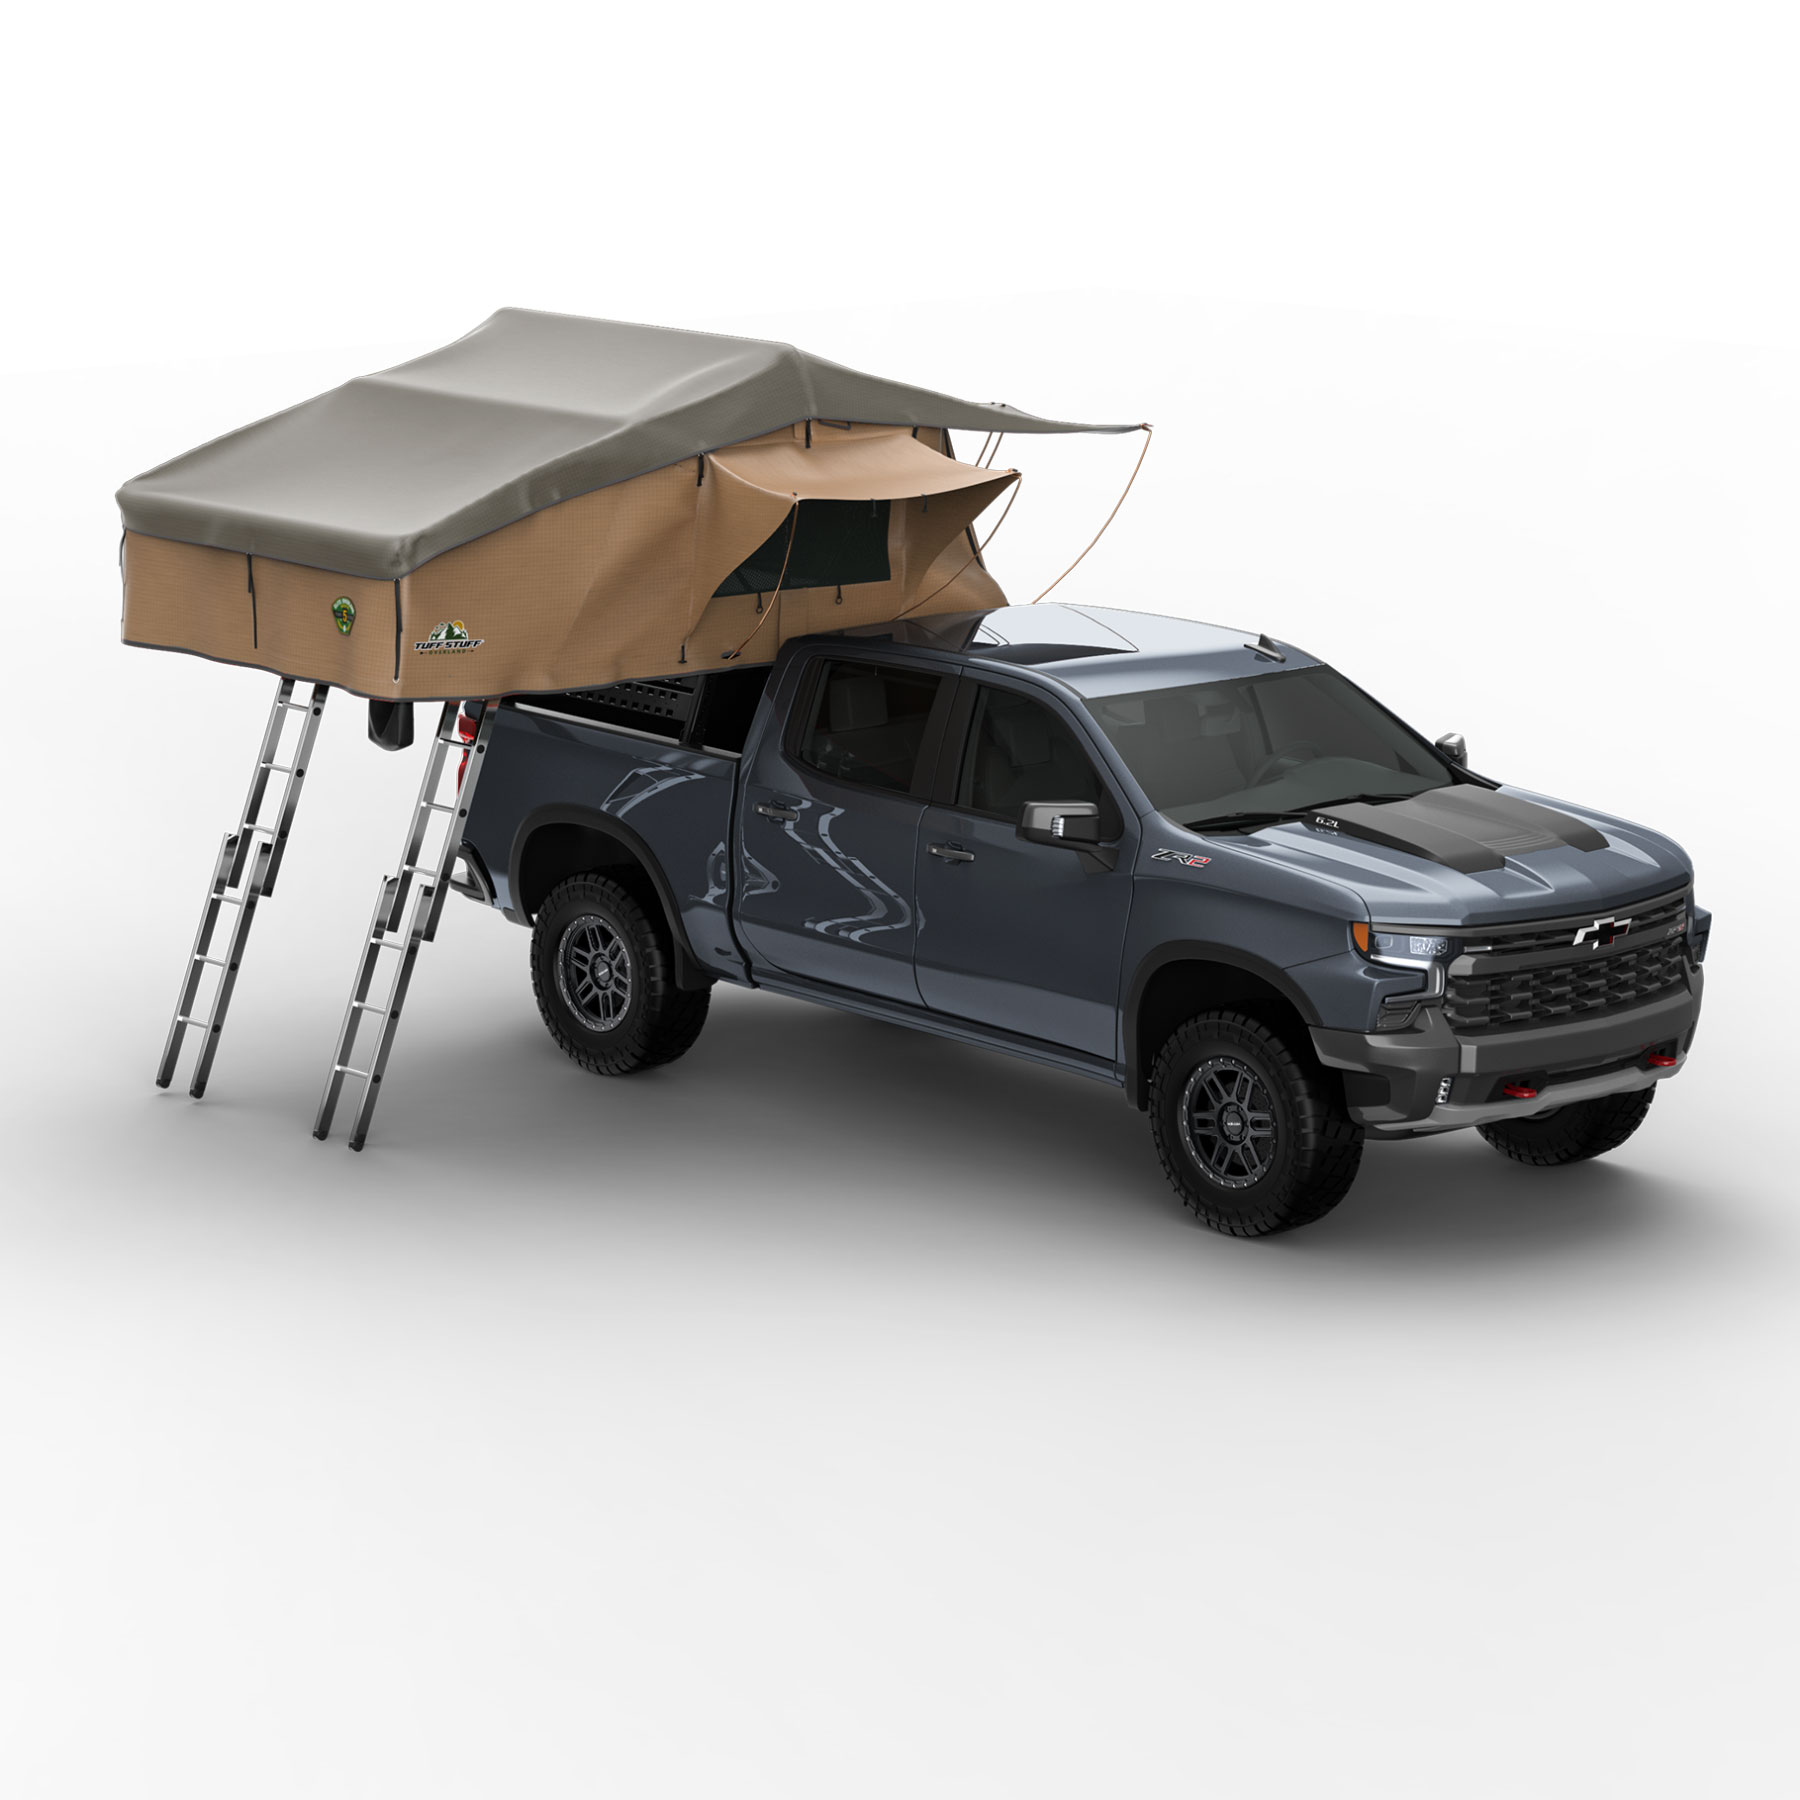
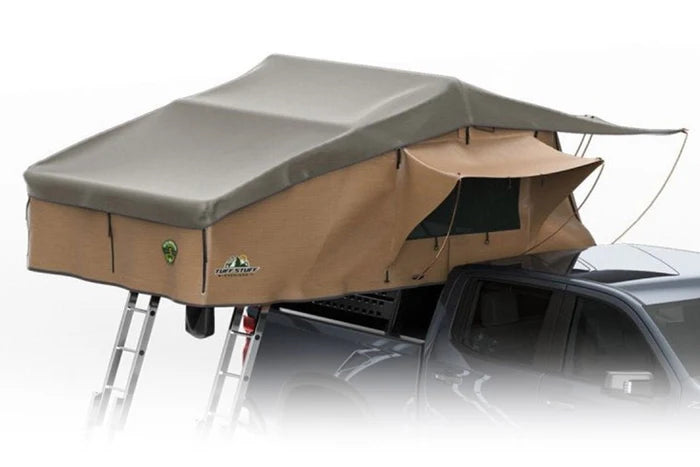
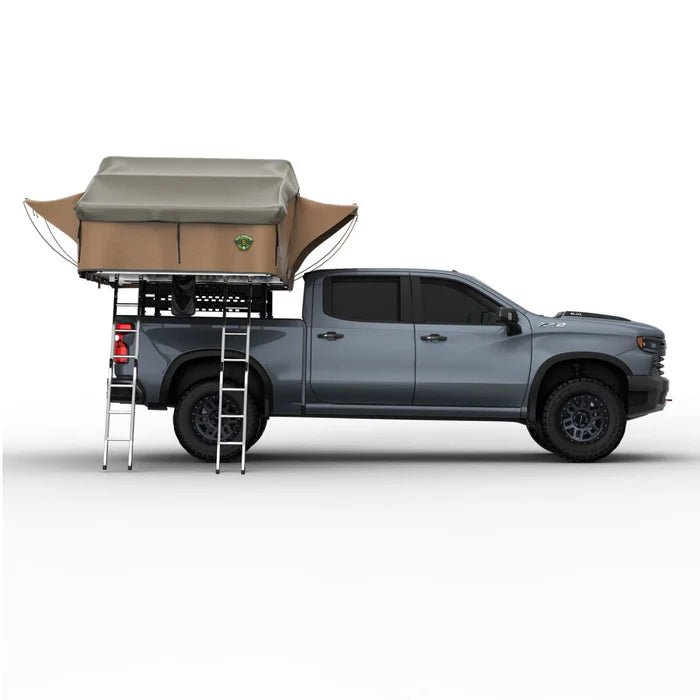
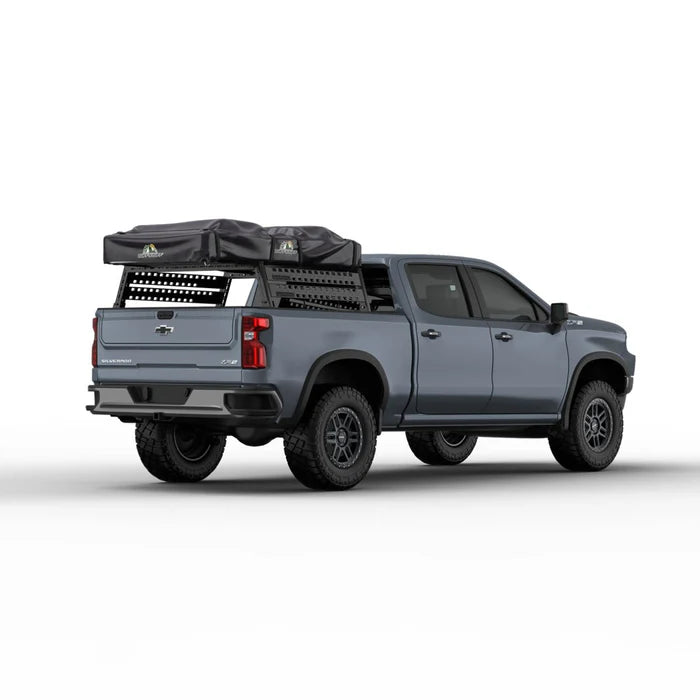
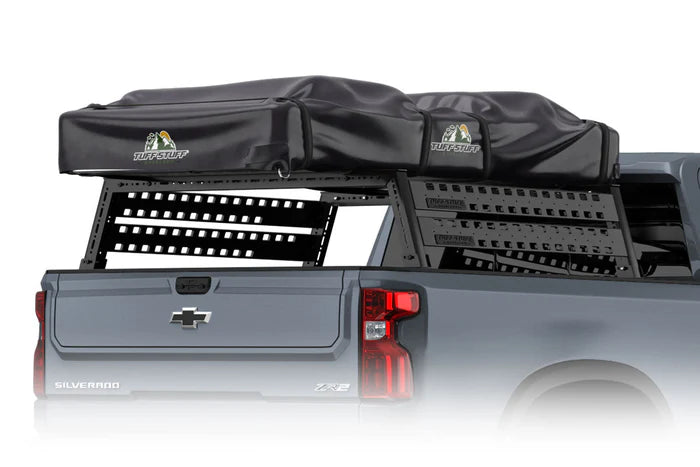
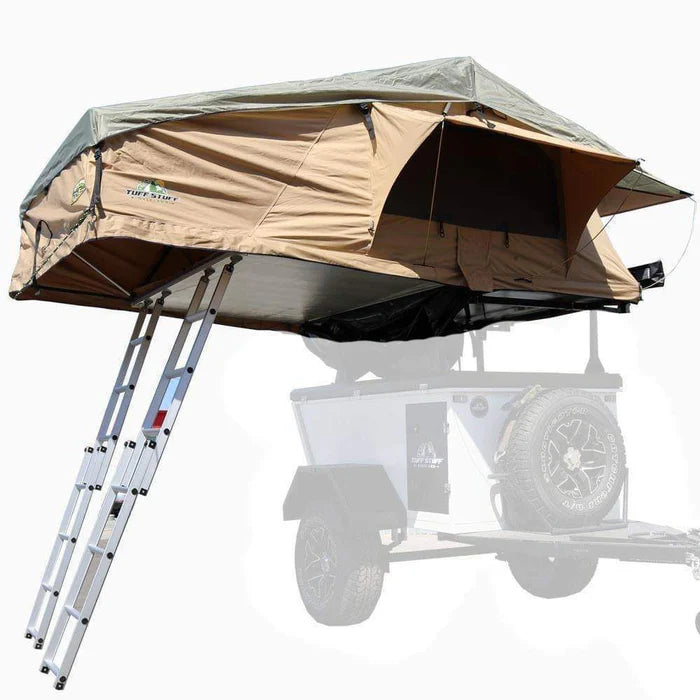
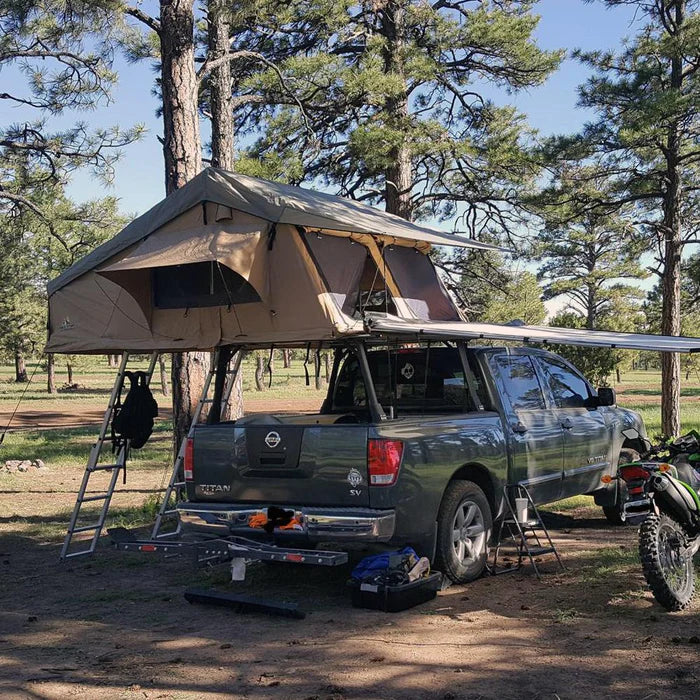
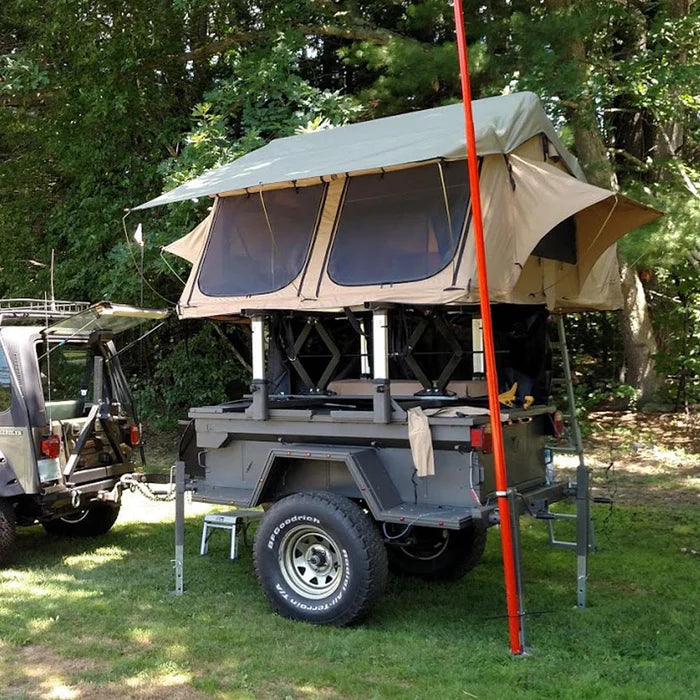
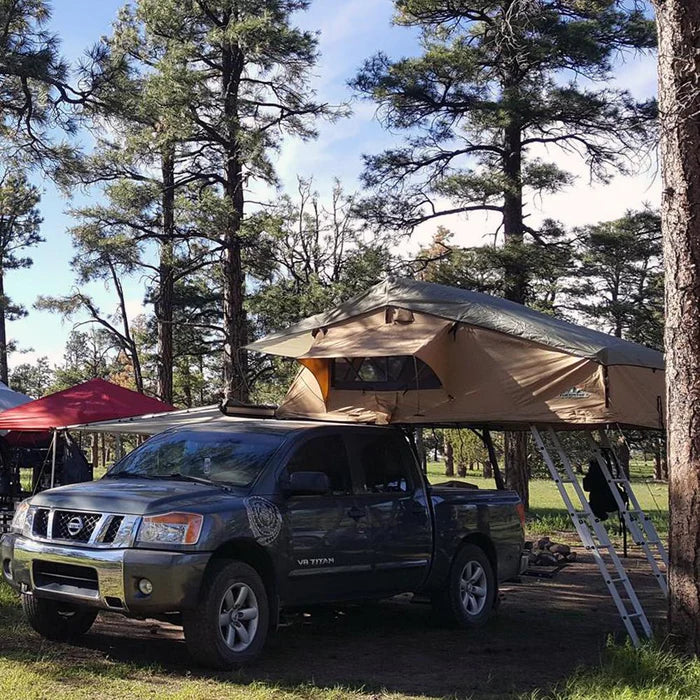
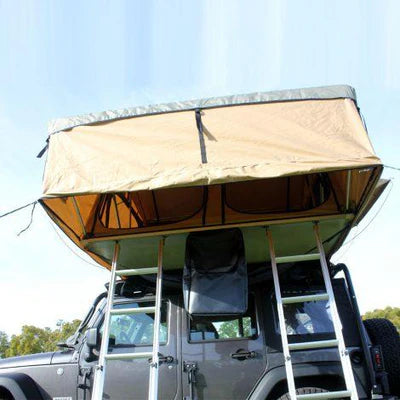
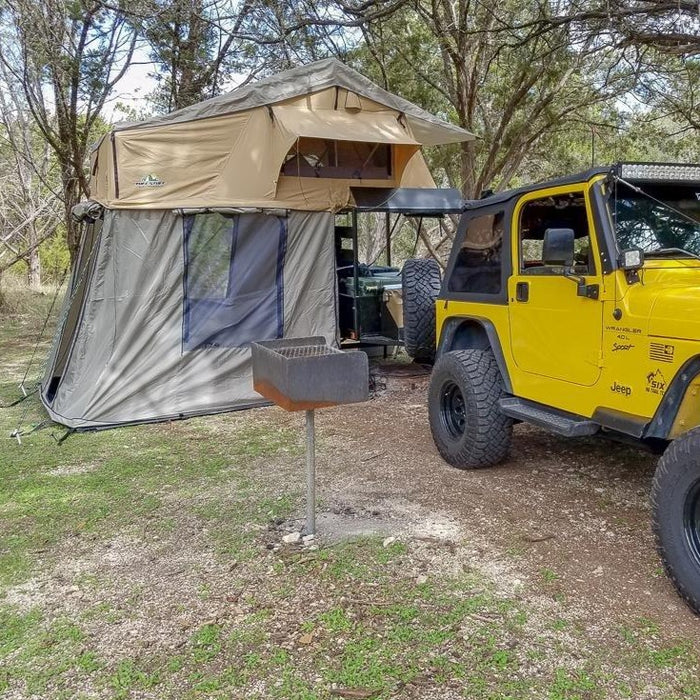
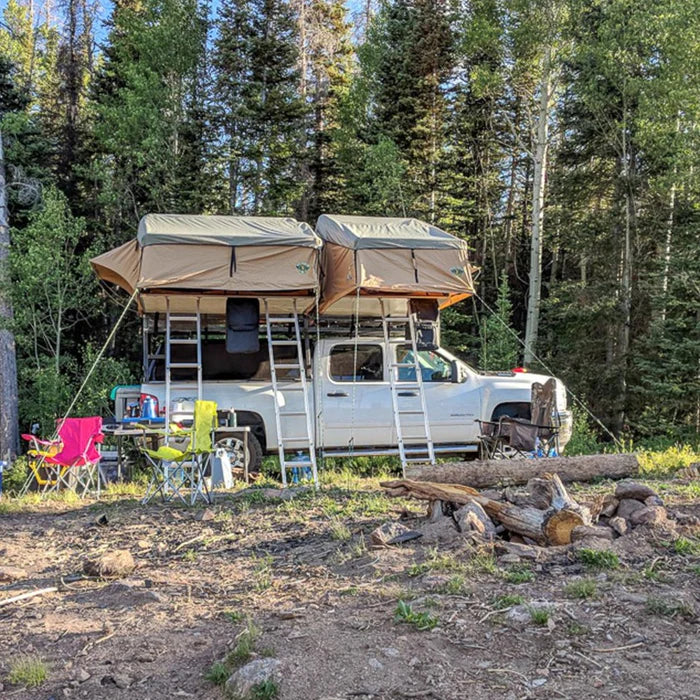
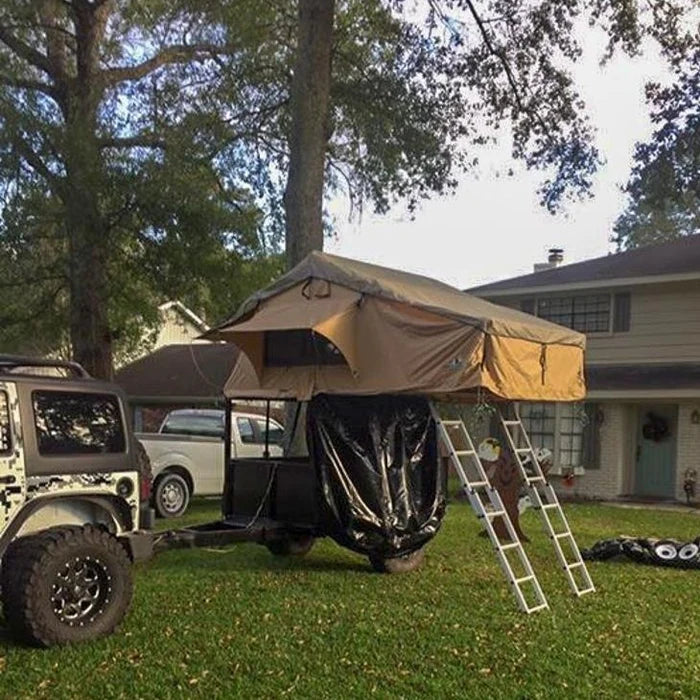
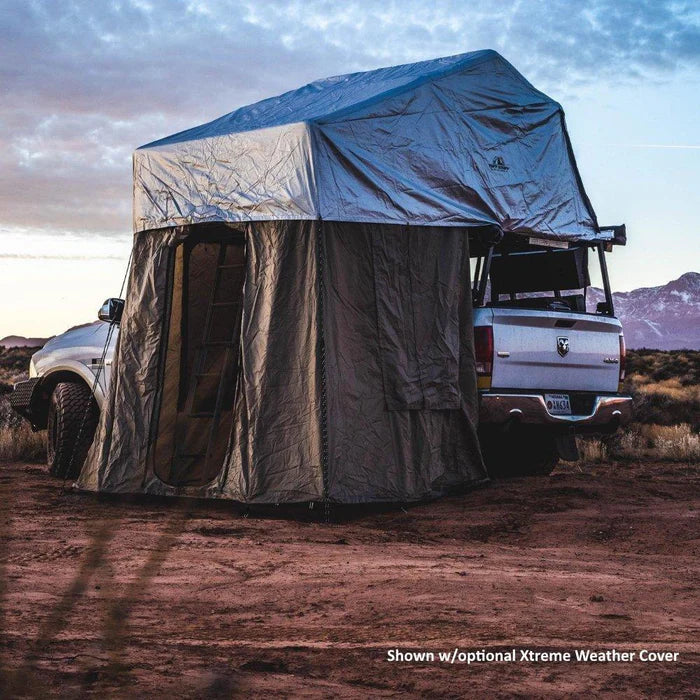
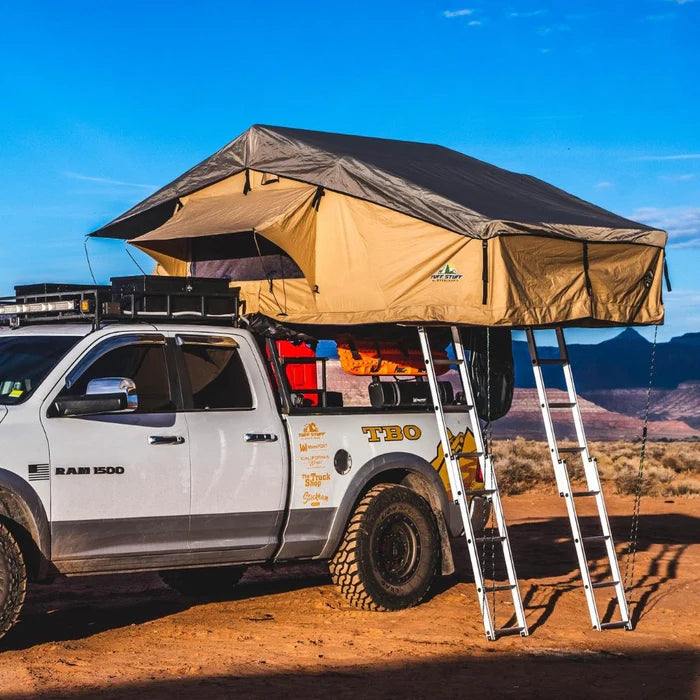
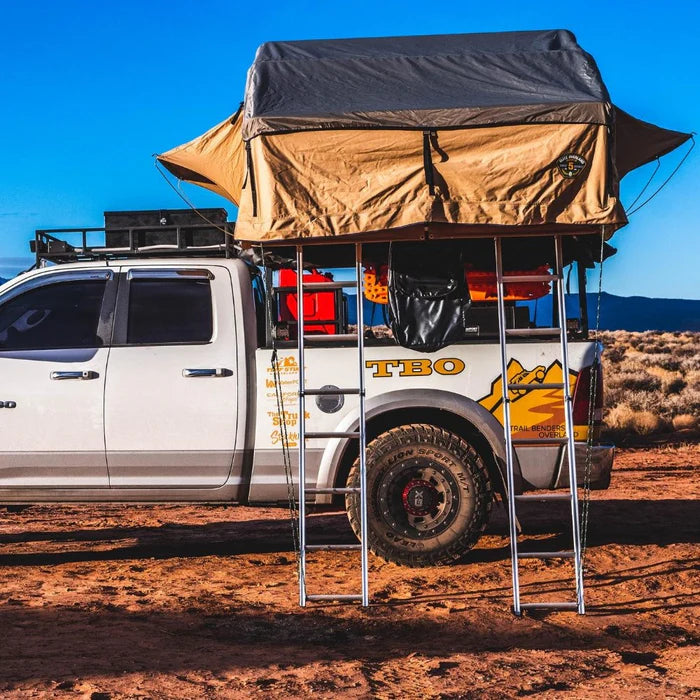
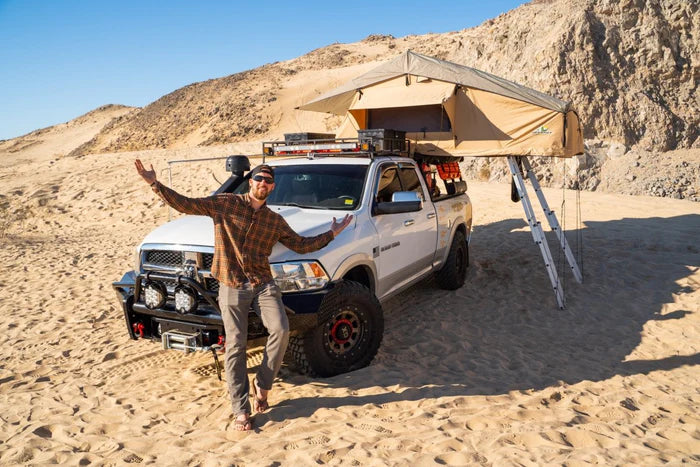
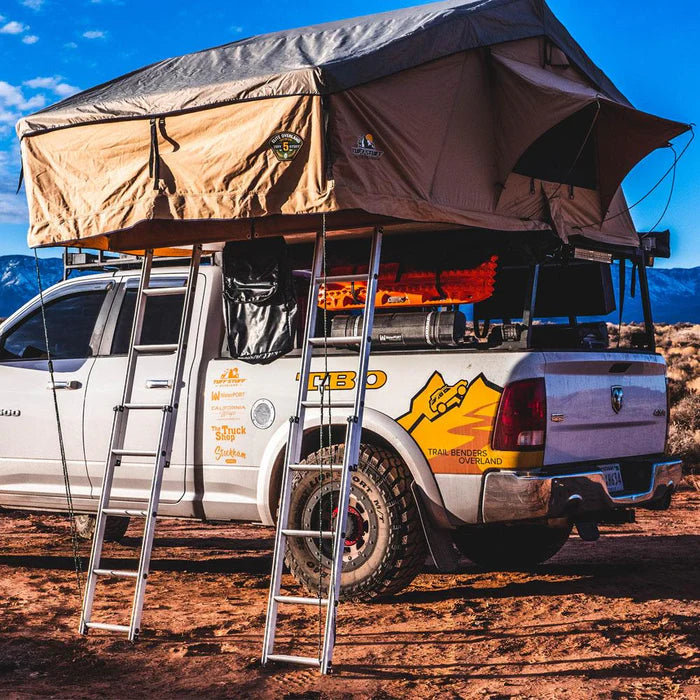
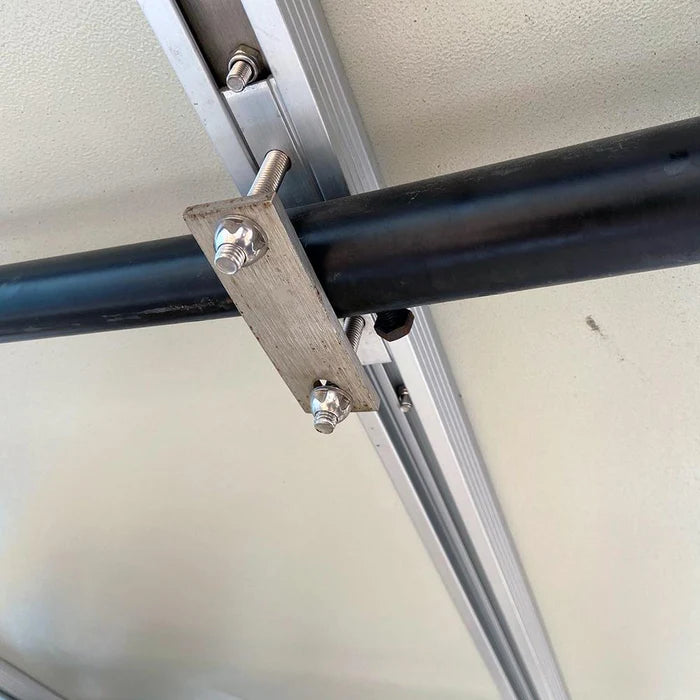
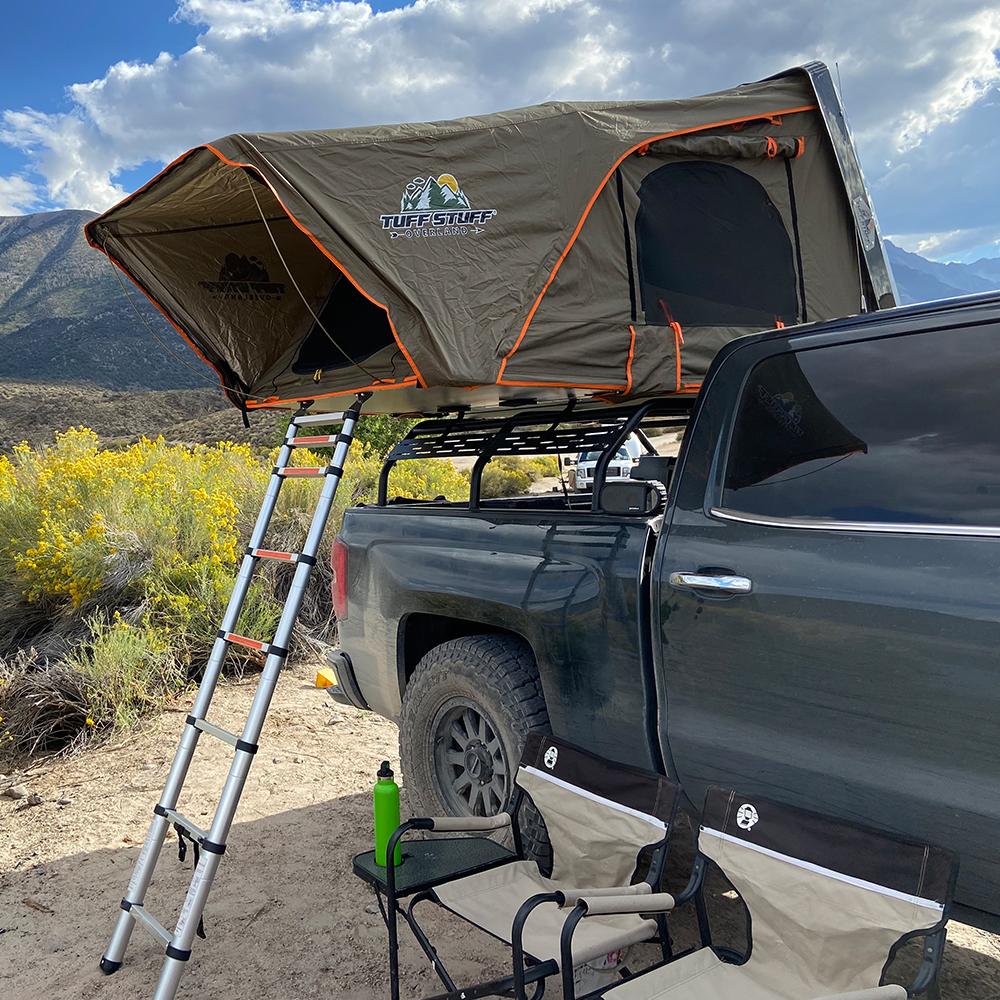
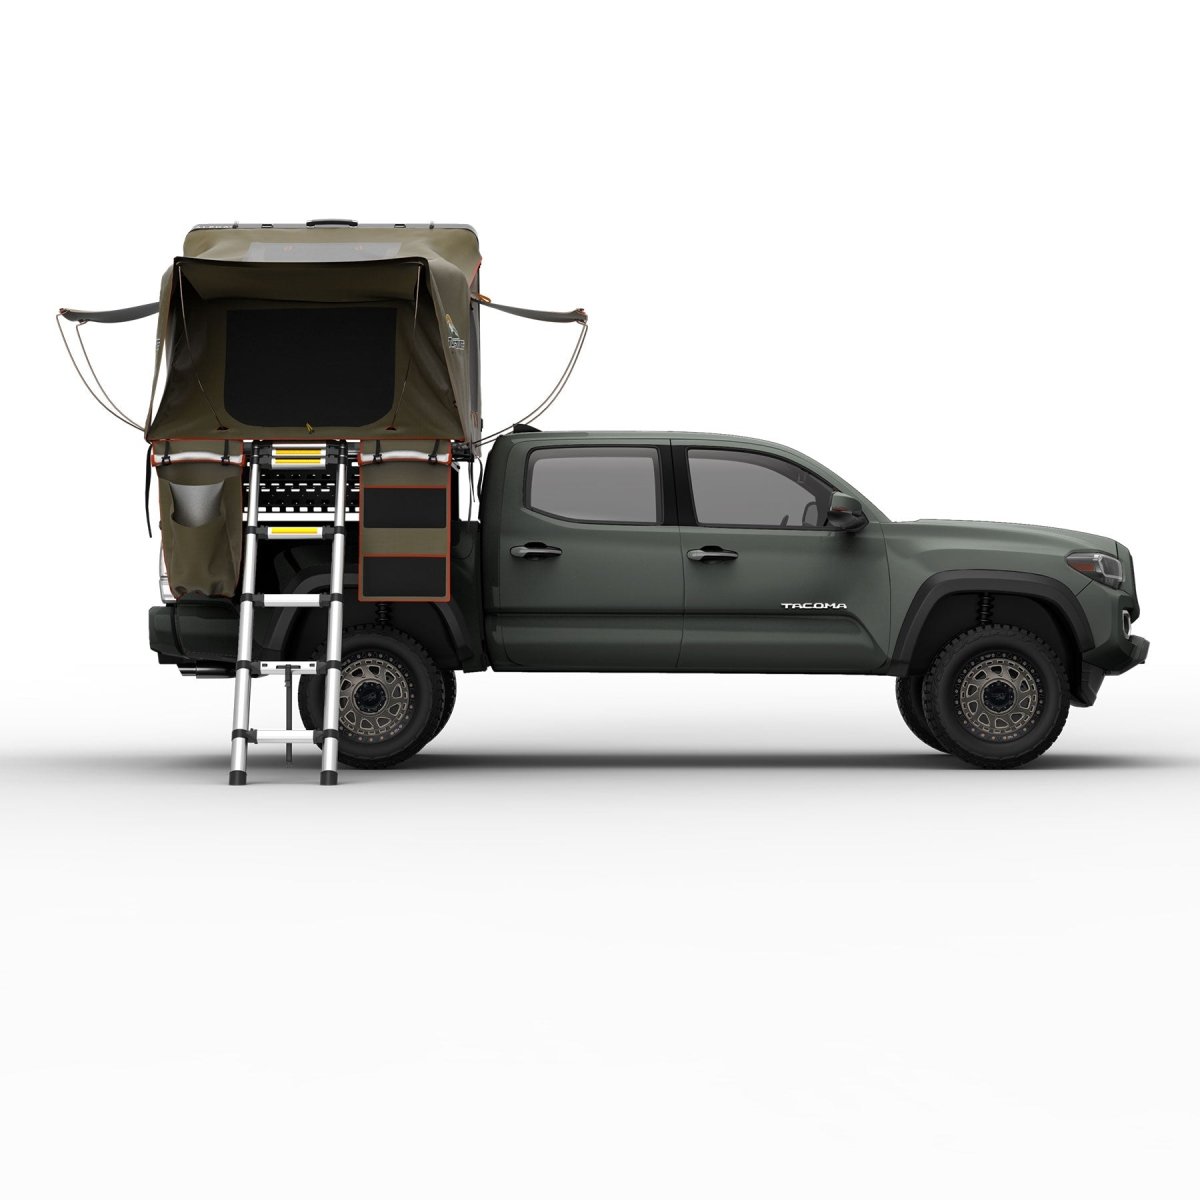
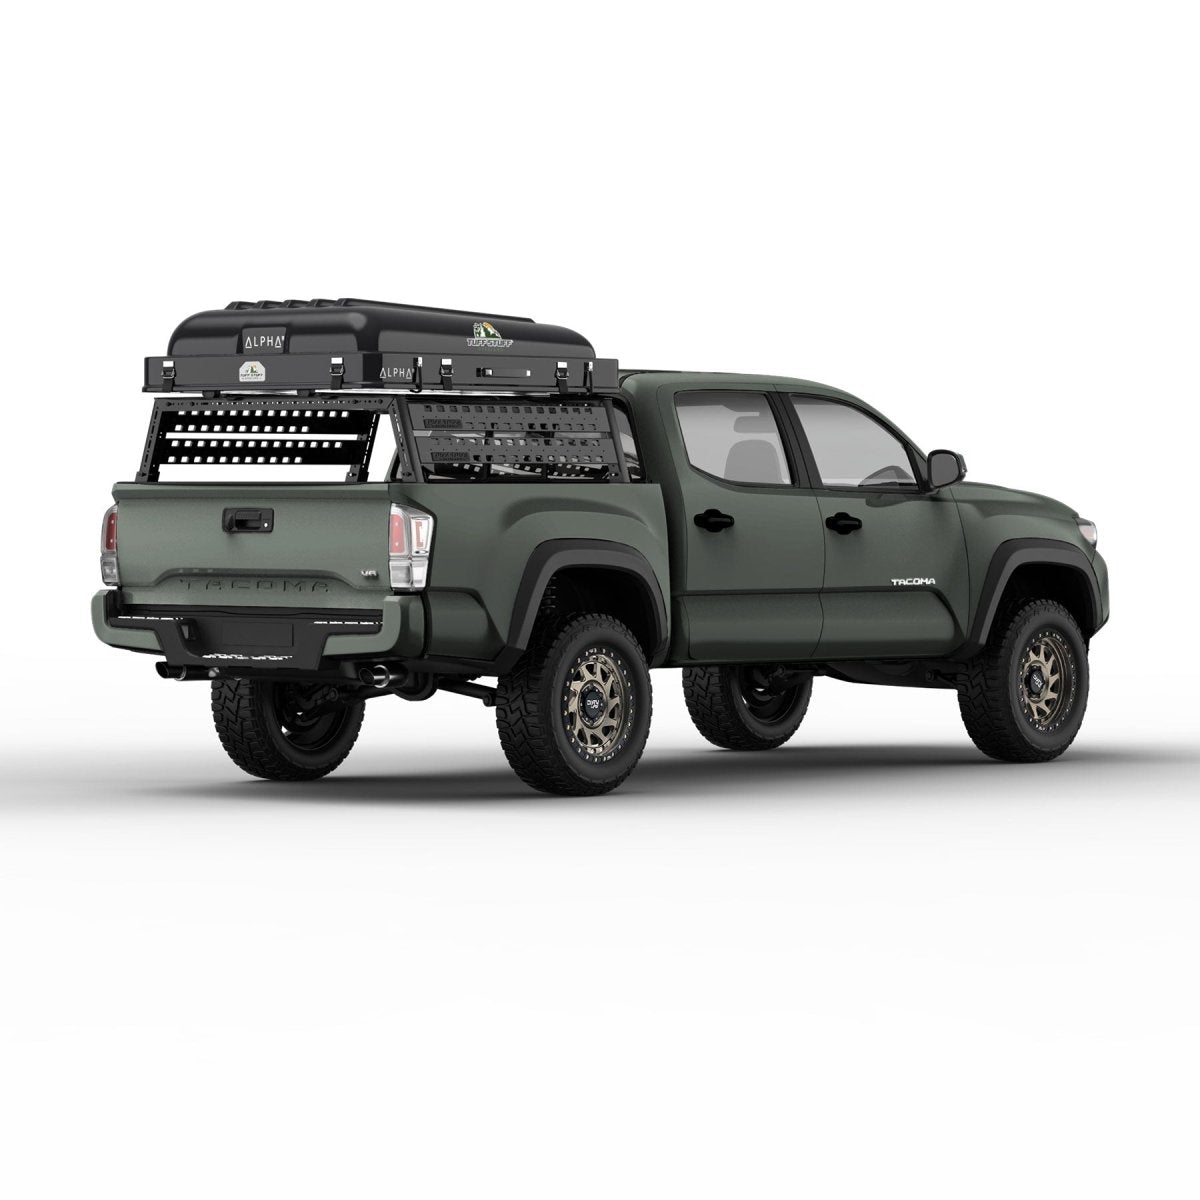
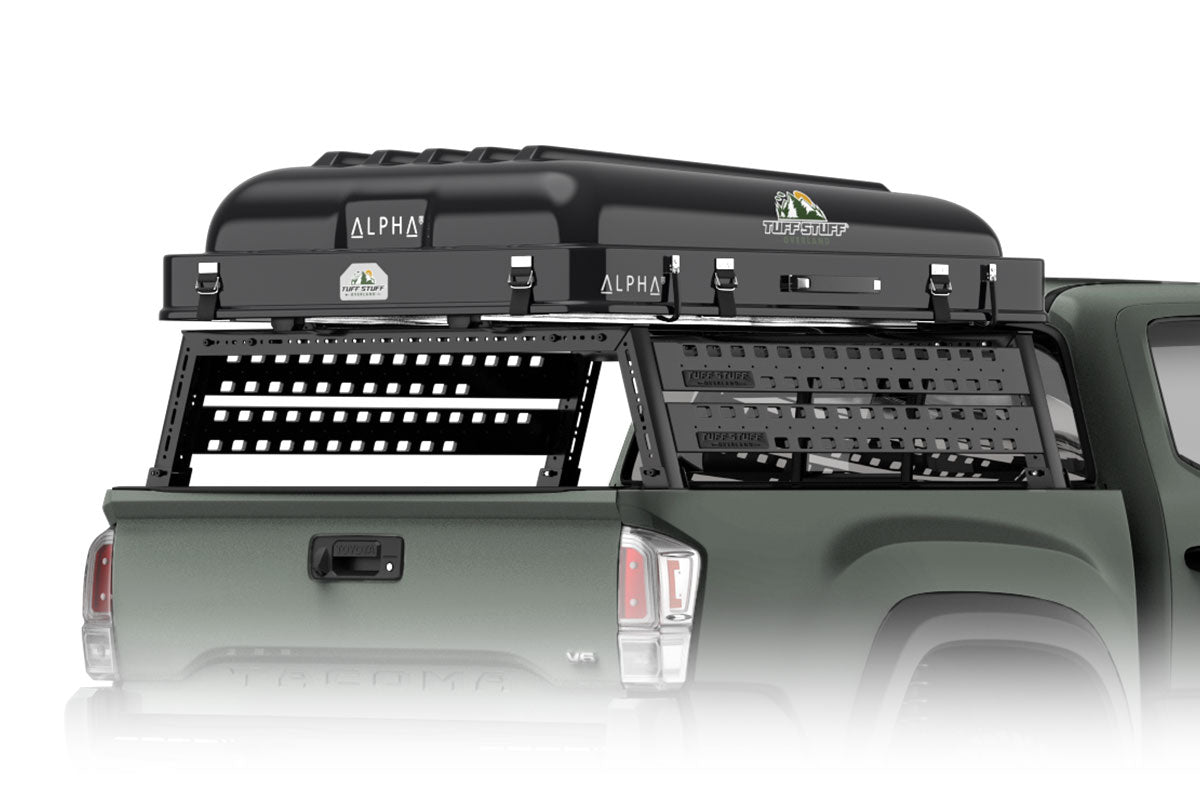
Easy installation on most platforms or rack systems, quick to to take your tent on and off, and can have awnings mounted directly into it, the Quick Release Bars were made to simplify rooftop tent builds.
Made with military grade aluminum and precision engineering, one profile mounts to the tent, and the other to your platform, rack or bars. Once aligned, the tent slides into place and tightens from the sides (not from the bottom), avoiding the awkward under-rack access of traditional systems.
Sold individually. Add 2 units for most setups, or 3 units for XL tents and more demanding off-road use.
How to install
1 Install the thinner release bars onto the rooftop tent’s bottom mounting tracks
Place the tent on the side or upside down on a supported soft surface, and slide the smaller bar into the tent rail gutters. Do not tighten to full torque at this point.
2 Tighten the wider receiving slot bars onto the crossbar or rack system
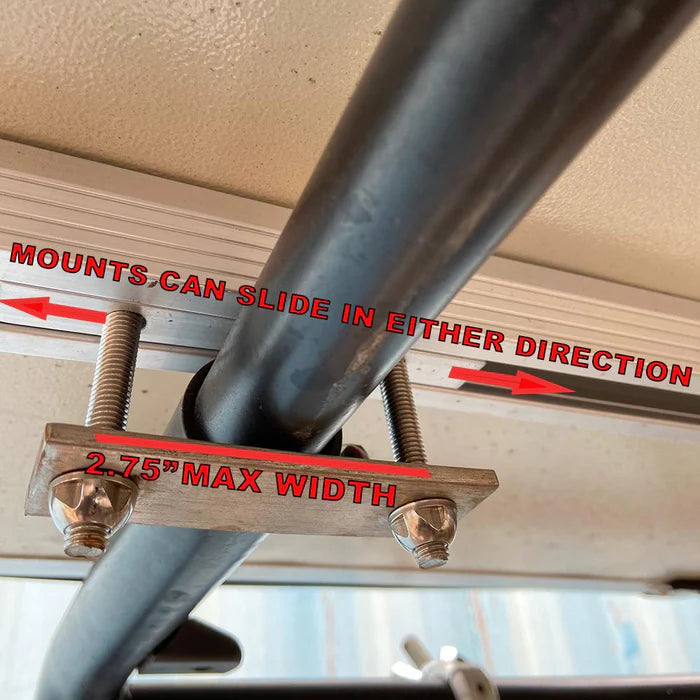
With the attachment pieces that slide along the side of the receiving slot bars, fix them tight to vehicles existing platform at the spacing recommended for your tent.
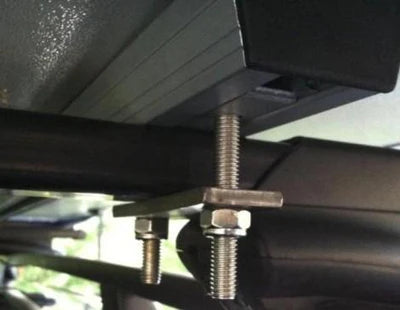
For bars, simply clamp the receiving bars into the existing bars with the included hardware.
3 Slide the tent on top and align both sets of bars
Place the tent on top of the bars. Lift the tent to adjust the release bars into the receiving bars. Double check to ensure they fit properly.
4 Tighten the rooftop tent bars and side bolts
From below, tilt up the tent just enough to see the bolt opening and tighten all the bolts of the release bar on both sides. Then lower the tent back into the receiving bar and tighten the side locks.
5 Lock it and you’re set!
Secure each end by bolting the safety cover and you’re good to go.